


There are several challenges involved in painting a backlit subject, so in this article, I’d like to share with you various ideas and methods for doing so realistically, with a Northern Waterthrush as the subject. First off, what does it mean for the subject to be backlit? The terms front light, side light, and back light refer to the position of the light source on the subject, relative the viewer. For example, if most of the light is hitting the side of the subject from your perspective, then it would be a side light situation. Backlit simply refers to the scene where the light source is behind the subject – meaning the side of the subject that you can see is in shadow, and its edges may be glowing.
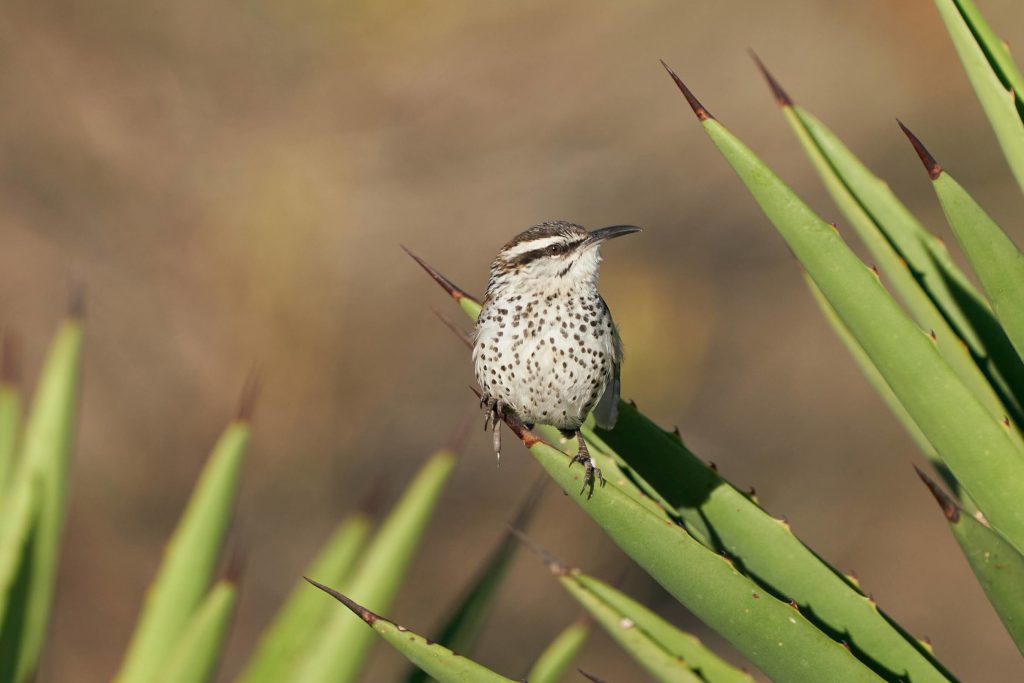
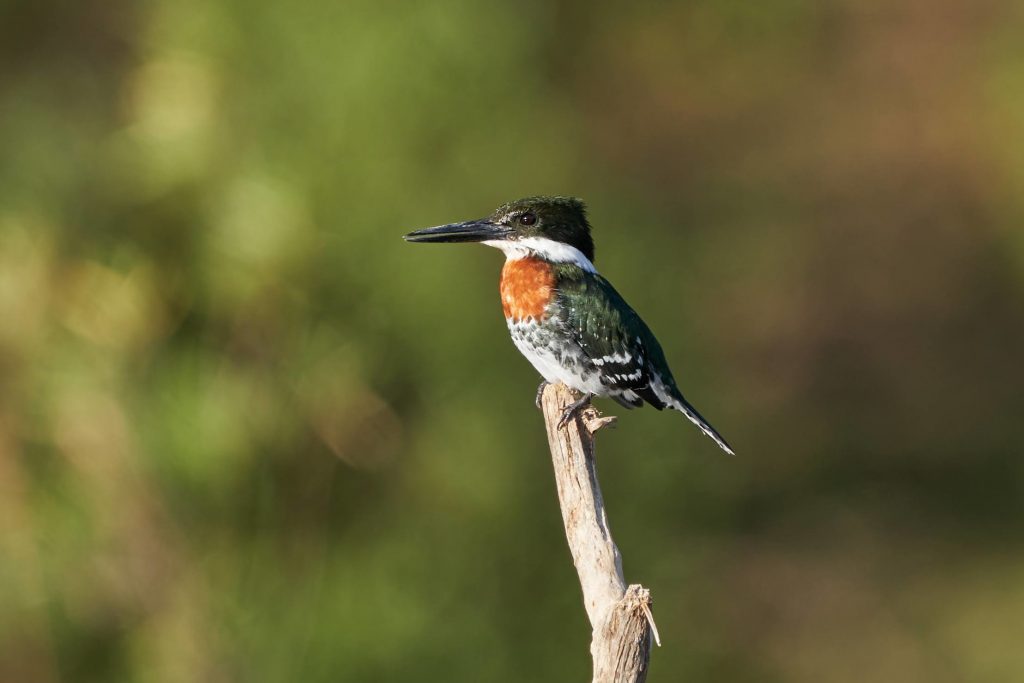
Front Light
Side Light
Back Light
Painting shadows is one of the easiest ways to achieve realism in your artwork. Thus, one of the challenges in painting a backlit subject is that the subject will not have as distinct shadows when the light comes from behind as when it reaches the subject from the side or even front on. In natural lighting, however, the light bounces off of many other objects in the scene, and some of it will reach the side of the subject, casting slight shadows in the usual places, so we can still paint these shadows, but will have to keep them softer in the backlit case.
The glowing edges – where light shines through thin feathers and reflects off of shiny surfaces – can also be a challenge to paint. For this, we can use masking fluid and a dark, contrasting background to give the appearance of glow.
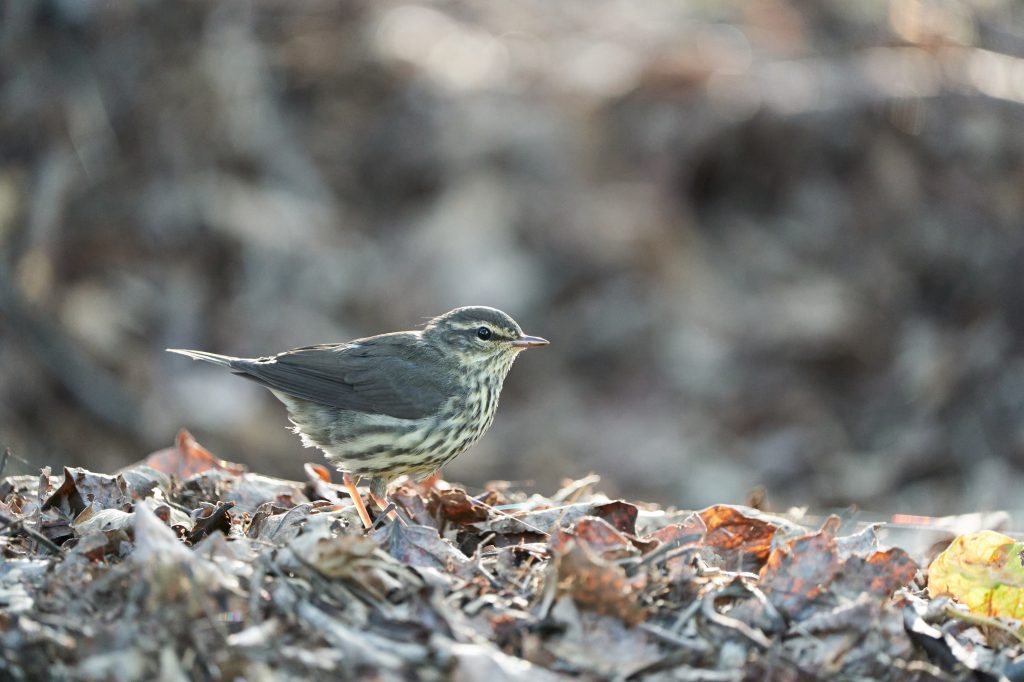
To demonstrate this, I will paint a Northern Waterthrush from the backlit reference photo above. You can follow along with this particular piece if you would like, though it will not be as in-depth as the usual tutorials. Just as a note in case you do: the colors I used for mixing were French Ultramarine, Burnt Umber, Quinacridone Gold, and Pyrrol Scarlett for just the feet and beak.
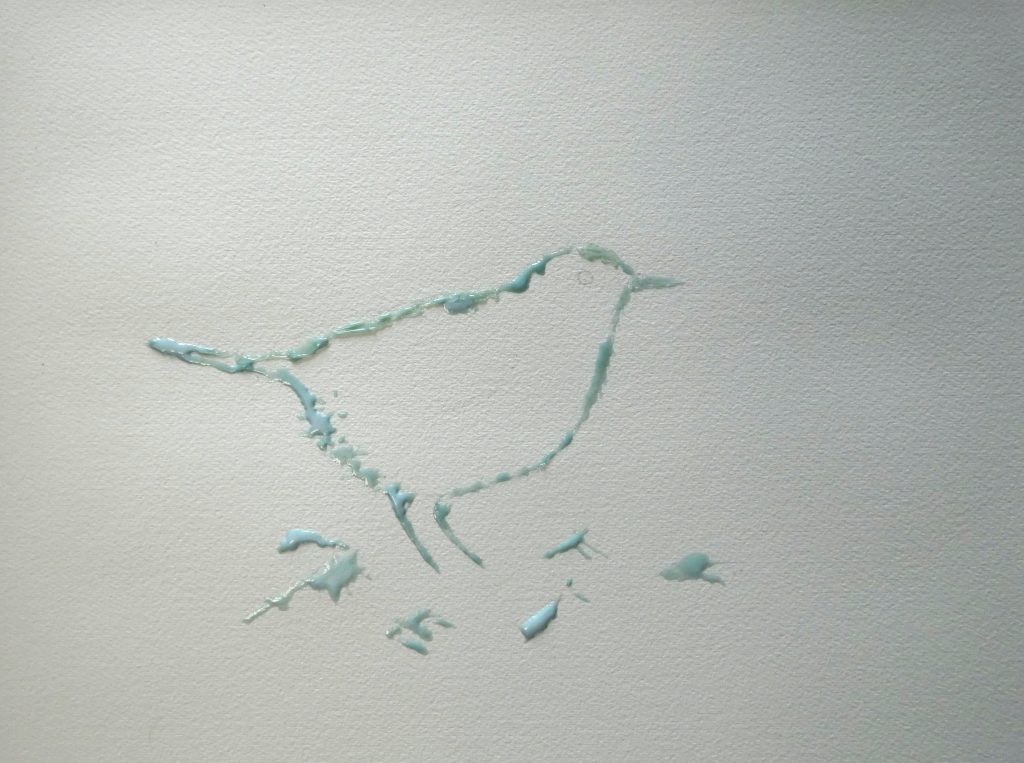
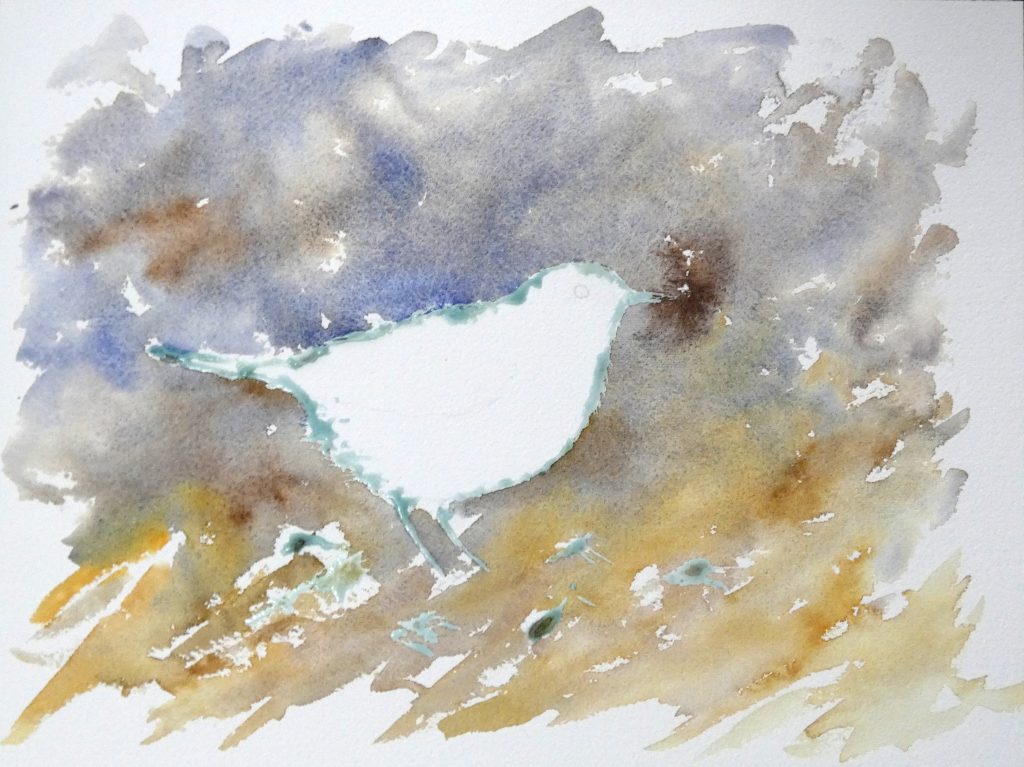
In the picture below, you can see how I applied masking fluid to the edges of the bird just after drawing it, and also masked out various bright edges of the leaves on the ground. I used Pebeo drawing gum, and a dip pen to paint the fluid onto the page. One idea here is to use a toothpick or other thin-tipped object to pull the masking fluid out as little feather edges along the front and underside of the bird.
While it works to add the mask before any paint (which gives a white outline to the subject), I realized afterward that it may have been better to paint a light yellow/orange layer over the entire page first, so that the glow would look a little more natural than the white of the paper.
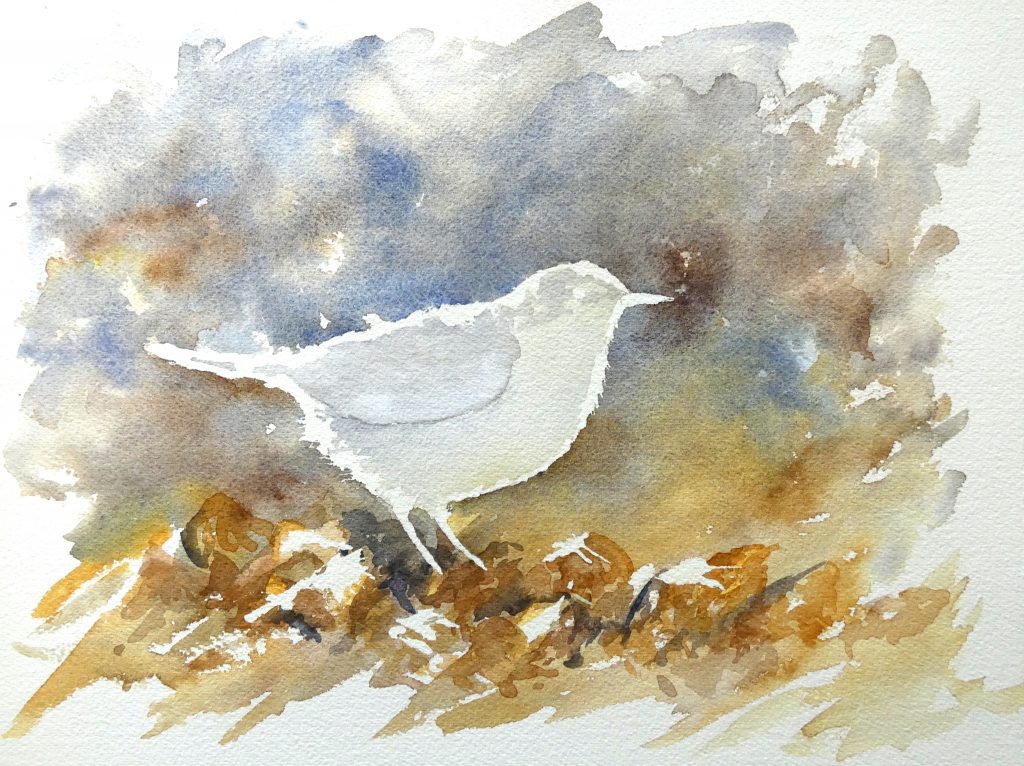
Once the mask is dry, we can paint the background, and bring the paint up against the edges of the subject, knowing that the white of the paper will be preserved wherever we put the mask. In the example painting, I used a spray bottle to wet the background before applying paint.
For the glowing edges to show up well, we need to make the background dark, for the most part, behind and around the subject. To do this, we can simply use a higher concentration of paint.
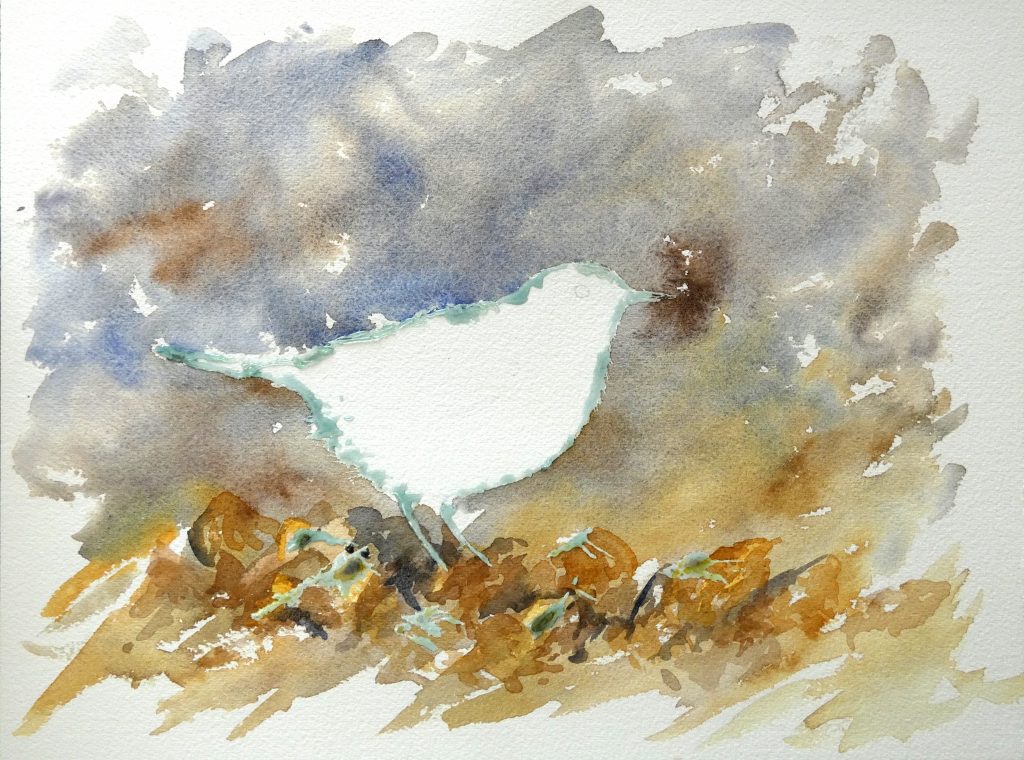
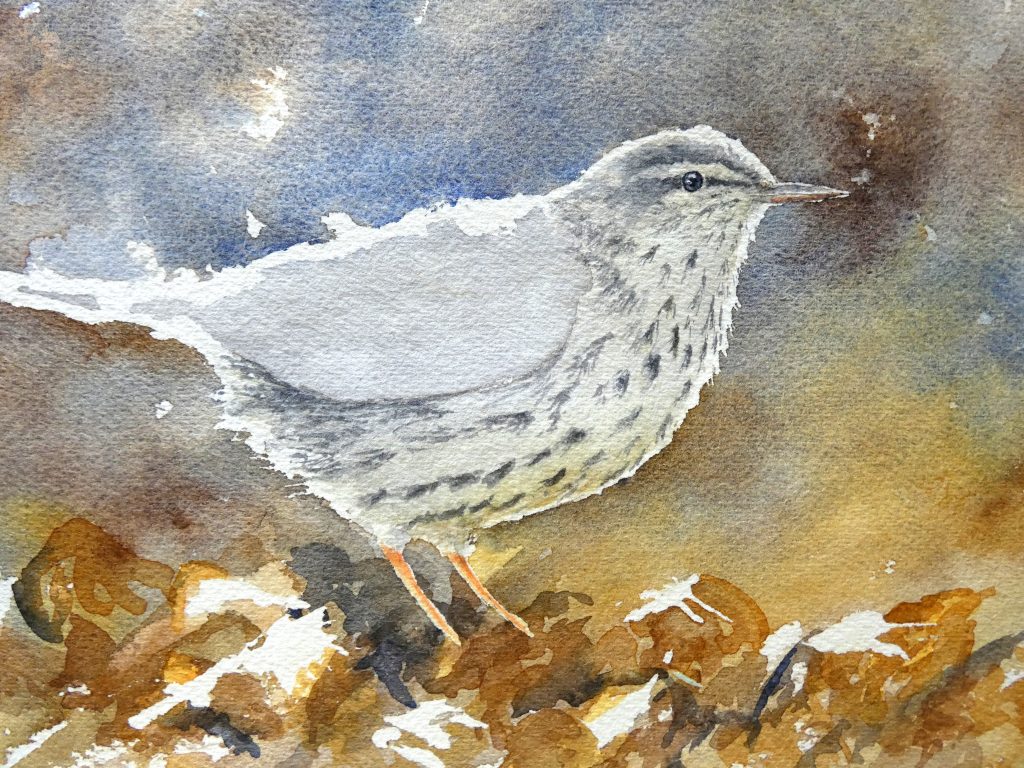
While leaving the masking fluid on, we can finish up the background, and add the first layer or two to the Waterthrush.
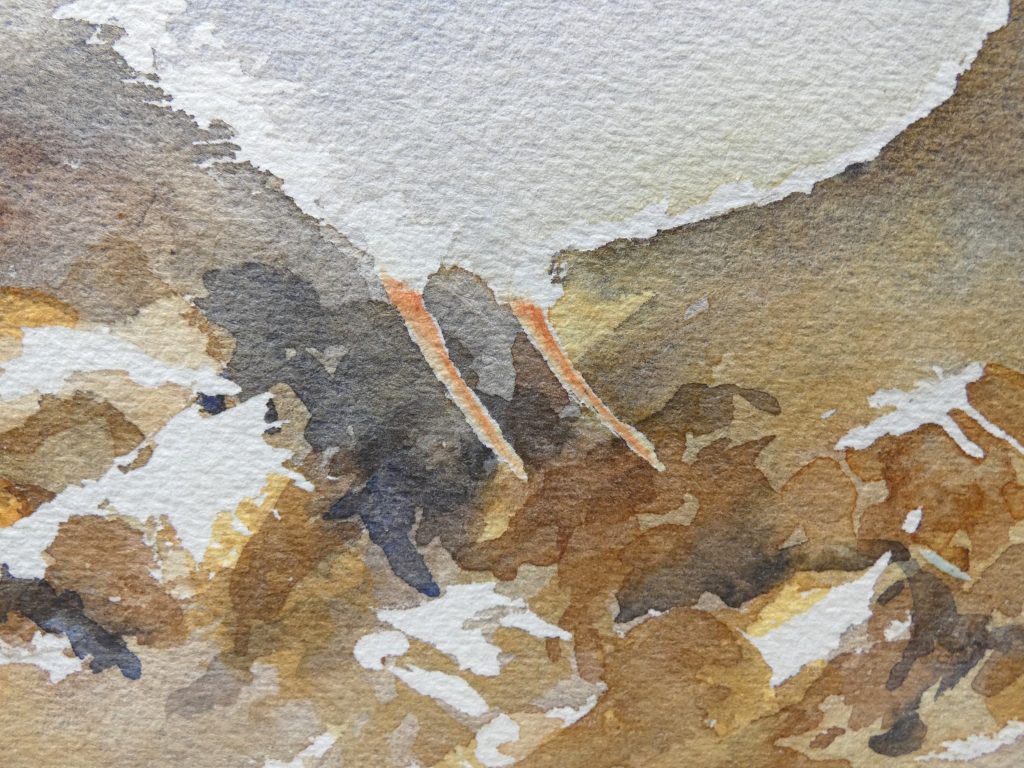
Here I used translucent paint to form leaves below the bird.
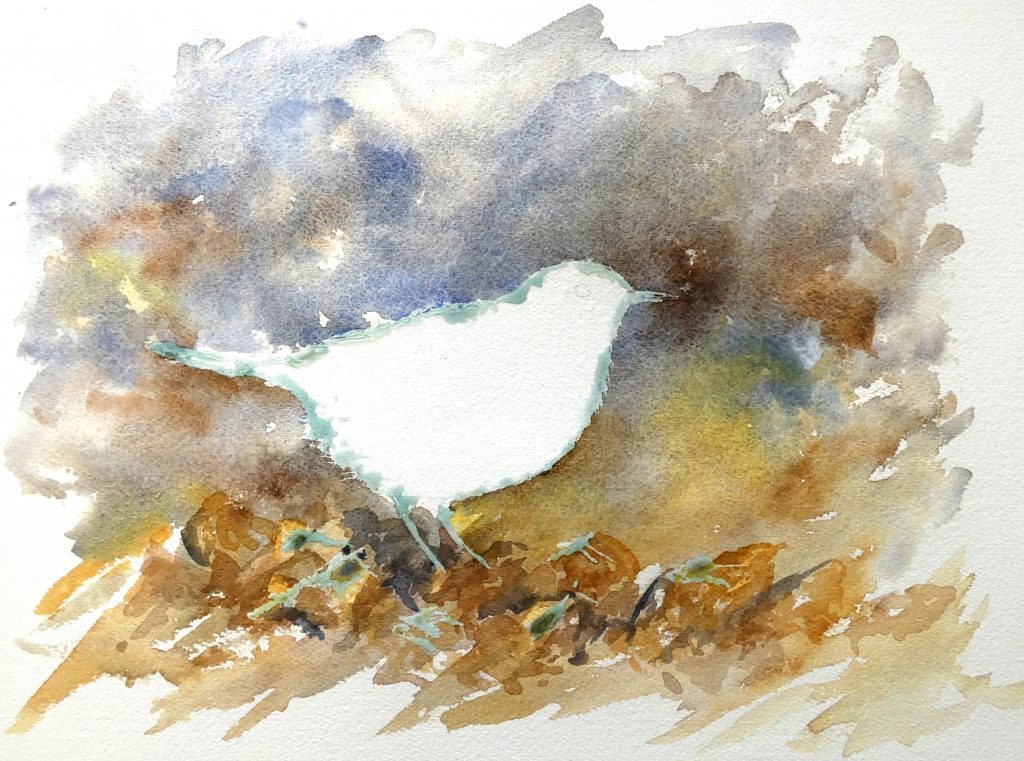
And here I added another layer to the background to bring out various warmer colors in it.
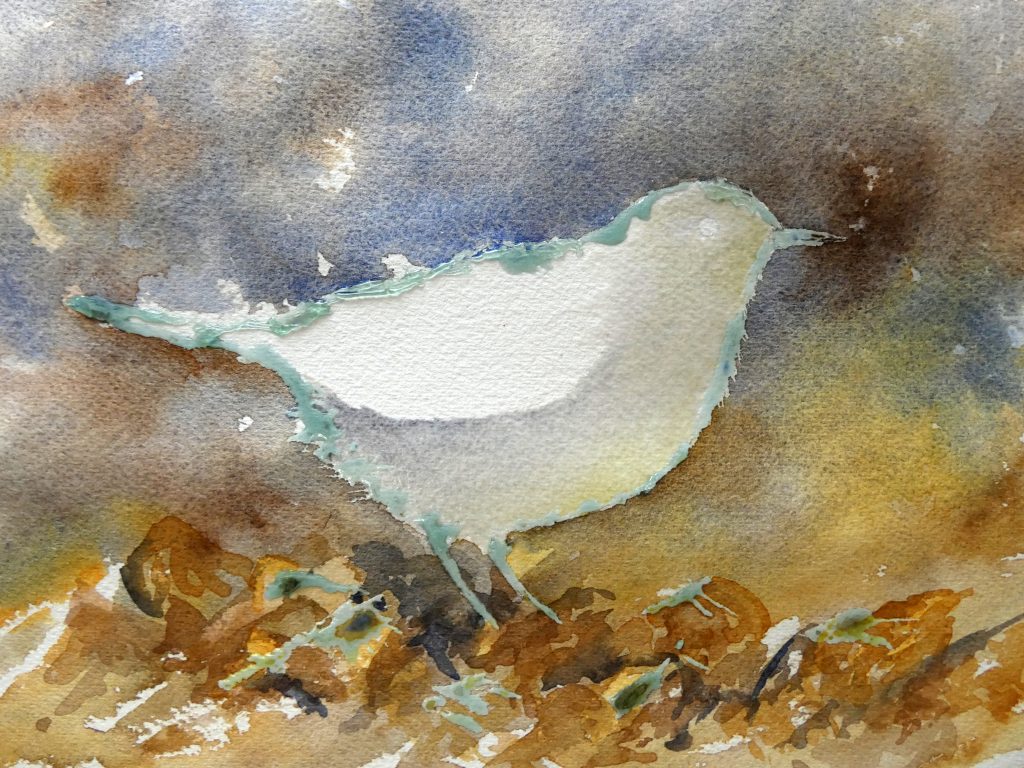
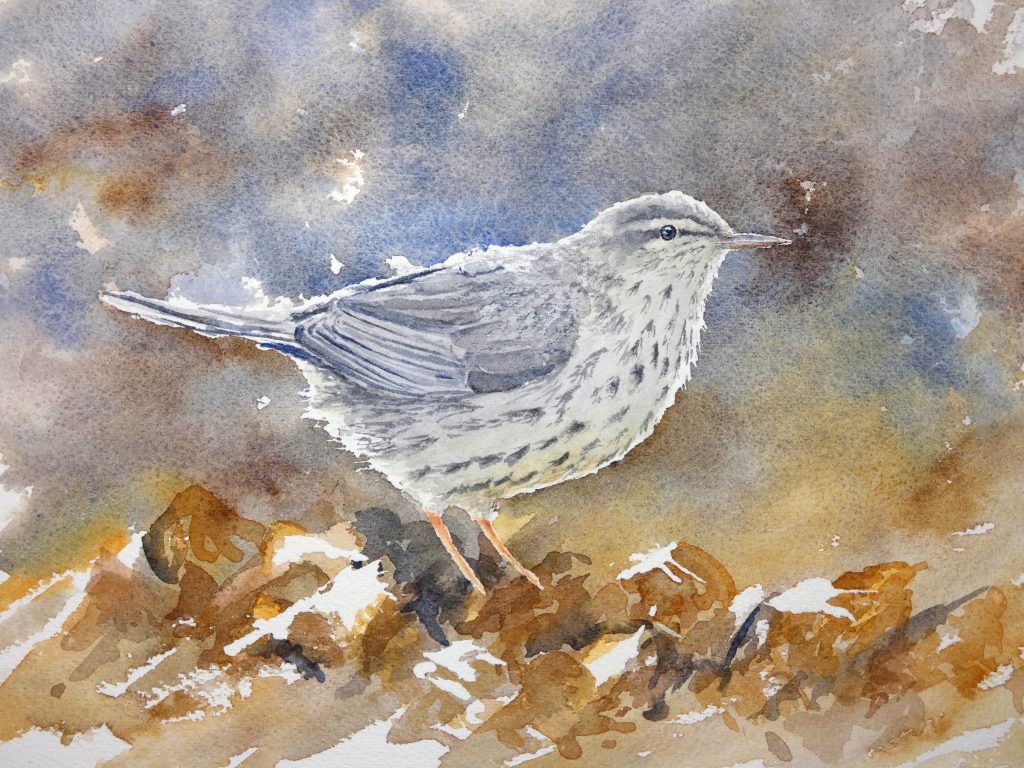
Now we can remove the masking fluid by gently rubbing it off.
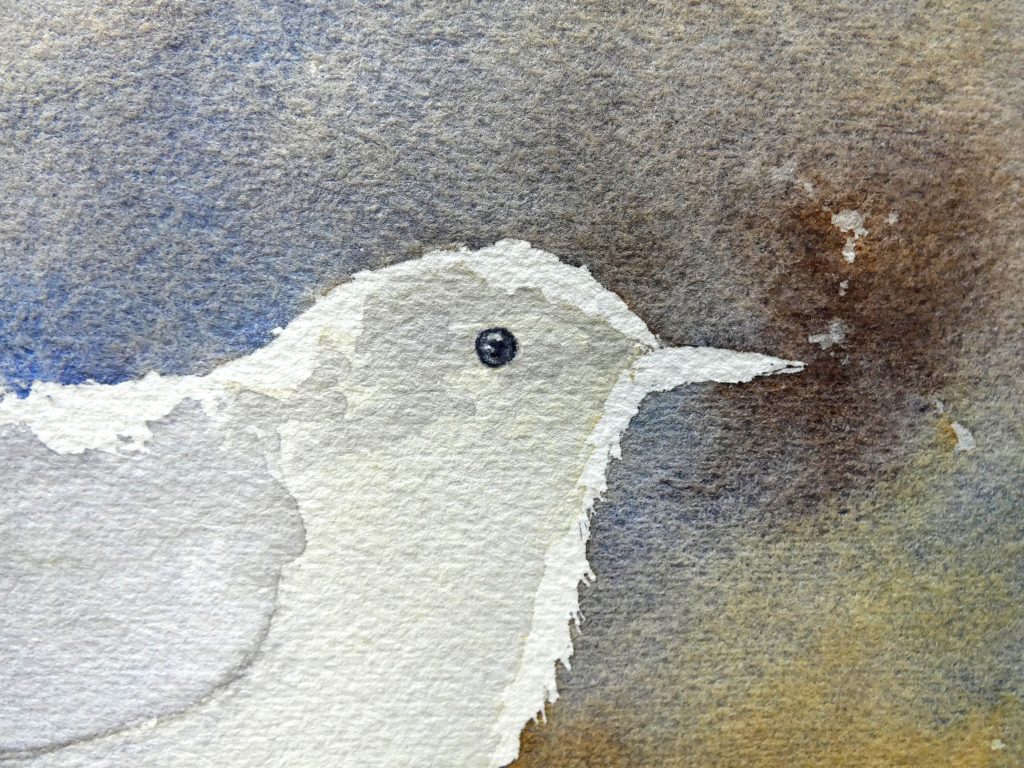
As usual, we will add details to the eye and beak first.
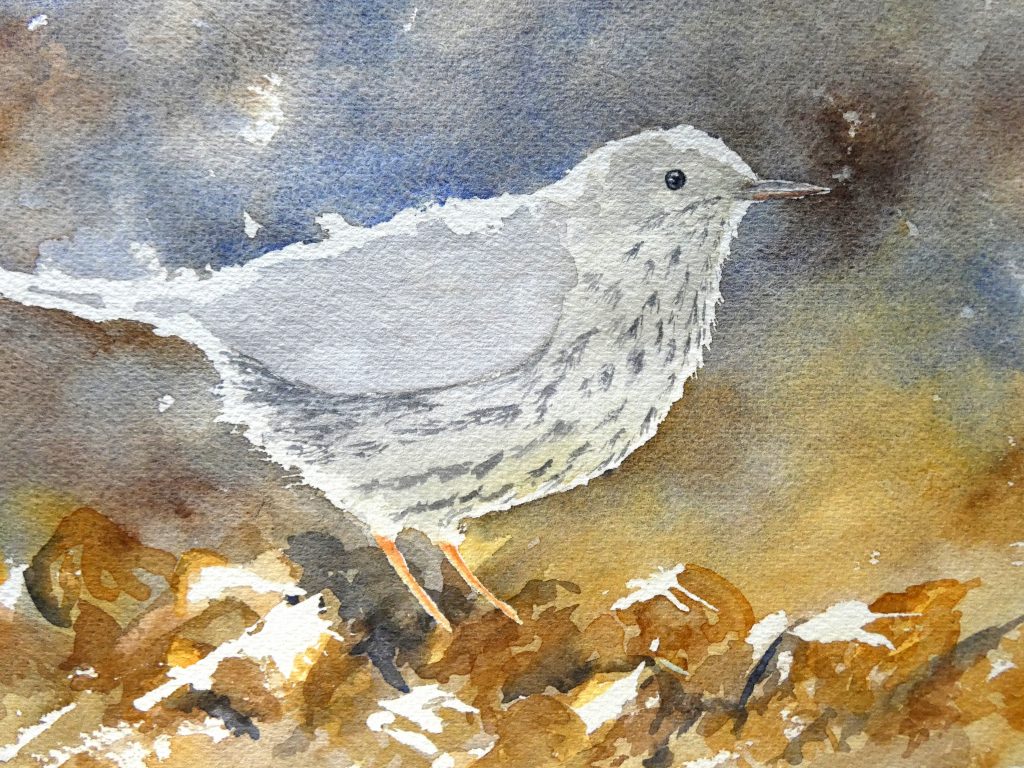
Since the masking fluid is difficult to create thin marks with, much of the white outline is thicker than it should be. To solve this, we can simply feather in the body colors, to thin it to just a glowing edge. In the particular example, for the belly, when we paint the black markings, we can paint them into the white area to connect it with the rest of the belly and make it thinner.
Similarly, for the wing, we can paint the feathers as extending into the white region, to make it more natural.
As mentioned above, we will consider the same shadows as usual – such as the one below the wing, under the beak, etc. – but will keep them soft, by using greys that are not too dark. This way, the painting continues the effect of the photo, where the primary light source comes from behind the subject.
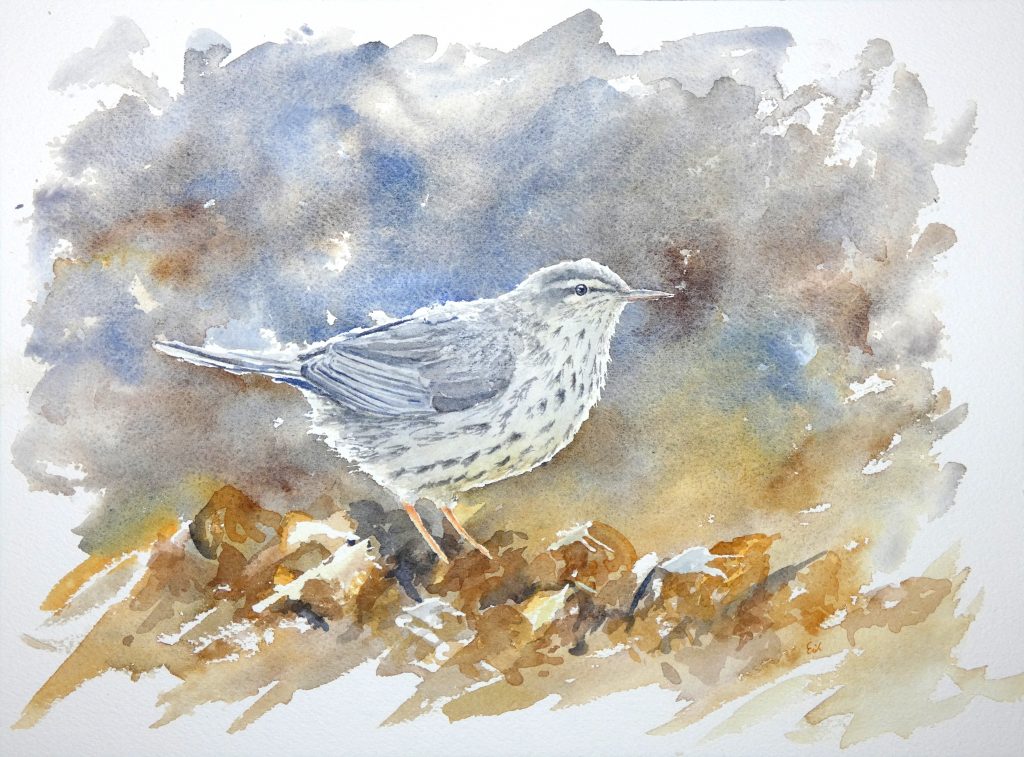
In the example painting, I added a few final adjustments, including some color to the white areas of the ground, and darker shadows at the back of the wings.
With the suggestions from this article, your subject should stand out with glowing (yet natural) edges.
Thanks again
Thx
certainly like your website but you need to take a look at the spelling on quite a few of your posts Many of them are rife with spelling problems and I find it very troublesome to inform the reality nevertheless I will definitely come back again