


In this tutorial, we will be painting a Rufous-capped Warbler, using the reference photo below. We’ll see how the layer emphasis approach is useful for conveying the environment of the bird without posing a distraction for the viewer. Including manzanita leaves and branches around the warbler will be helpful in illustrating its habit of staying hidden among such trees.
While I’ll cover many of the tutorial details specific to this subject, I am assuming you have painted birds with watercolor before (try this first if you haven’t). For another example of a tutorial with the layer emphasis approach, see here.
As usual, for watercolor paintings, we’ll start by choosing a few paint colors that can combine to give us each color we’ll need in the painting. My choice is Quinacridone Gold, French Ultramarine, Pyrrol Scarlet, and Azo Yellow. This combination provides two kinds of green (Ultramarine + either Yellow or Gold), a warm grey (Ultramarine + Scarlet + enough Yellow), and as the colors and their mixtures tend toward the warm side of the color wheel, it should be easy to replicate the colors of the photograph that was taken during warm, early morning sunlight.
Since we’ll be painting the entire page with a watery layer, make sure to tape down the edges, or use a watercolor block, to keep the paper from buckling.
I find it helpful to draw a sketch on a scrap piece of paper first, to get a feel for the shapes of the bird and the composition of the overall painting. Then on the watercolor paper, we can use watercolor pencils, or light graphite pencils, to carefully draw the outline of the warbler.
With a drawing in place, we can begin painting. Since we’ll be adding detail to the background, and will be using the layer emphasis approach, we begin with the painting the background.
The first layer is meant to give subtle, pervasive colors that will eliminate the white of the paper and unify the background components. To do this, we first cover the entire background with water, and drop in and spread paint around in it, keeping it light and with gradual color transitions. I primarily used Quinacridone Gold for this layer, since I wanted the painting to have a warm, golden glow to the background.
Next, we’ll mix leaf greens and bark browns, and when the first layer is dry, we’ll begin the layer emphasis approach to painting the manzanita tree. This means we’ll use a series of layers, each time painting with a higher paint concentration. With each layer, we’ll stick closer to the subject and use more defined paint strokes.
The first of these layers includes even the most distant objects.
And on this layer, leaves and branches can blend into each other.
Once that layer dries, we paint the leaves and branches that are closer to the subject and viewer with slightly darker paint. Because of the translucency of watercolor paint, we can overlap leaves of this layer with the previous one for a nice effect.
When that dries, we repeat with one or two more layers, continuing the pattern, adding darker shadows, and including a variety of leaf colors.
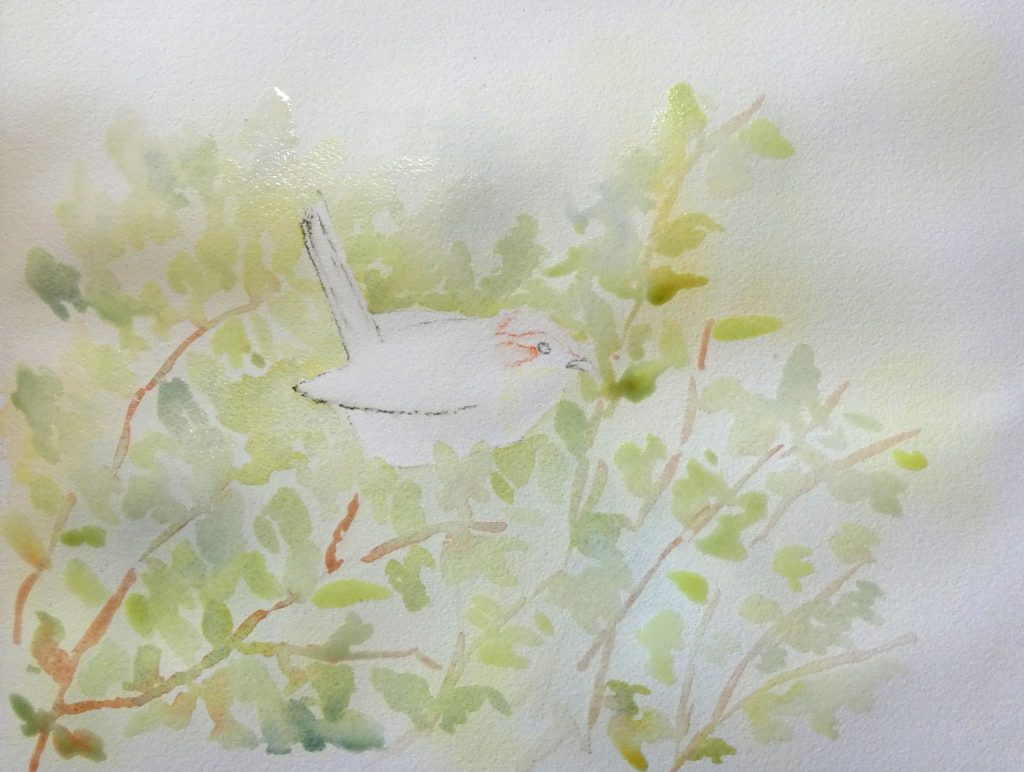
We paint the eyes and beak using shades of cool grey (grey with a little extra blue).
Next, we add a base layer to the rest of the warbler. This is a light layer, and each region should be as bright as the brightest parts of the corresponding area on the bird.
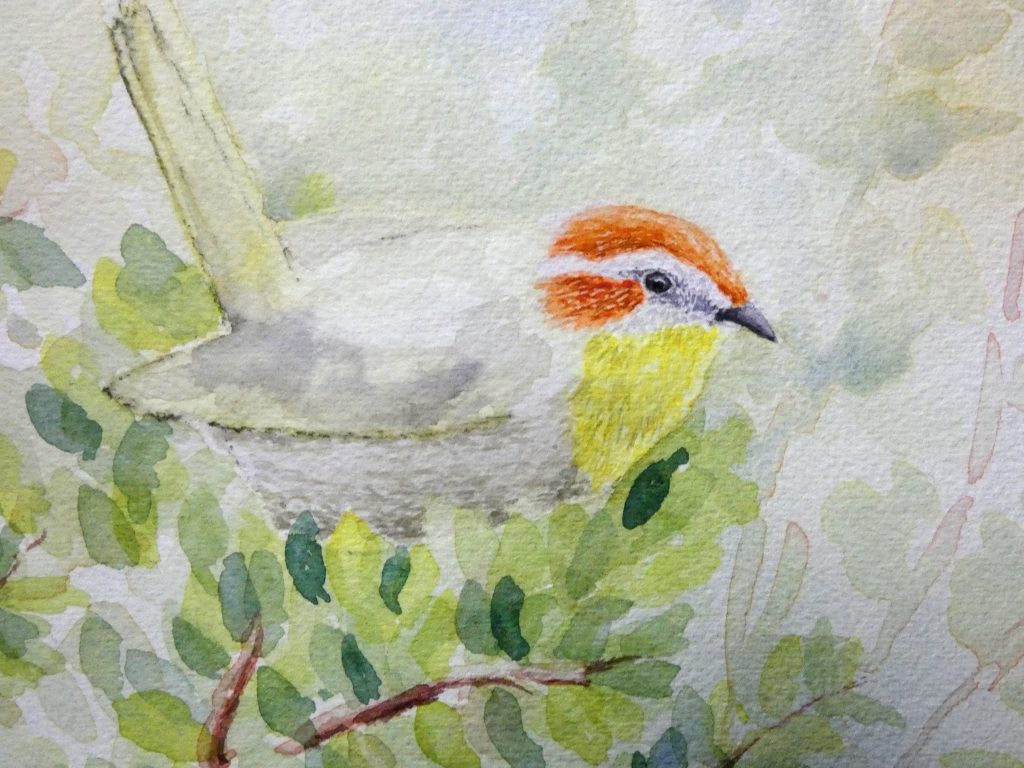
Then, we add details, working from the head outward. We use a thin brush with cool grey on it to paint the little feather indications around the eye.
With many little strokes of orange, scarlet, and brown we convey the rufous feathers of the top and side of the head.
Then, in the large areas remaining, we add another “base” layer above the previous, leaving the highlights untouched. For most of the body, we use warm grey, which has less blue in it, and slightly more yellow.
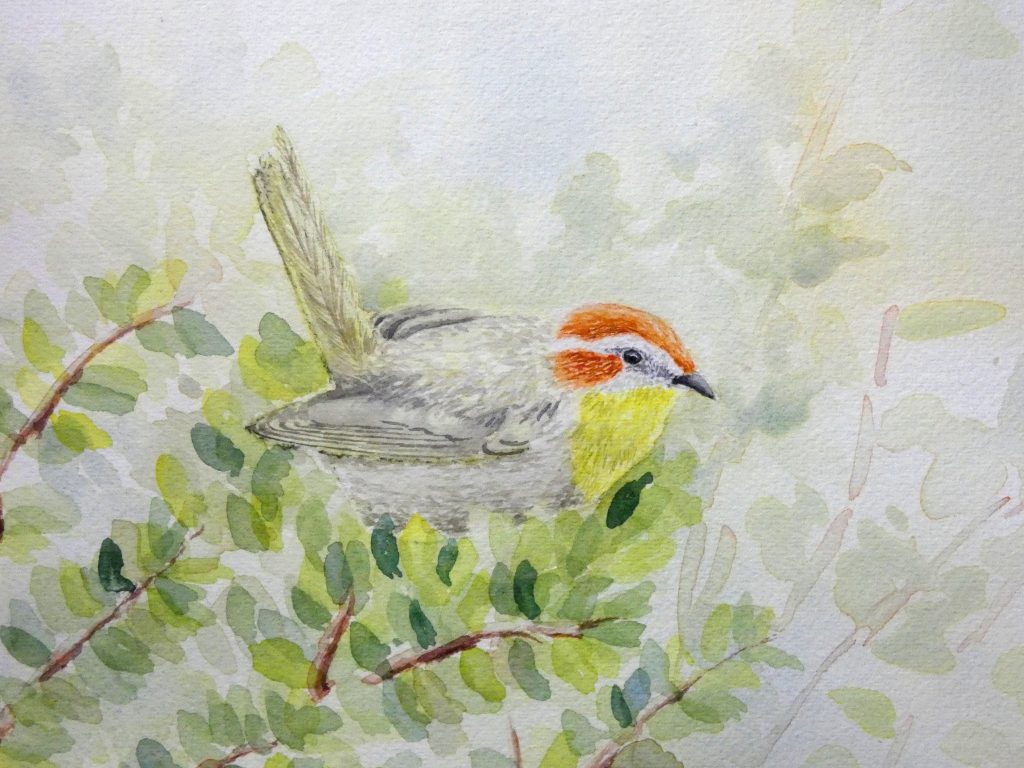
When that dries, we can add feather details on the rest of the body. The little strokes of darker color that we paint with indicate feathers by appearing like little shadows.
Remember to use brush strokes that match the feathers in size and direction. For the flight feathers of the wing, this means long strokes that curve near the tip.
Finally, we darken shadows, and add any necessary details, and the painting is complete.
Fantastic site. Plenty of helpful information here. I am sending it to some buddies ans additionally sharing in delicious. And of course, thanks on your sweat!