In this tutorial, I will show you the steps to take to paint a Blue Grosbeak with watercolors. The procedure will be very similar to that of the Baltimore Oriole painting tutorial, but applied to a different bird and using different colors of course.
Using typical watercolor supplies (I’m using cold press watercolor paper), we will create the painting by first drawing a sketch, then adding an initial light and watery color layer, followed by a series of drier detail layers.
Drawing and Preparing the Paper
The reference photo we will be using is the following, which you are free to download and look at closely while painting.

I find it helpful to draw a sketch of the bird first on a separate piece of paper; I suggest doing this so that you can practice and avoid erasing when drawing on the watercolor paper. The drawing does not need to capture all the details on the wing; in fact, it will be easier to paint some of the feathers if not restricted by a drawing. Here is my drawing (with contrast increased to make it a bit easier to see what I chose to include). Don’t forget to draw softly and erase any excess pencil marks with a kneaded eraser so that they do not show through paint layers.
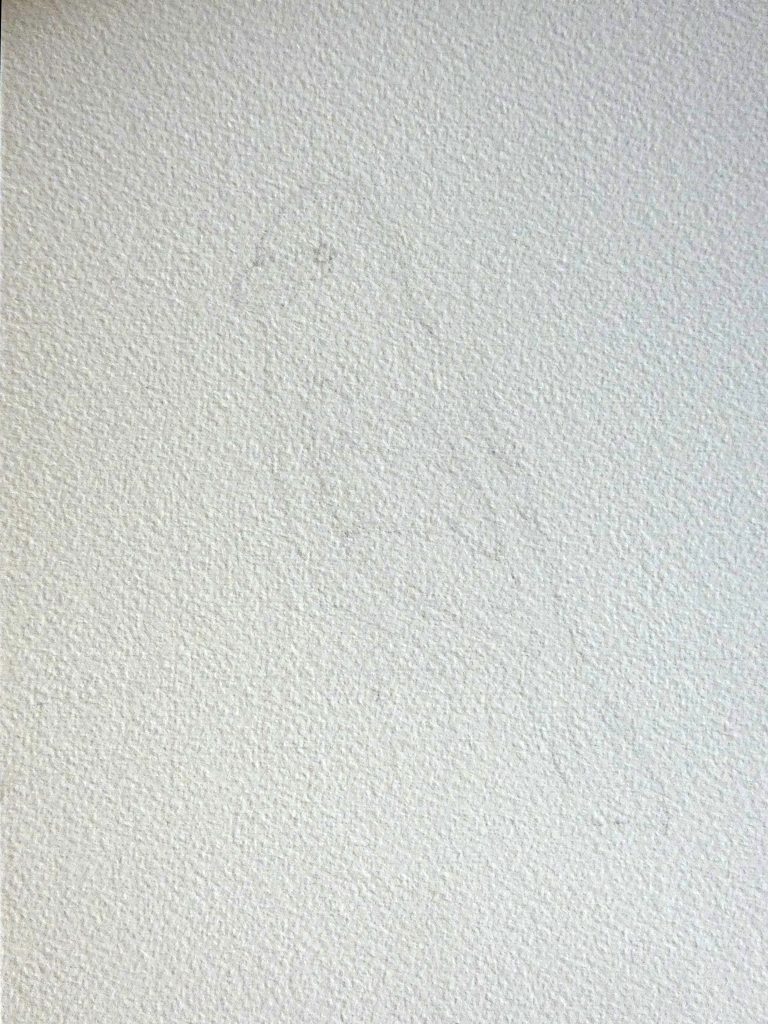
After your drawing is complete, gently wet both sides of the paper and tape it to a secure drawing board or table. This will help to reduce the buckling of the paper while you paint.
First Layer
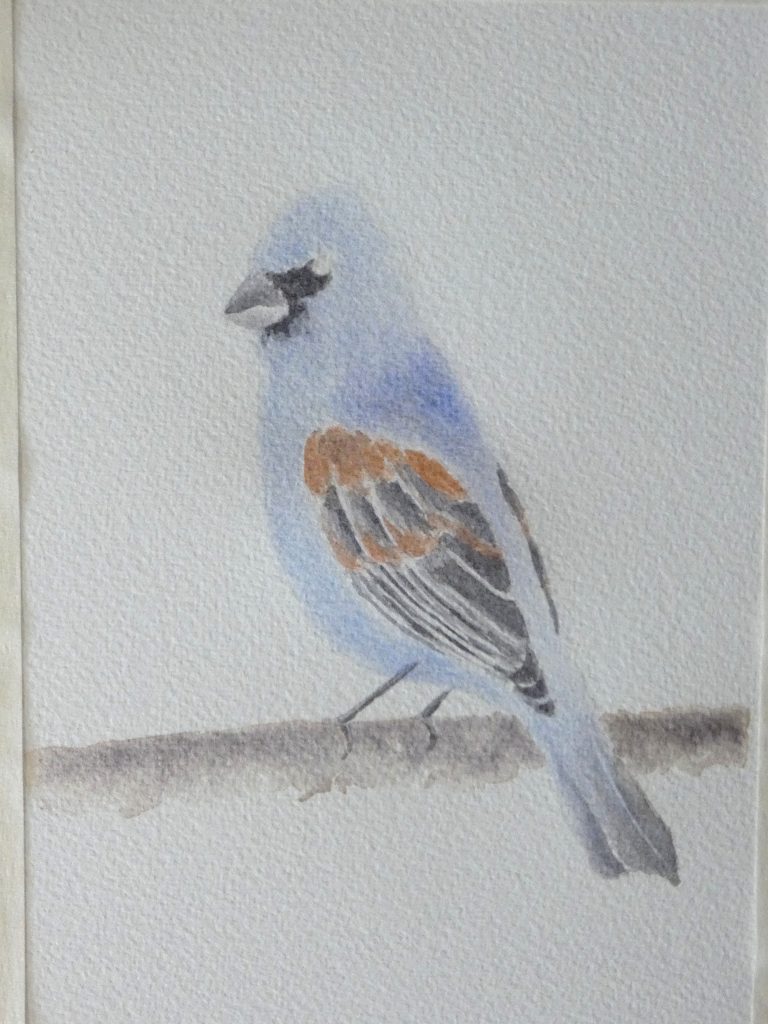
To best control where the paint can spread in this watery layer, we can use a water glaze, simply painting a layer of clean water over the area we plan to paint before adding color. With diluted ultramarine paint, cover most of the Blue Grosbeak (avoiding the wing, eye, and other non-blue sections)
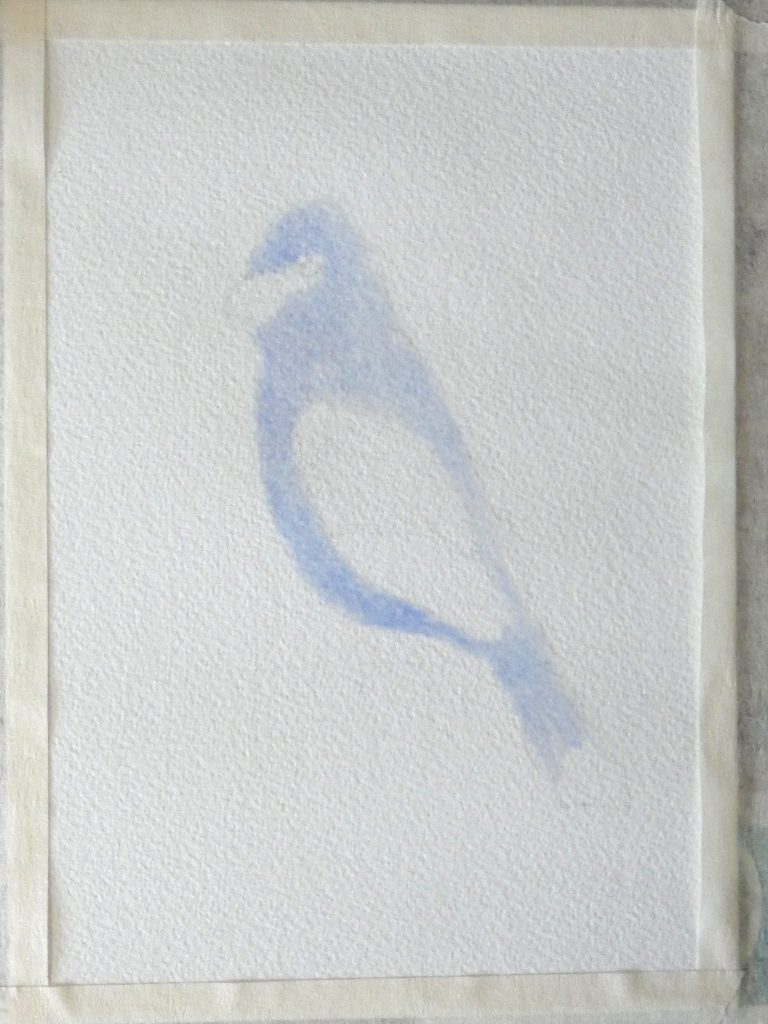
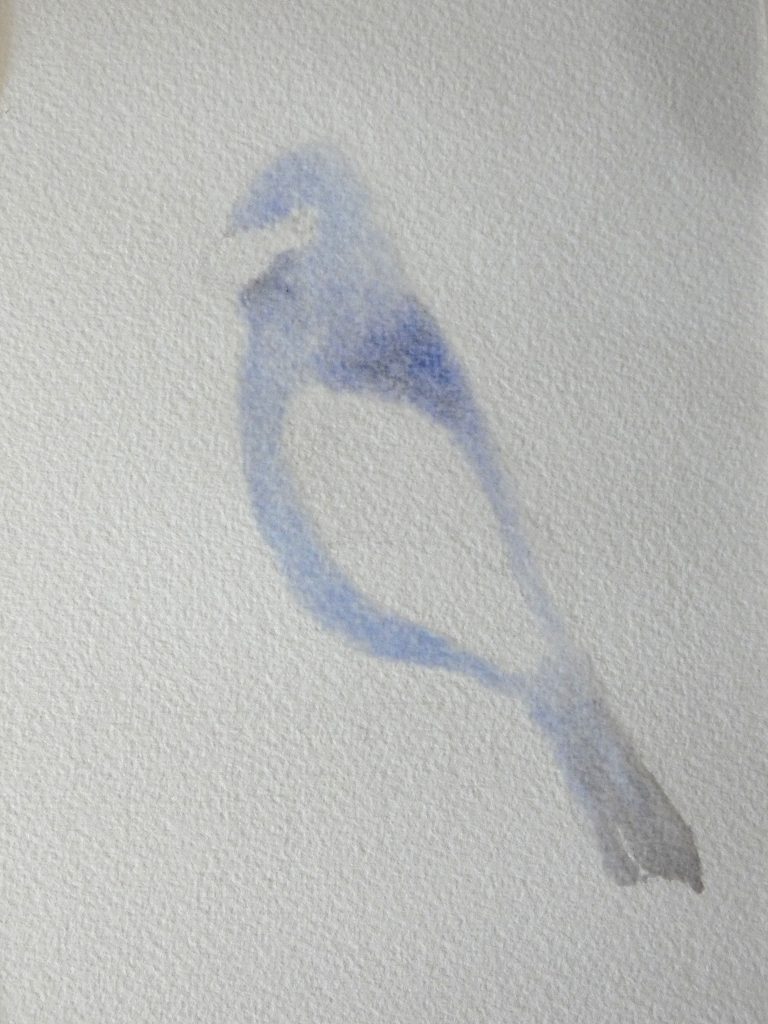
While this is still wet, drop in a touch of purple (ultramarine mixed with pyrrol scarlet) to the darker or shadowed areas, and some grey (ultramarine mixed with burnt sienna) to the tail and under the beak.
Then use a clean, damp brush to spread and control those darker additions.
Detail Layers
Light Greys
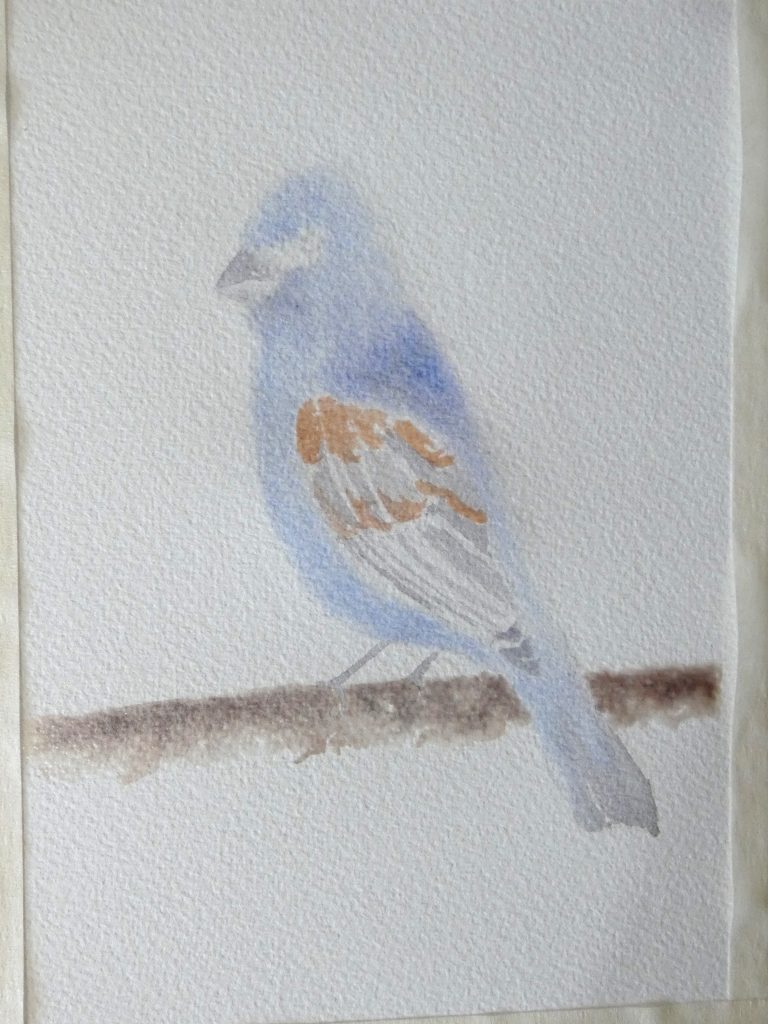
Once the paint is dry, we can begin working on the feet, wing, beak, and other smaller details.
To paint the feet, paint a first layer simply with light grey. Rather than adding shadow to them now – which would be challenging due to their small size – we will do so with secondary layers later.
Continuing with light grey, paint feathers on the wing, leaving white space to separate one feather from the next.
Similarly paint a light, first layer on the beak, making the top section darker than the bottom (with slightly more concentrated paint).

Browns
Next, we will use burnt sienna, which will stand out on this otherwise cool color temperature painting.
With a plain, light mixture of burnt sienna, paint onto the wings on the feathers that have this color.
To paint the branch, I used a brown formed from burnt sienna with a little ultramarine added. I first added a water glaze, then dropped in paint along the top of the branch. The effect is quite unique to watercolor, and you can try it too, or paint the branch in another way if you prefer.
Dark Greys
Using the same paints as for the light grey (but with a higher paint to water ratio), we will begin to make the painting more realistic by adding shadows and using a full range of values. We will use the shadow and soften method, adding the dark grey along a shadow line and then gently spreading the paint outward to form a gradient.
Starting with the beak, paint the bottom edge of both beak sections; then spread the paint upward to create a soft shadow. Repeat until the beak is dark enough and has sufficient shading.
Next, use the same procedure on the wing, by adding a stripe of dark grey paint just next to where one feather overlaps another (this forms a strong contrast with the white space on the outer edge of the feather), and follow this by spreading the paint outward across the feather. Once again, repeat this, creating as many layers as necessary to give the feathers depth and a feathery contrast.
Just as with the wing feathers, paint the tail feathers (on the top feather, leave the rachis light grey, keeping the darker layers on either side of it to give the illusion that it is raised above the feather).
Similarly, with the feet, paint the shadowed edge and soften this paint stroke.
Final Blue Layers and Finishing
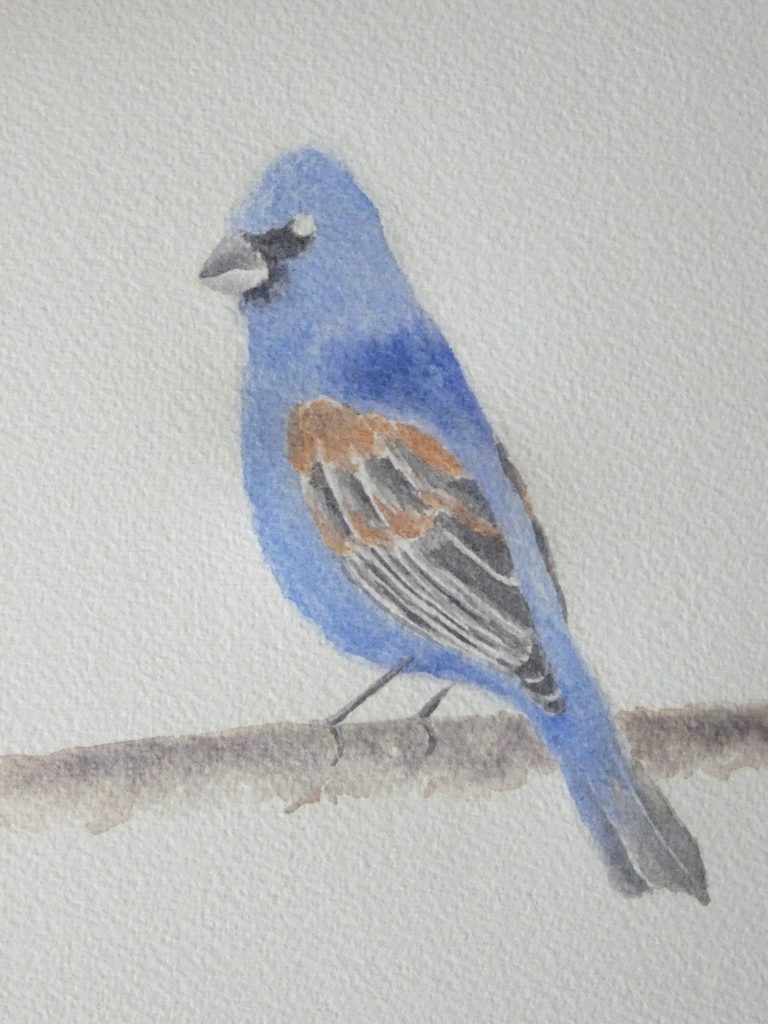
We will add a few more layers of ultramarine to the blue areas of the Grosbeak to make the color more vibrant and deeper.
Simply paint another layer of blue, but avoid the areas that are highlights and should be left with the previous light shade. On the head, notice that you can paint dark streaks and leave light streaks to give the impression of feathers. Use a clean, damp brush to soften the transition between a layer and the previous (to avoid hard shadow edges).
Repeat this as many times as necessary, each time covering a smaller section (as new layers will darken the color of the area, and this will create shadow regions).
The Eye
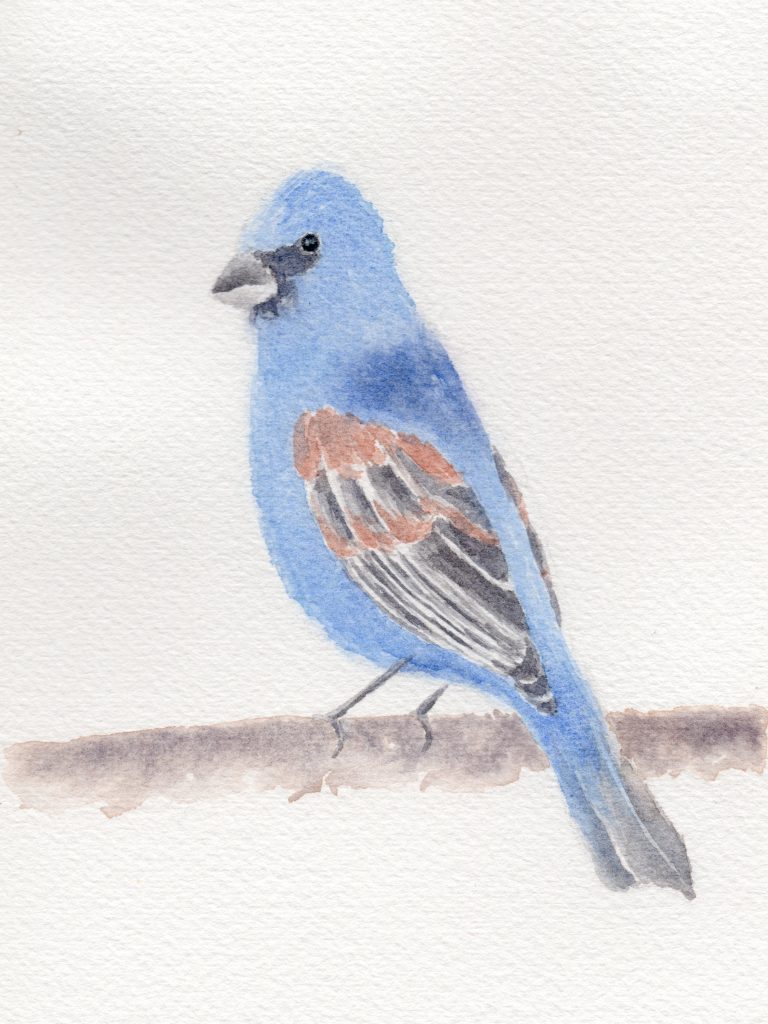
While it can be a good idea to paint the eye first, as it is very important, I tend to do it last, using colored pencils to better capture the small details.
You can paint this with watercolors, do it with colored pencils instead, or do a combination (as I did, first painting a layer of light grey, then using darker colored pencil greys to add the detail).
The Background
The background, too, is optional. I left mine white, but feel free to give yours color if you want. One idea is to use the same technique as in this painting, but with greens instead of blue.
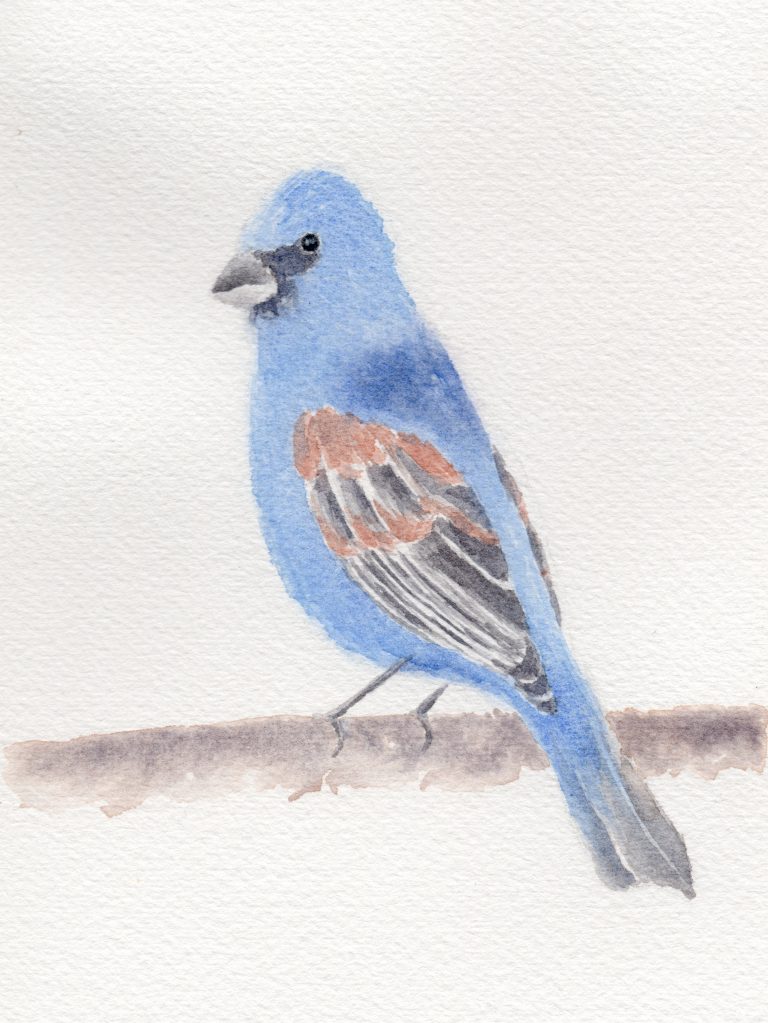
This finishes the watercolor painting of a Blue Grosbeak.

2 comments