

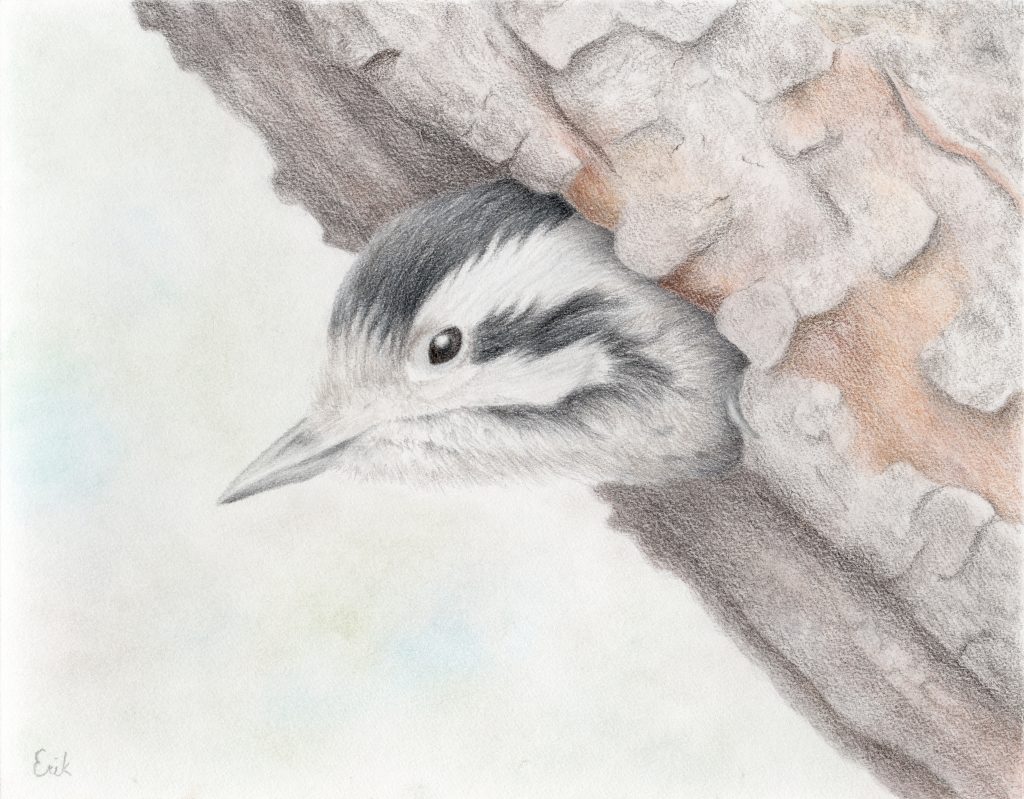
In this tutorial, I’ll explain how to draw realistic bark and apply the same principles to drawing branches or other textured surfaces. Since birds are often perched on bark or other textured surfaces, this will help you better create bird drawings.
The main idea is to simplify the object by breaking it up into shapes that are easier to draw and shade.
I will draw from the following picture, but note that these methods apply to any bark, it just means using slightly different shapes or sizes and possibly different colors.
Divide in to Smaller Shapes
First, to simplify the bark, you will have to divide it into its sections – the chunks, scales, ridges, or other formations. Usually, you can see where these are by their shadows (the darkest shadows correspond with the deepest crevices, while shallower ones have more subtle shadow).
Pick a section and draw its outline with a medium grey. If it does not have a complete outline, just draw the part of the ridge that you observe. Keep doing this for all the major ridges and lines of texture that you want to include. I usually start with the most prominent ones and move on to the smaller, less obvious details.
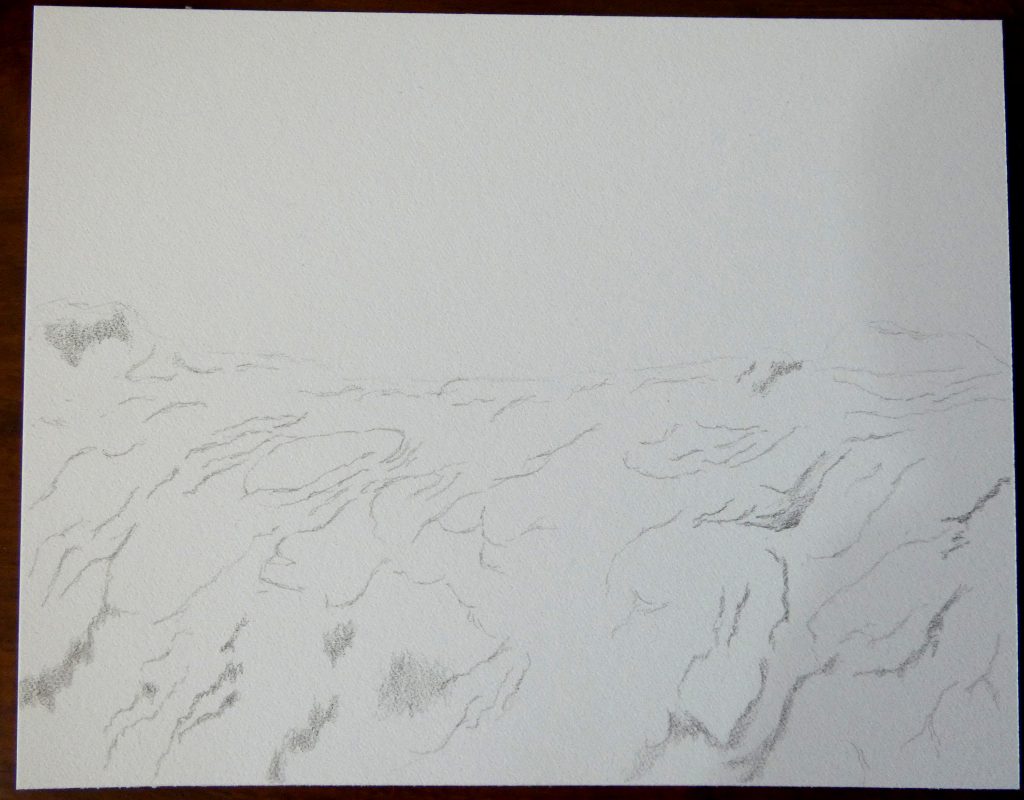
You do not need to keep all the detail, and you can add more if you want; just try to keep the same general sizes and curves as you observe in the bark from the type of tree you are drawing.
Add Definition with Shading
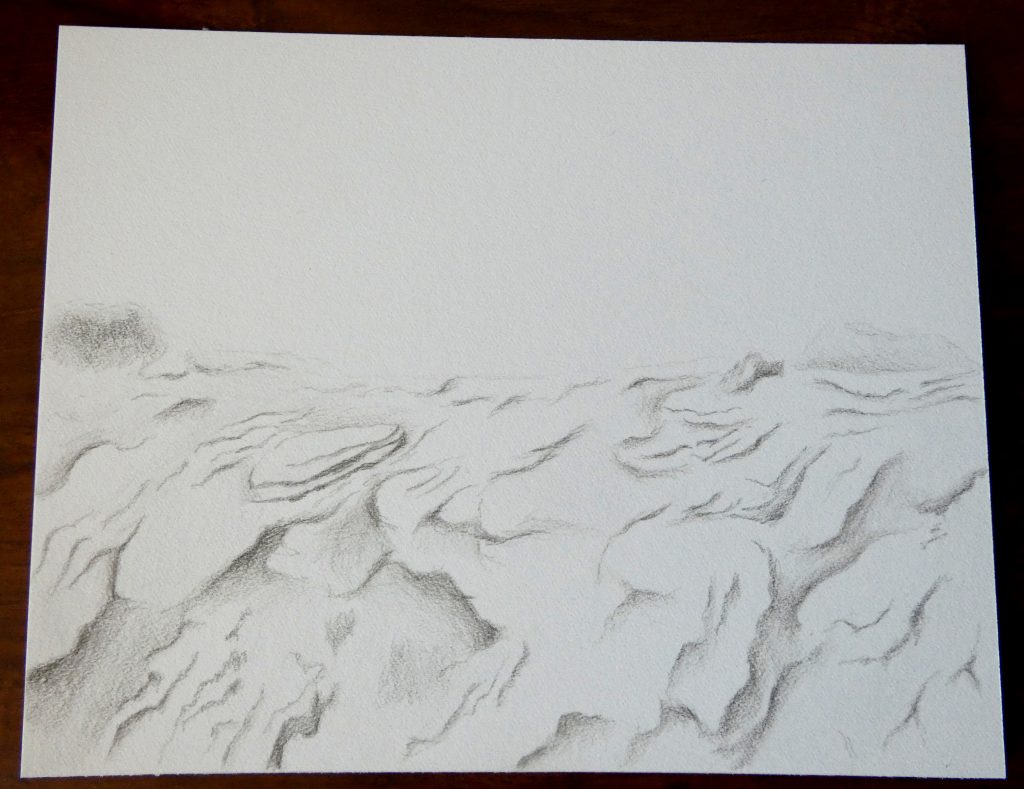
Next, with various shades of grey, start shading on the shadow side of each line that you previously made. This is usually the lower side of a certain ridge, and the deeper the crevice, the darker your shading should be.
Notice how, as in the picture below, this process starts to give the bark its form and texture. The shadows give the illusion of parts of the bark being raised above other areas.
Sometimes you may need to make a shadow more or less pronounced than it is in your reference image, depending on the lighting.
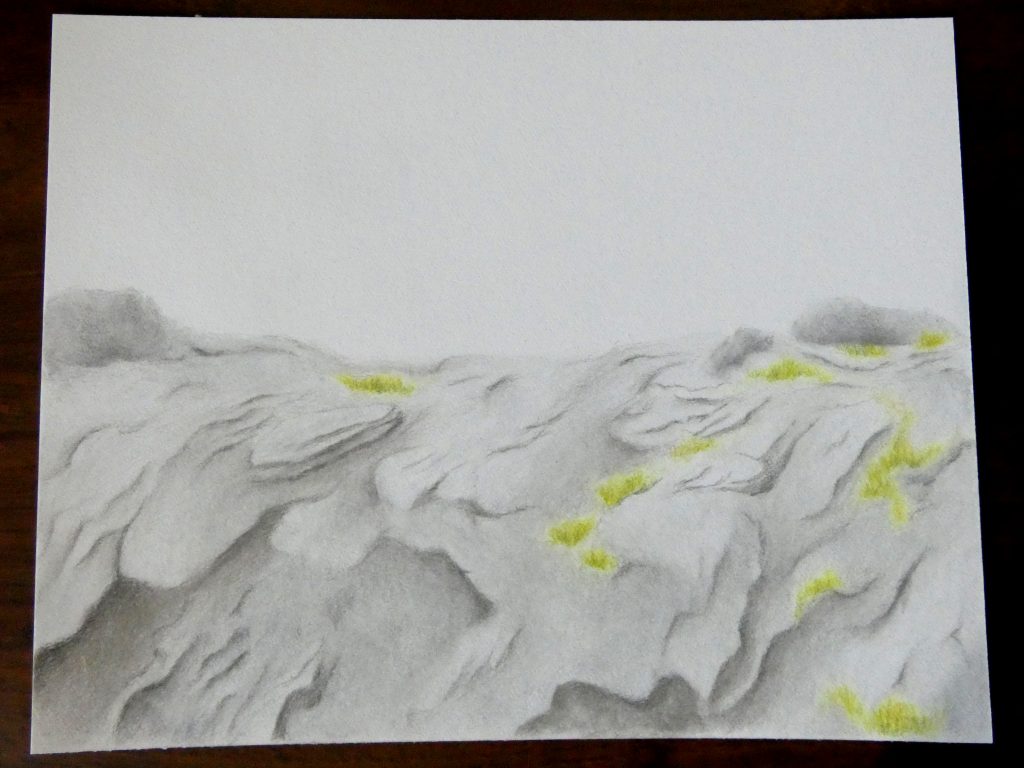
Layer with Colors
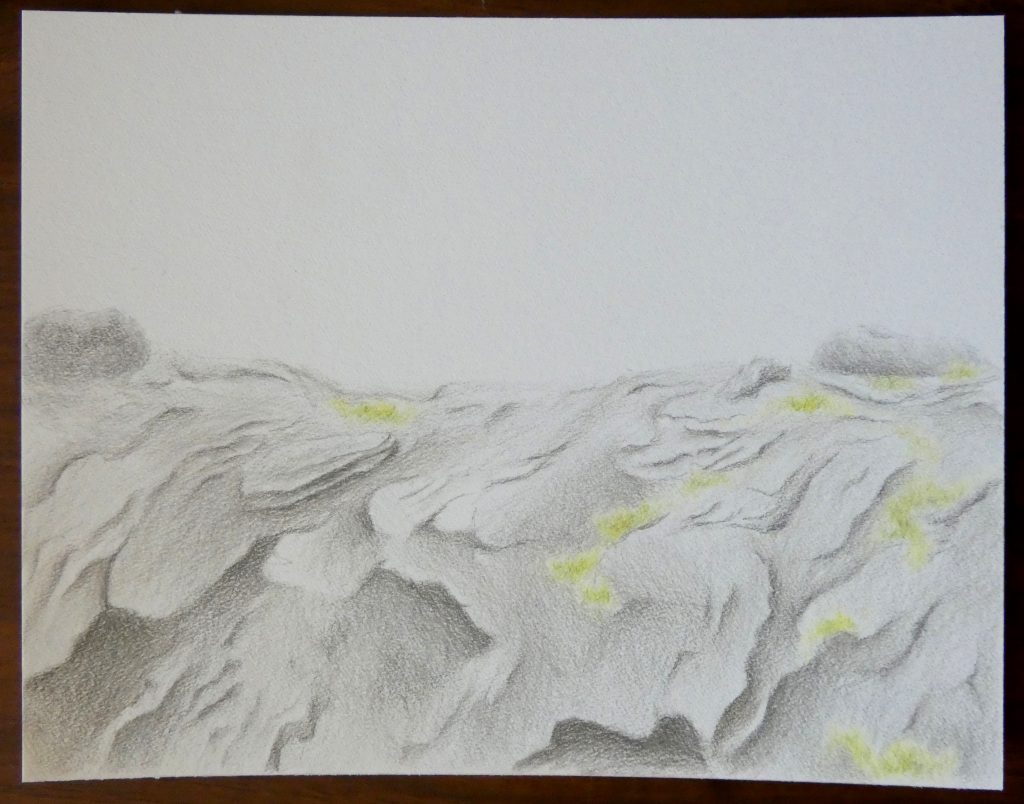
Now is the time to add color to your drawing. The reference I am using is mostly grey, so I stuck to warm and cool greys, but often, bark is brown and will require various layers of browns to capture the color.
I find it best to layer in order from lightest to darkest in this stage: start with the highlights, and work darker to the shadows.
This is also the time to add moss, fungus, or another feature.
Blend or Burnish
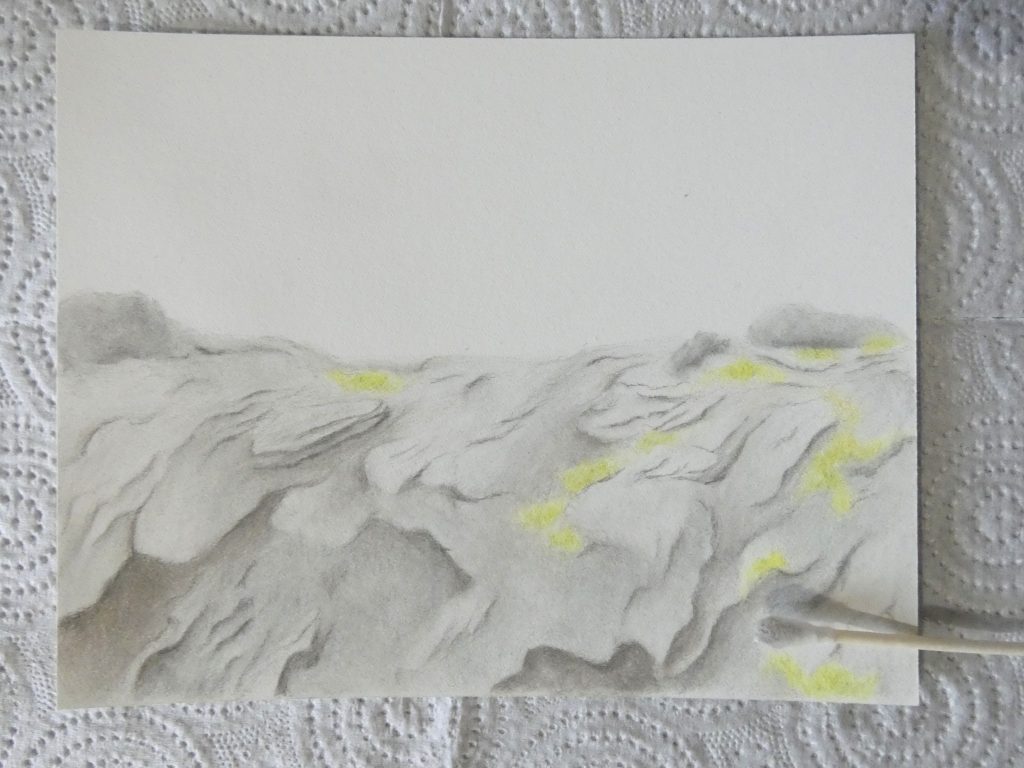
Depending on the type of paper that you are using, the colored pencil may appear rough, with white specks throughout (smoother paper has less of this effect). One option to fix this is to burnish, which smoothens the layers and removes the white (this can be good if you want smooth bark and do not mind spending extra time coloring). Otherwise, my preferred option is to blend with odorless mineral spirits.
To do this, apply the solvent with a Q-tip or paint brush and gently “scrub” the colored pencil into a smooth finish. If you do this, you may need to add another layer of colored pencil afterward to deepen the shadows or add additional texture.
Finishing up
Often, bark is not quite as smooth as the blending makes it appear. You can lightly layer over with more color and if your paper still has tooth, it will show up as a rough texture. If there are other visible texture patterns, you can add them now.
This is also the time to enhance the shadows, add detail to the moss, or slightly alter the colors. If you are drawing bark for the same reason that I usually do – because a bird is sitting on it – then the bark is not the focal point of the image and does not need to be perfect; it just needs to give a hint of the texture and type of tree in the drawing.
In the following drawing, I used a rough colored pencil layer after blending to give the bark a coarse texture.
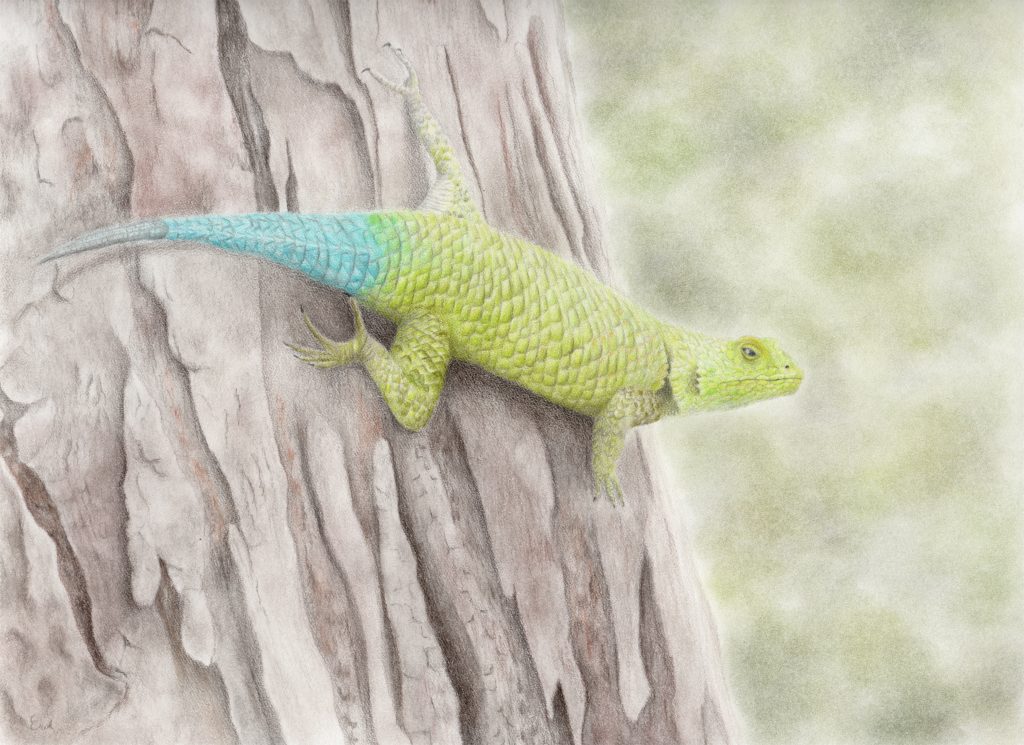
Another Bark Example
I used this same process in drawing the bark for this lizard artwork. Here you can see a different texture and color, but done by the same technique.
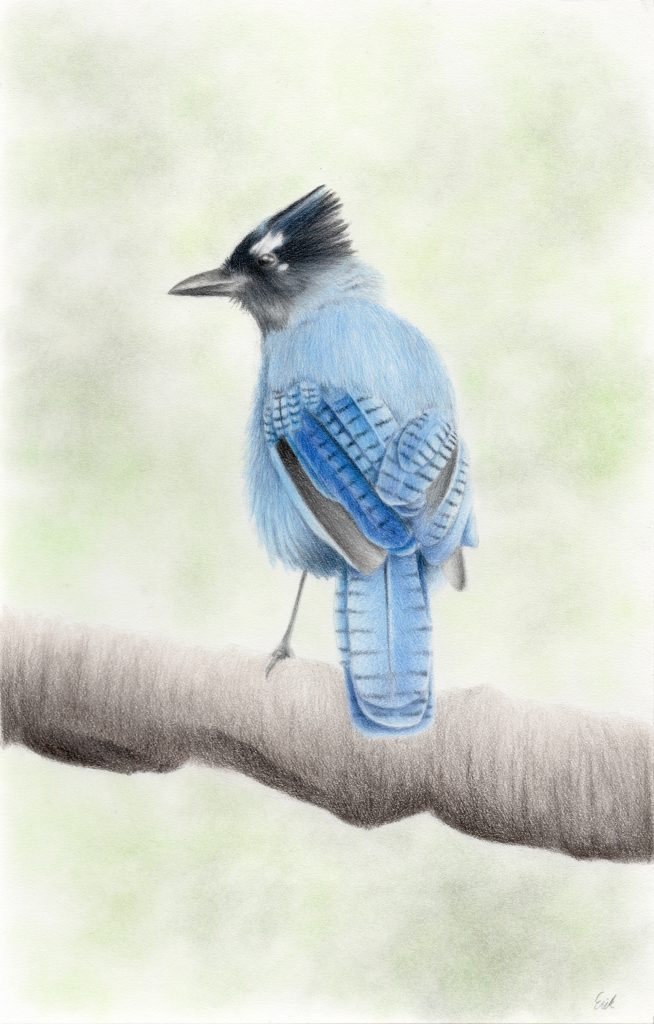
Extending these Ideas to Branches
Drawing branches is usually similar, but even easier than drawing bark. You will simply need to observe the forms of texture, and mark where they are. Then add shadows. Then color. Then blend. Finally add a finishing layer.
Drawing any Texture
The idea to break up bark into smaller sections that have their own shadows and form is useful for drawing any texture. In fact, this thought process is helpful for drawing anything that at first appears complex. It is just a matter of simplifying the subject and using shading to give form to each part of it.