This is the second article in The Colored Pencil Bird series. As an example, I will show the step-by-step drawing of a Blue-Grey Gnatcatcher, but the tips and techniques included in these articles can be applied to any bird drawing. After the beak, check out how to draw the head & body, wings & tail, and feet.
Drawing the Outline
Look at the picture closely. Different types of birds have different beak shapes. This Gnatcatcher’s beak is slender with a curved, pointed tip. It also extends within the head more than some beaks. Use this information to draw the outline of the beak with a graphite pencil.

Mapping Values
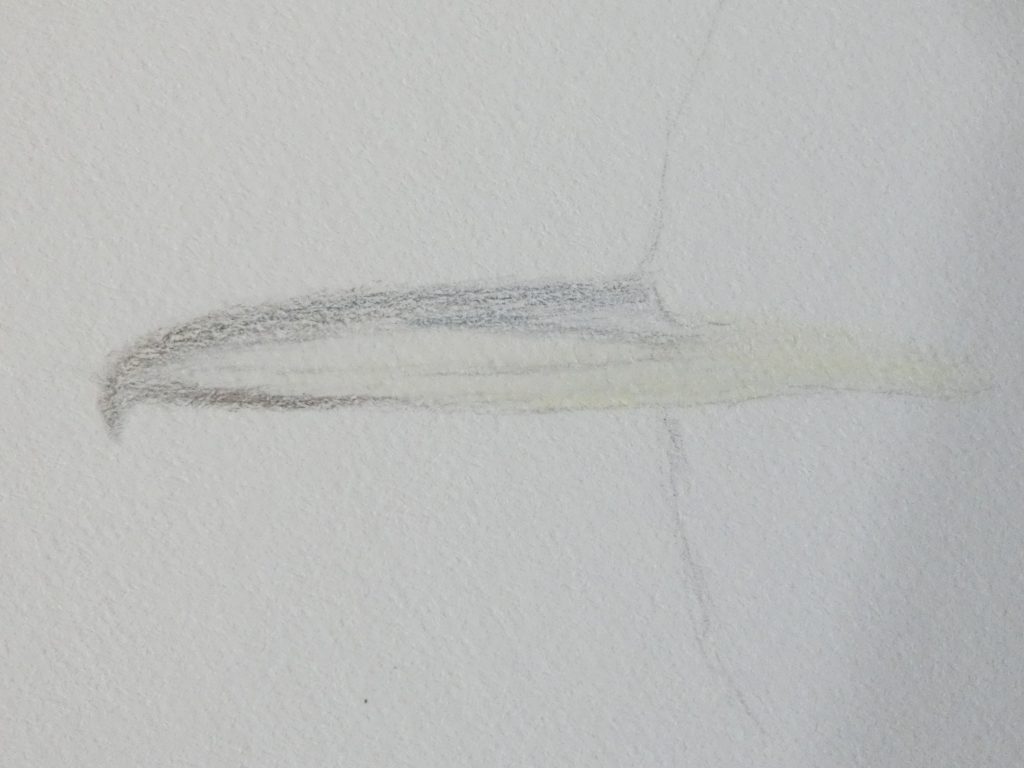
Beaks usually have both bright highlights and dark shadows. Start by adding white to the highlight regions, light grey to the middle tones, and lightly coloring with dark grey in the dark regions. This acts as a guide so that the final beak has a full range of value.

Adding Color
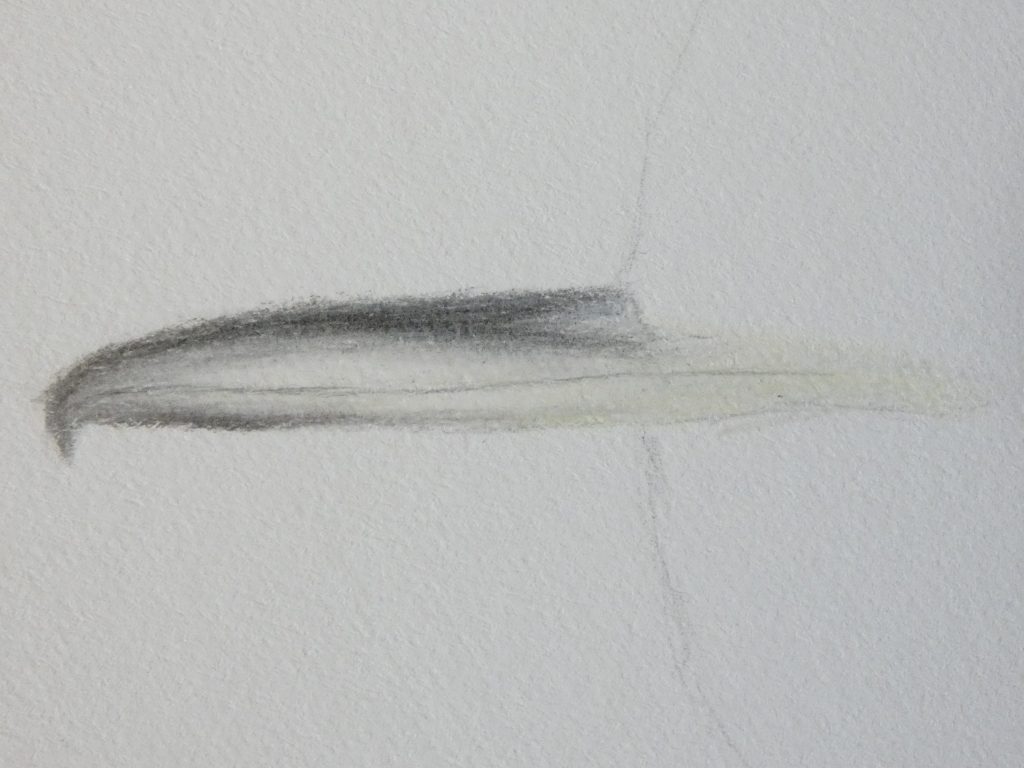
Next, add a layer of color to the beak. This beak, like many, is mostly grey, but has hints of several colors. I used Ivory and Cream in the highlight and lower right, Walnut Brown on the lower left, and Dark Indigo on the upper portion.

Layering of Grey
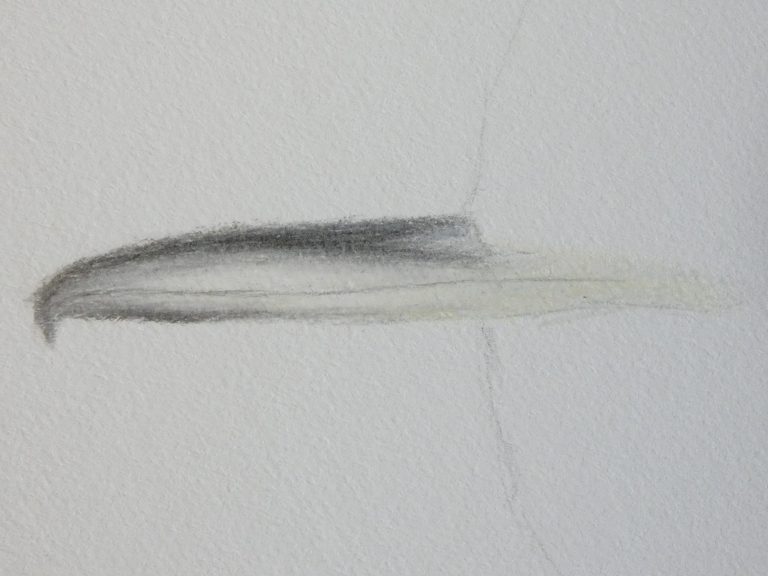
To add depth and shadow, I suggest layering several shades of grey. Starting with your lightest, cool grey, apply it to the entire beak that is as dark or darker than it. Then, with the next, slightly darker grey, do the same. Repeat, each time in a smaller area, until you reach Black, which only should be used sparingly. Finish the beak by using a light grey (I used Cold Grey II) to aid the transition between the shadows and highlights.

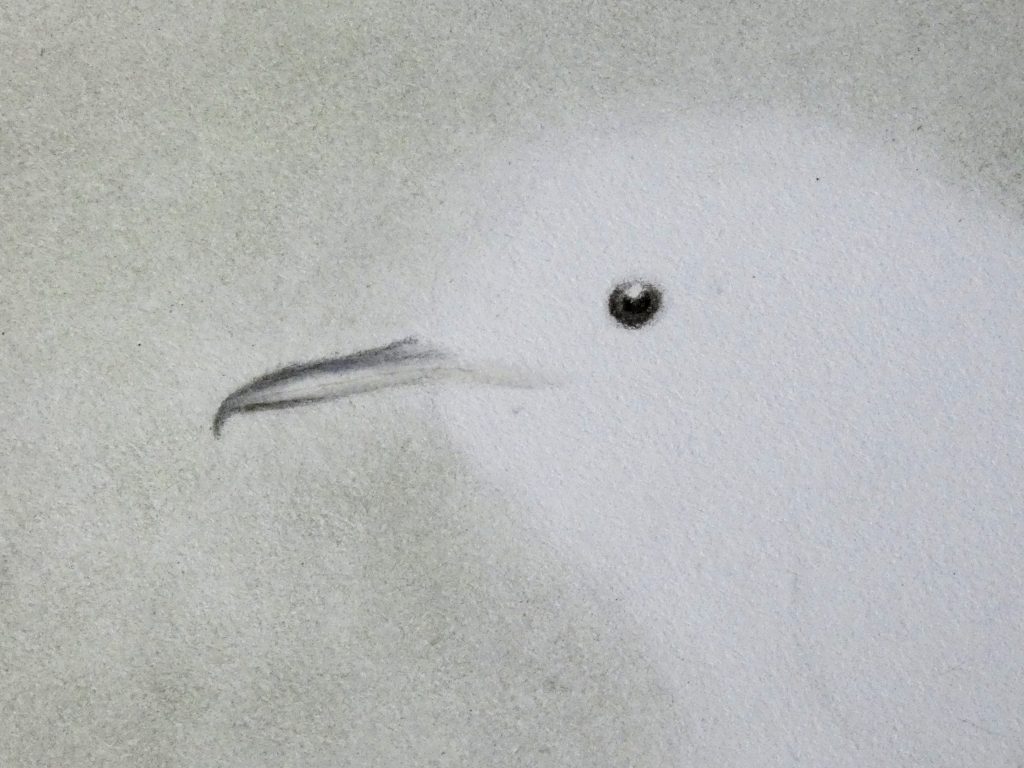
If you are following along with The Colored Pencil Bird Series, next is the head, which is coming soon. Here is what the project looks like so far.


2 comments