


This is the fourth article in The Colored Pencil Bird series. As an example, I will show the step-by-step drawing of a Blue-Grey Gnatcatcher, but the tips and techniques included in these articles can be applied to any bird drawing. After this, check out how to draw the feet.
We will start with the long, flight feathers and then move to the upper wing and finally to the tail.
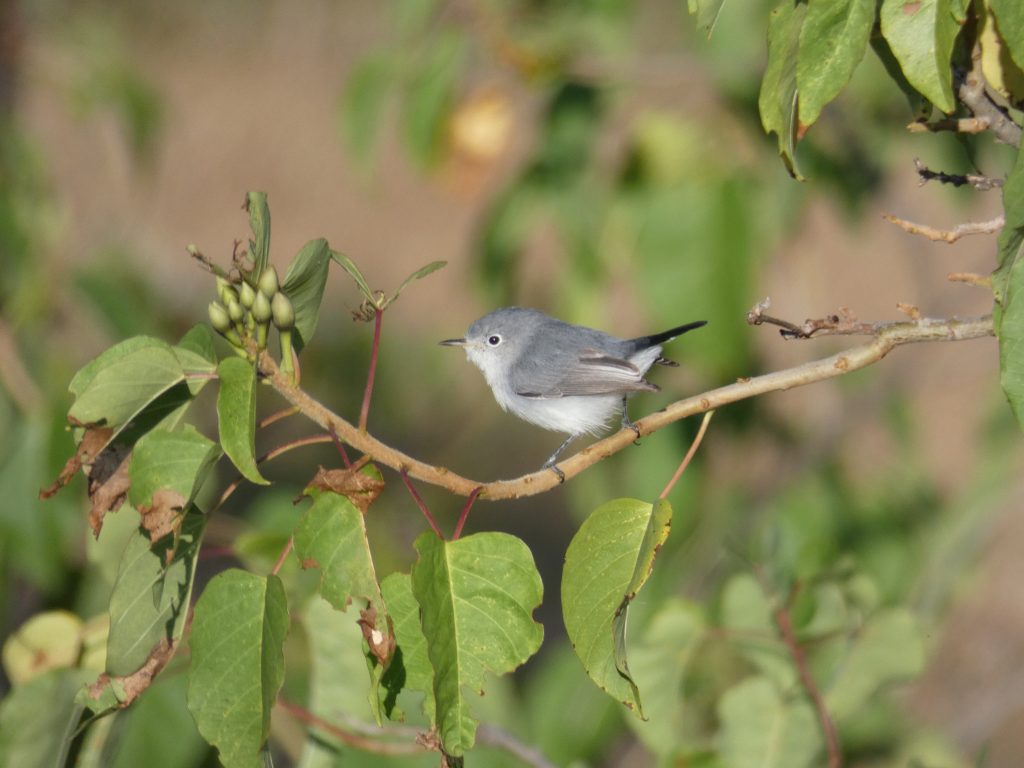
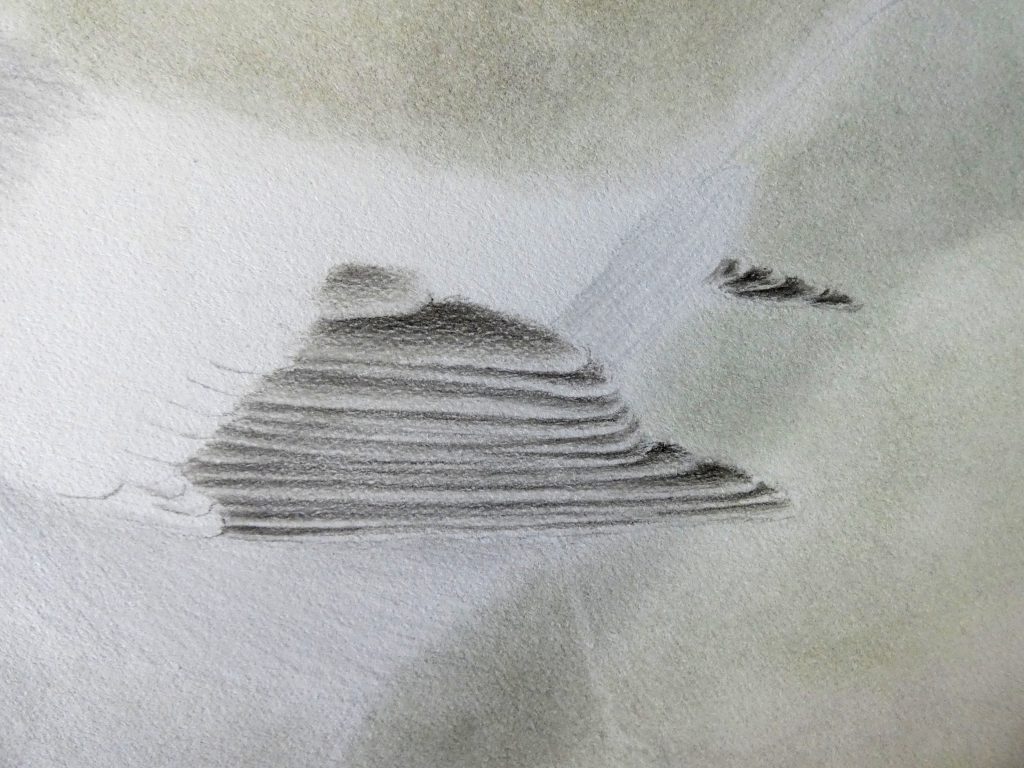
Starting with a sharp, dark grey (I used Warm Grey V), draw the outlines of the feathers in this portion of the wing. These are mostly parallel lines that end in a curve, as shown in the following picture. Do not forget about the wing tip that is visible from the other wing.
Next, protect the highlights by adding a line with white just above each of your previously drawn lines. Use more white for the feathers that will end up with whiter.
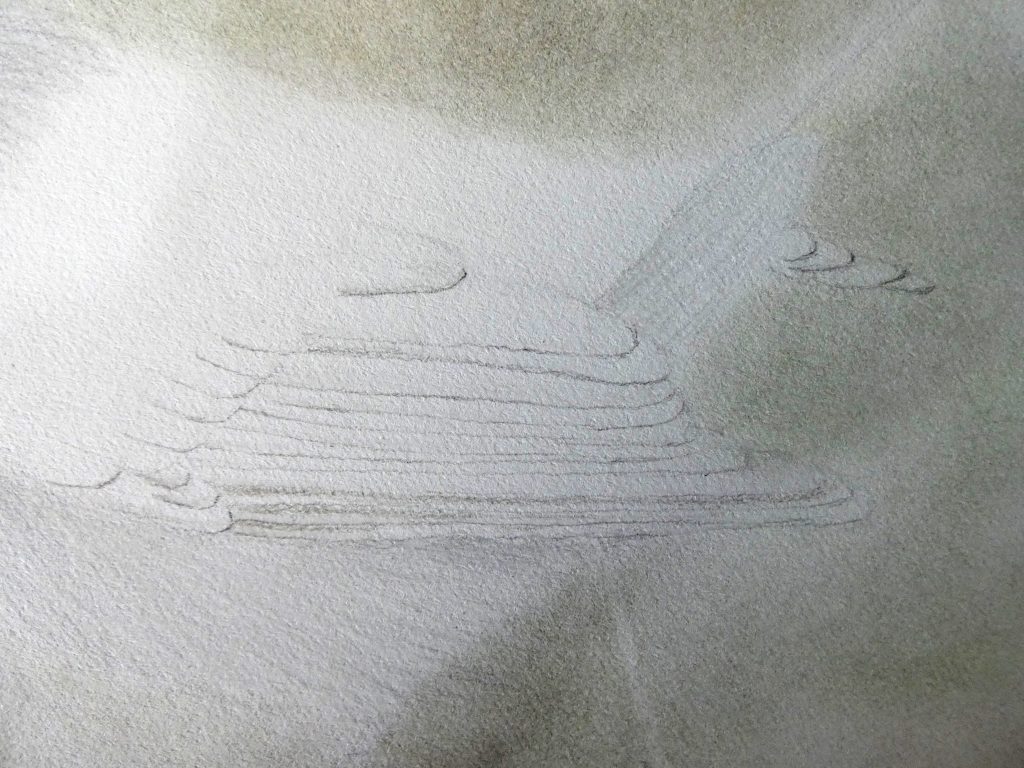
Then, using a warm, middle grey (such as Warm Grey III), color just below each of the dark lines, without using very much pressure.
Next, darken the initial lines again with another layer of dark grey.
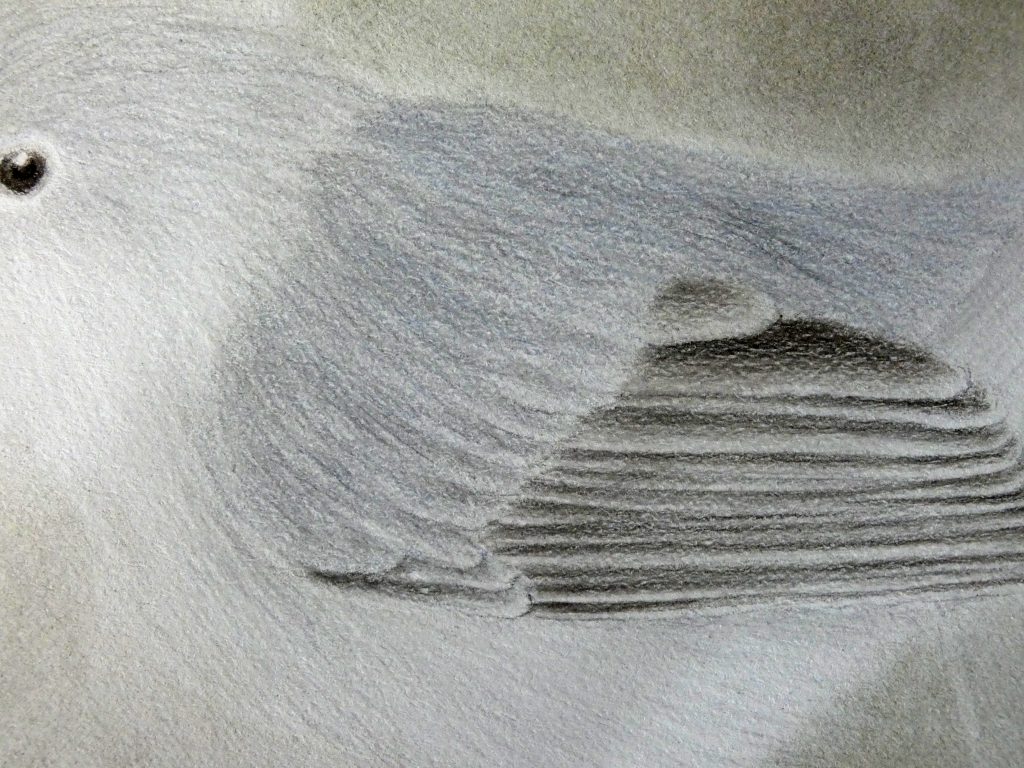
Use light, warm greys (Warm Grey I, II) to cover most of each feather; this blends the colors and softens the transition from shadow to highlight.
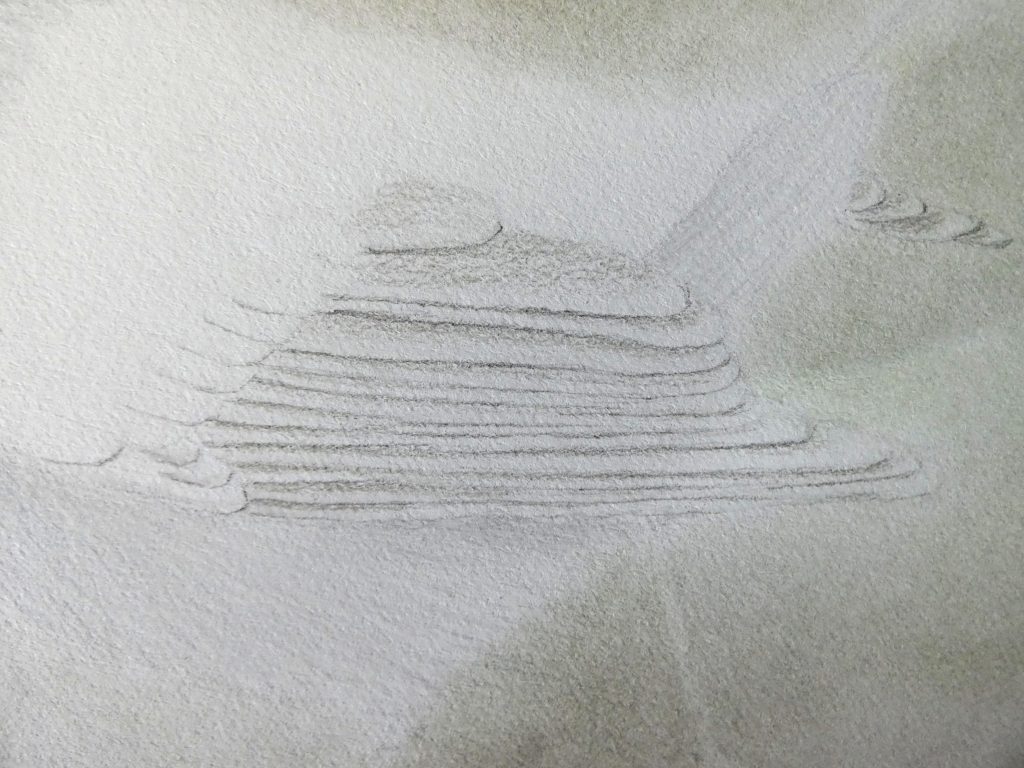
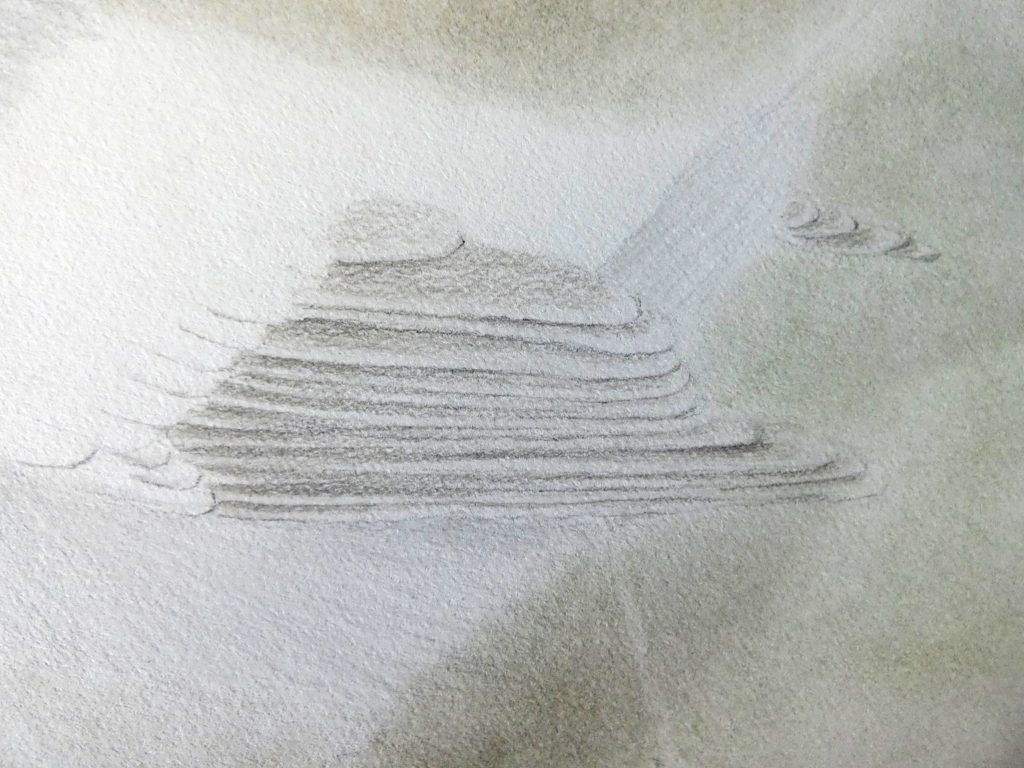
Notice how the left part of these feathers is cooler in temperature? To develop this in the drawing, simply use cold greys for the shadows on the left and warm greys for the shadows on the right.
Finish these feathers by darkening the shadows even more, burnishing, and making sure to have sharp edges.
The short feathers on the upper wing can be approached in about the same way, only using cold greys and a small amount of blue for the coloring. These feathers softly transition into the more hair-like feathers of the upper wing. To draw the rest of the wing, use a similar procedure as with the head and body.
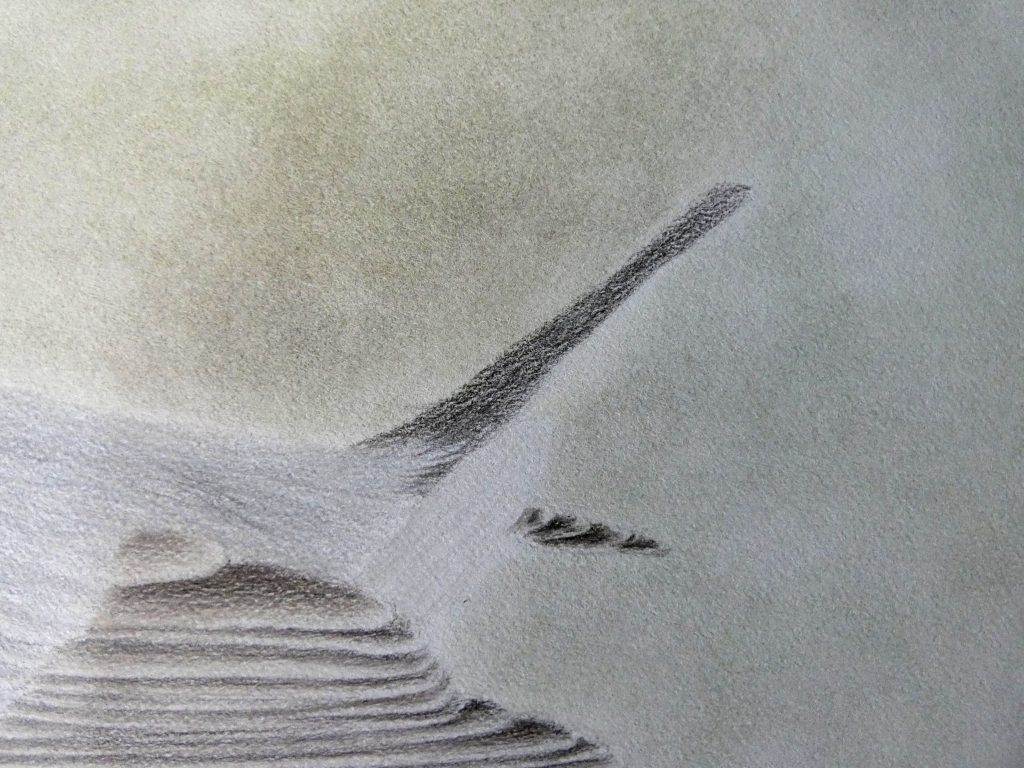
Start the tail with a thin layer of dark grey. Pull a few strokes into the upper back to give the appearance of a feathery overlap on the tail.
Go along the top part of the tail with a light grey to give it an appearance of volume, such that the tail is not all a dark black color.
Finish the tail by adding layers of dark grey, dark indigo, and black. Make sure to keep the values reasonable, though, in relation to the rest of the body. As you can see in my drawing, I initially made the tail too dark, which led me to darken other parts of the body as well, so that the tail would not stand out as being overly black.
The final lesson in this series is on the feet.
1 comment