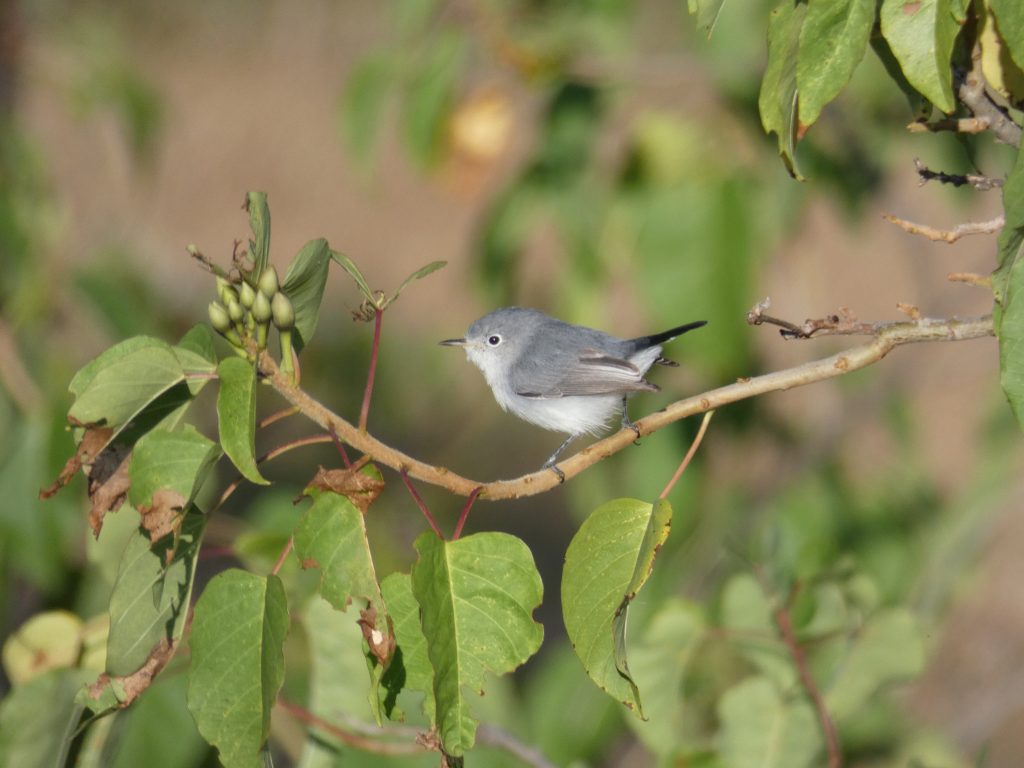


This is the first article in The Colored Pencil Bird series. As an example, I will show the step-by-step drawing of a Blue-Grey Gnatcatcher, but the tips and techniques included in these articles can be applied to any bird drawing. After the eye, check out how to draw the beak, head & body, wings & tail, and feet.
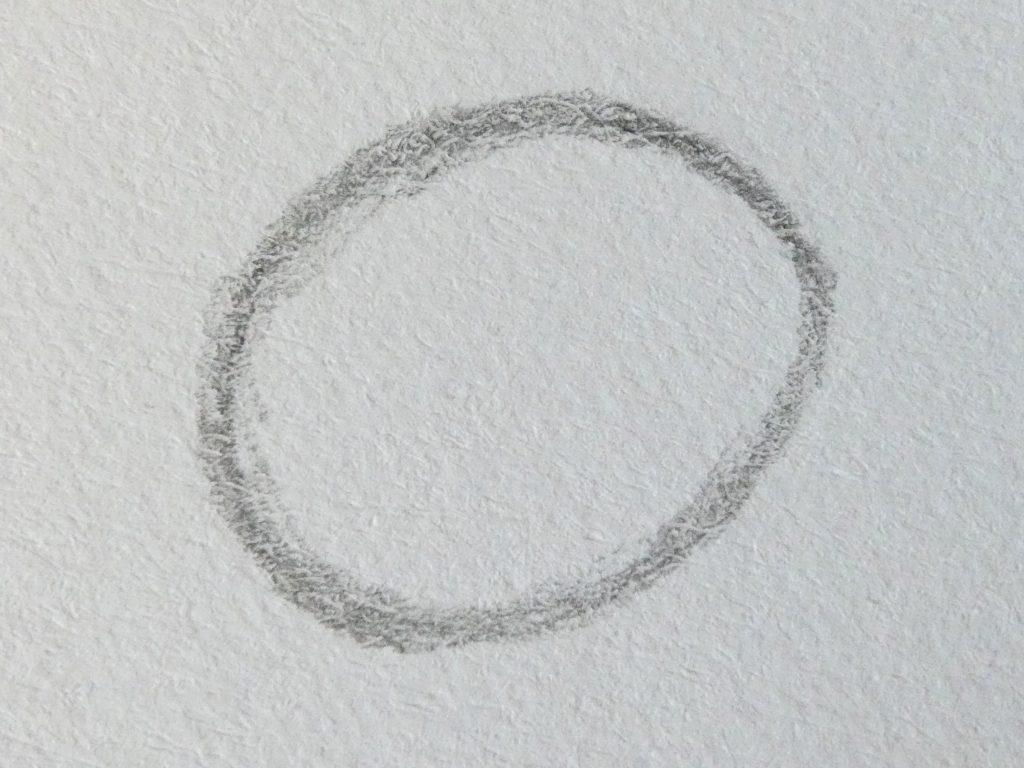
I use a graphite pencil to draw the eye outline, which allows me to make marks in a more sketchy manner, and use a kneaded eraser to clean up the line. Look at the shape of the eye – different birds have differently shaped eyes, and most are not perfect circles or ellipses. Notice the places of curve and the places of sharper corner.
Then, clean up the lines with a kneaded eraser (which has the advantage over a rubber eraser in that it can be shaped into a point for detailed work like this).
Draw the outline of the highlight (the catchlight). This ensures that you are careful around it and do not run into the problem of needing to add white after adding the darker colors. I like to draw this outline slightly bigger than it should be, since it is easier to shrink it with dark pigment than to try to expand it with white later.
Fill this highlight region in with white colored pencil.
Since the pupil is the darkest part of the eye, it is best to start by coloring in the eye with the surrounding color. In this case, the Gnatcatcher’s eye is all very dark, but to distinguish between the pupil and the rest of the eye, I suggest using a dark brown (such as Dark Sepia). Lightly layer this color throughout the eye (avoiding the highlight).
Next, draw and color in the pupil using Black. Notice how, in most cases, the highlight is within or partially within the pupil. Also consider that a bird’s pupil is quite circular.
Use a light grey or white to lighten the part of the eye just surrounding the pupil and the dark brown again to fill in and darken the outer part of the eye. You can also use a dark grey to add the shadows that occur around the border of the eye.
Darken the pupil further, with Dark Indigo and Black (I find that mixing in some dark color other than Black makes the pupil both darker and more natural).
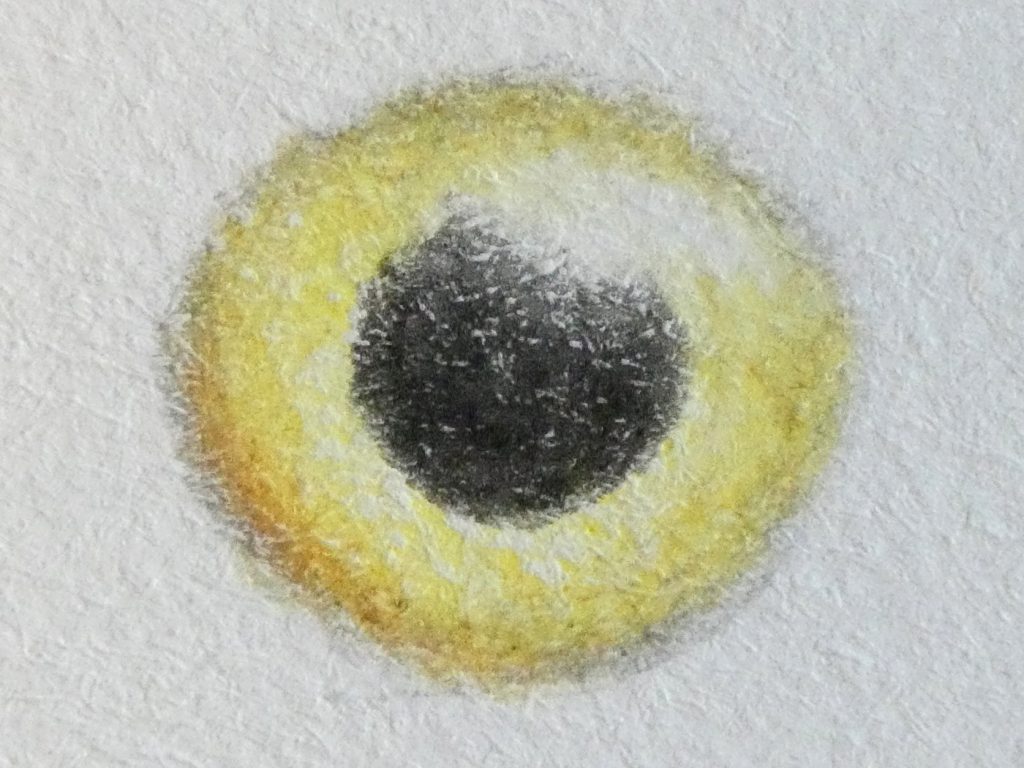
Depending on the size of the bird’s eye that you are drawing, you may need to add more detail, or may get away with less. In this case, since the eye is so small, this simple process is sufficient. The following example is of a larger eye, which I spent a bit longer on, being more careful with colors, transitions, and shadows.
This Trogon eye illustrates some of the differences you might encounter when drawing the eye of a different bird.
If you are following along with The Colored Pencil Bird series, next is the beak.
2 comments