


Barn Swallows are quite acrobatic. They fly quickly, turn sharply, and swoop unpredictably. Sometimes when turning they stretch their wings vertically to make the fastest turn possible. When I took the photo below, the swallow was in the middle of one of these turns, revealing the feather details of its wings, and was also watching me, making it a perfect reference photo for this painting.
I’ll be working on cold press watercolor paper (9 x 11), with French Ultramarine, Pyrrol Scarlet, Burnt Sienna, and Raw Sienna. Hot press paper will also work for this, and so can other colors besides the ones listed. Since we will be using a very wet background layer, it is best to either use a watercolor block or to soak the paper and tape it to a firm surface before beginning.
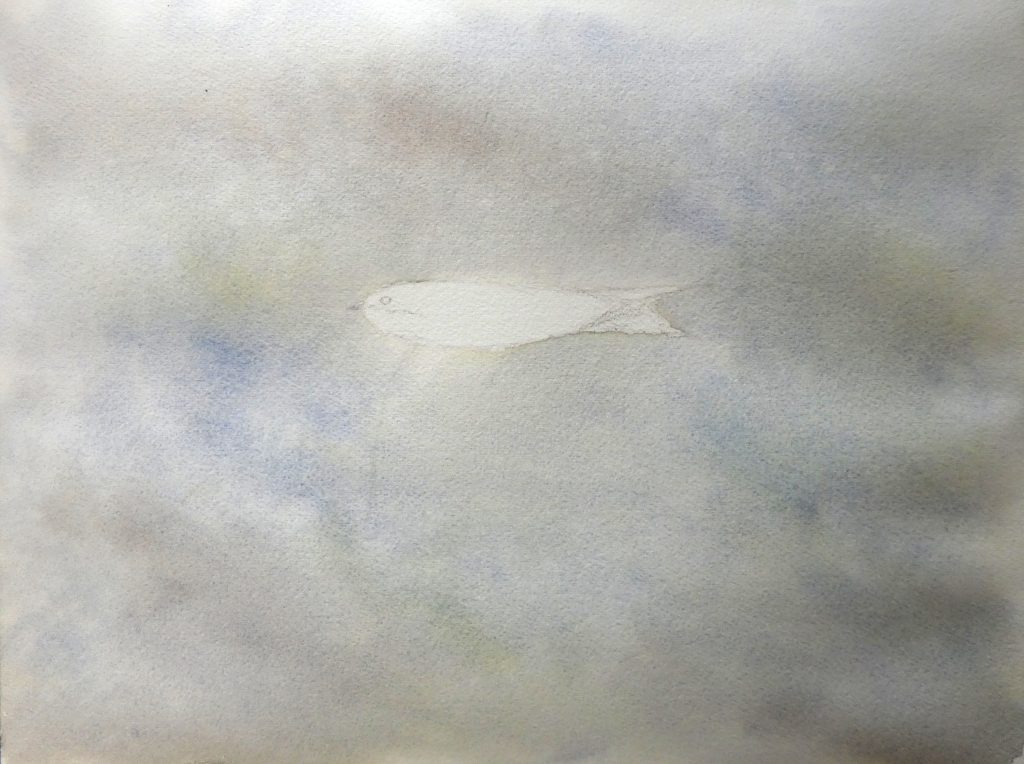
After a sketch on a scrap piece of paper, we begin by drawing the outline of the swallow near the middle of the page, using a light graphite or watercolor pencil. No need to draw each of the wing feathers at this point; the pencil sketch of the outline is just a guide for the painting. If you need to clean up any marks or pull some of the graphite off the paper to lighten it, I suggest using a kneaded eraser which is gentler on the paper. I used a watercolor pencil, so I knew that my marks could be dissolved if necessary and left them fairly dark.
To paint the background, we will first cover it with a water glaze, carefully avoiding the swallow. This will make it easier to keep the background colors from crossing the bird’s outline. The only exception is that we will paint the background over the area of the wings, so that later on the background will show through the wings slightly, capturing their semitransparent look.
Then, paint in greys (Ultramarine mixed with varying amounts of Burnt Sienna), blues, and natural greens (Ultramarine mixed with Raw Sienna). While all that paint is still wet (this takes some quick work), splash it with water (I used a spray bottle), and spread it around, letting the colors mix and blend on the page.
Once the background is dry, we can proceed with painting the bird. For the first layer, we will use water glazes to block in each section at a time so that the base colors can have a smooth, full application.
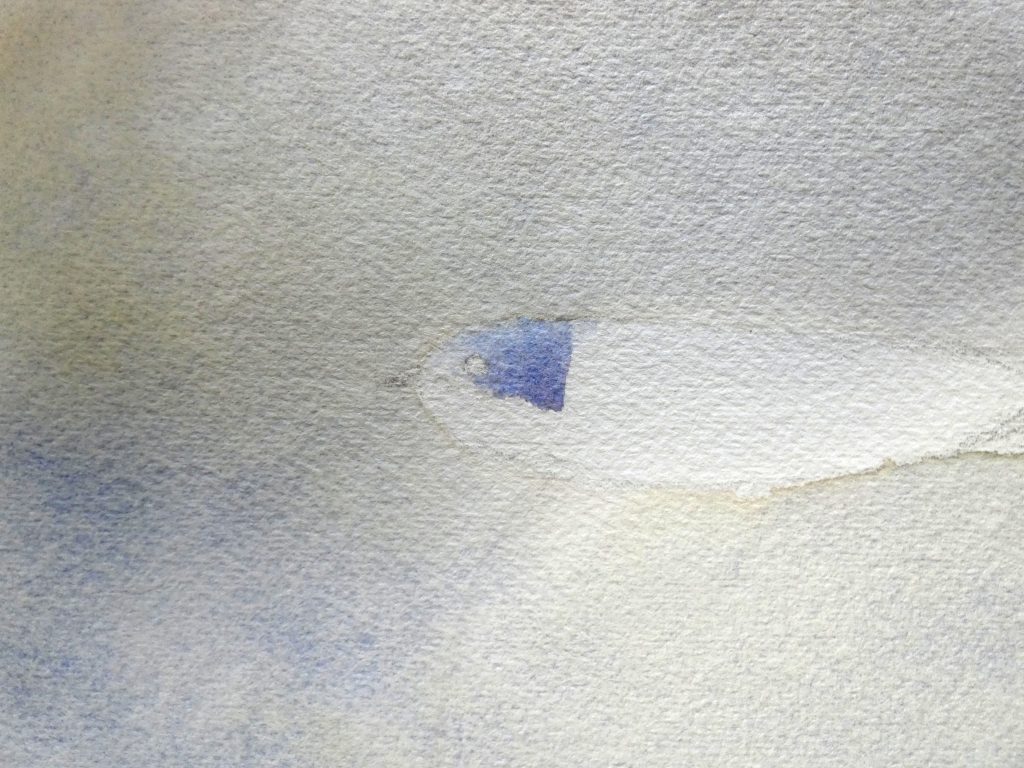
We start with the blue portion of the head, painting that section with water and when it is partially dry but still damp, we cover it with a bit of Ultramarine and then paint a darker blue (by mixing some Pyrrol Scarlet into the blue) in the lower right corner, allowing it to spread and form a gradual transition with the lighter blue.
Then we paint the tail (since we have to wait for the head to dry before we can paint an adjacent section). Similarly, here we use a water glaze first and paint in various greys to get the overall values in place. Mine dried quickly, so I also added a few strokes of detail before moving on.
We then paint a uniform layer of orange (Pyrrol Scarlet with Raw Sienna) on the lower head, using a water glaze here as well.
We also start the wings with a water glaze, but instead of painting them uniformly, we can paint separated strokes in the direction of the feathers, leaving gaps that will be the highlight parts of the feathers. This just helps with getting the overall values in place; the wing feather details will come later.
The upper wing and the body can be done with one water glaze, allowing the colors to mix a little at the boundary. For the body, we can use a mixture of Raw and Burnt Sienna, using more of one or the other depending on the area.
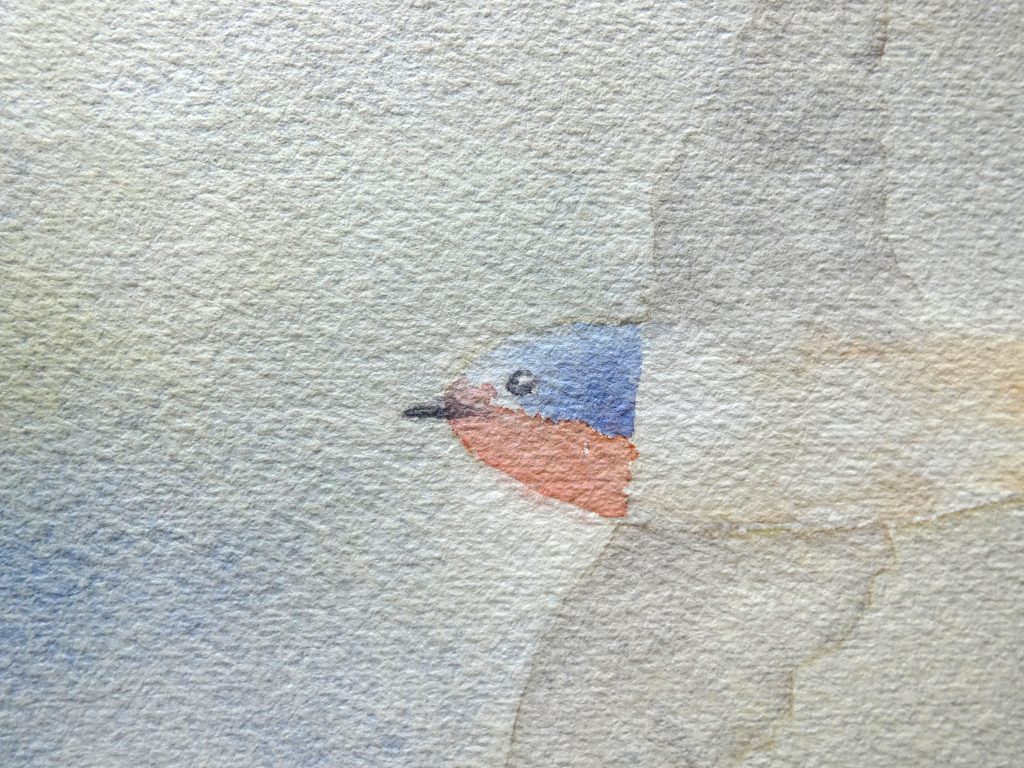
Next, we go back through and work on the details, starting with the head. We make a dark grey with a higher concentration of paint from the Ultramarine and Burnt Sienna mixture, and use it to paint the eye and beak.
Here is a simple base layer of the eye and beak. Be careful to keep a white highlight in the eye, as this is important for making the bird look alive.
Then, with another layer of dark grey, we can paint the pupil. This is hard to see from the reference image, but we can improve our paintings by including it. We also darken the lower side of the beak that is in shadow.
Then for the wing feathers, we will use the shadow and soften technique, painting dark brown along the edges between feathers and carefully softening the paint along one of the feathers with a damp brush. This leaves a bright area of the feather in sharp contrast with the shadow of the next feather, and makes the shadow gradually become less dark across the feather.
On the left side of each wing, we can simply paint along the shadow and spread the paint out similarly.
We’ll continue with the wings, but while we wait for them to dry, we can add a layer to the tail. To enhance the shadow on the tail, we use a dark application of Ultramarine mixed with a little Burnt Sienna. We then paint the lower part with more Burnt Sienna and form a gradual transition between the two.
Back to the wings. We repeat the previous layer, further developing the wing feathers. We can harmonize the wing color with the body by painting a thin layer of Raw Sienna over most of the wings.
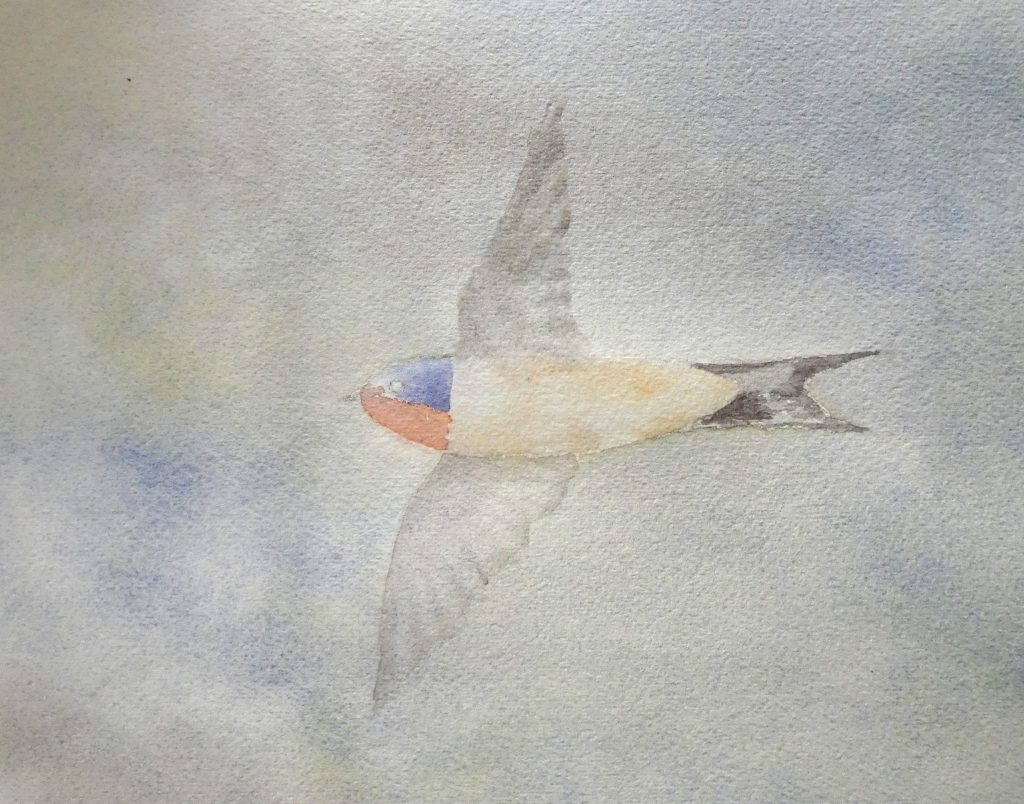
To finish up, we can add another layer to the head and body, deepening the color and creating a feathery texture with our strokes. For the shadow along the lower edge of the body, I painted grey along the edge and softened it upward to form a smooth transition.
With that, the painting of a Barn Swallow in flight is complete.
Sweet internet site, super pattern, real clean and employ friendly.