In this tutorial, we will paint an Amazon Kingfisher with watercolors. Since the process is quite similar to that of the oriole, grosbeak, I will mainly specify parts of the process that are unique to this subject; you are encouraged to check out those tutorials as well for more details if you would like.
Here is the reference photo we will be using:
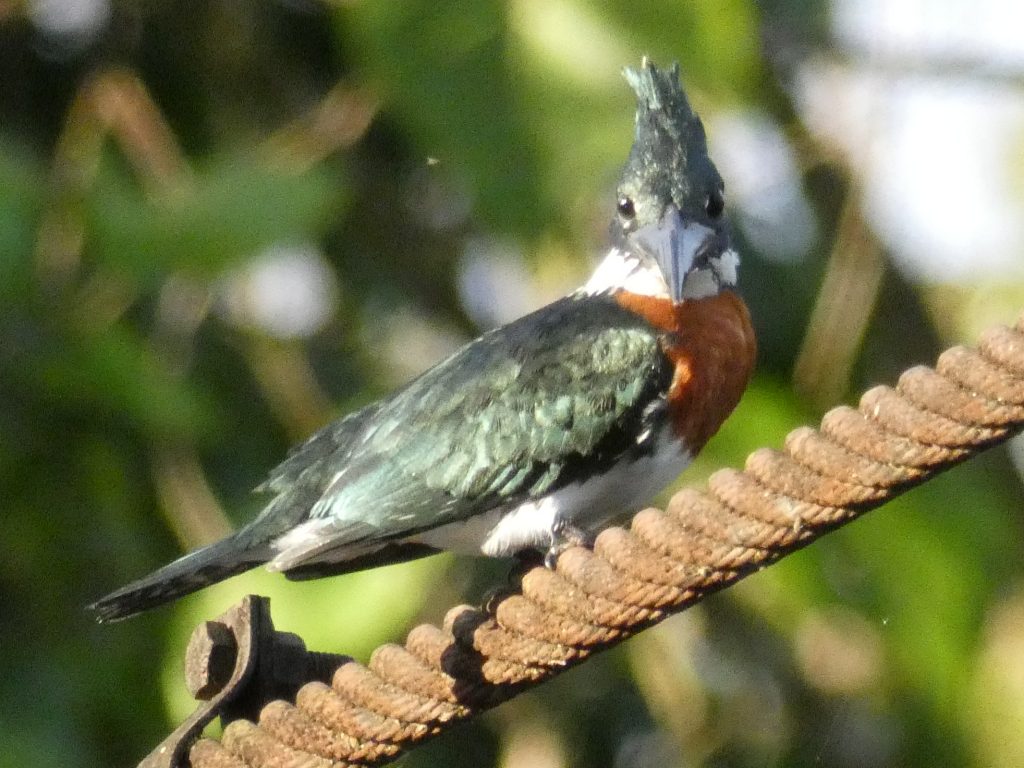
This kind of painting goes nicely on a small, 5 by 7-inch paper surface, which is about the size I will be using. You can draw using this drawing as a guide, or following the reference image, though it is better practice to work from the reference image, as practicing such will enable you to draw from whatever photo you wish.
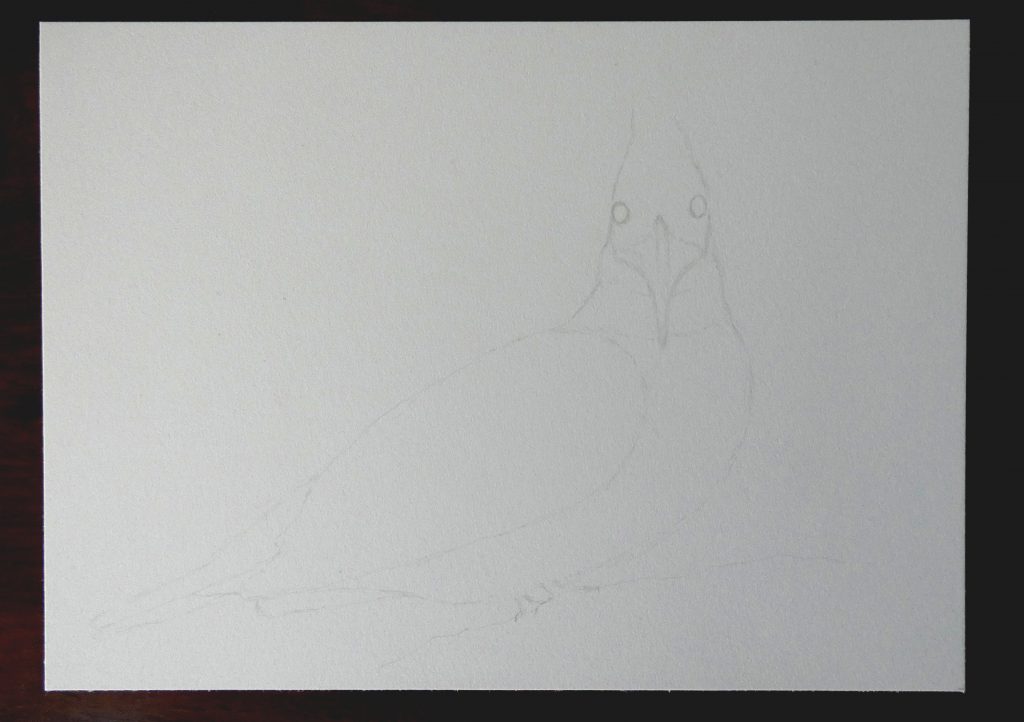
First layer
After soaking the paper and taping it to a firm surface, we will begin the painting with a light, initial layer, just to get the base colors down.
It can be nice to mix the colors you will need before starting to paint, and we can do that for this simple subject with three main colors. A mixture of French Ultramarine and Burnt Sienna works well for the greys (using different proportions yields cooler or warmer shades respectively). For the greens, I used a combination of Phthalo Green Blue-shade, French Ultramarine, and Quinacridone Gold, but if you do not have those specific colors, feel free to make your own combination with a blue (or two) and yellow. I mixed Burnt Siena and Quinacridone Gold for the russet color; again, other mixtures can work well too, just try to use some of the same paints for this color as you did for the green and grey to increase the color harmony of the overall painting.
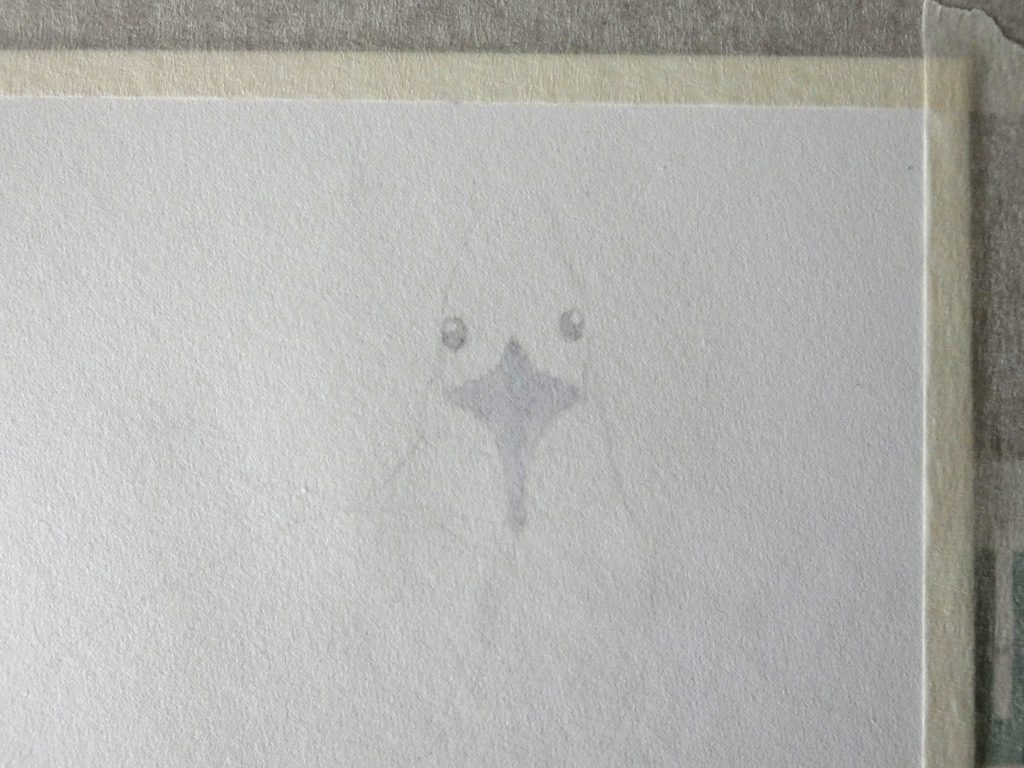
Since it is difficult to lighten part of a painting that already has paint on it in watercolor, the main thing to keep in mind for the first layer is to preserve the highlights, either by leaving them white, or by painting them with a very watery and light mixture of paint. For the eyes, you will likely want to leave the highlight completely white, but for the beak, it makes sense to paint the entire area with a light grey, since it will be easy to build contrast later on such a large shape.
Similarly, we will paint the other parts of the kingfisher with the different colors we mixed earlier. While painting feathery subjects, it is important to keep in mind the direction that the feathers are going, and maintain that direction in the paint strokes; look at the wing and head feathers especially, and try to paint in a way that represents them.
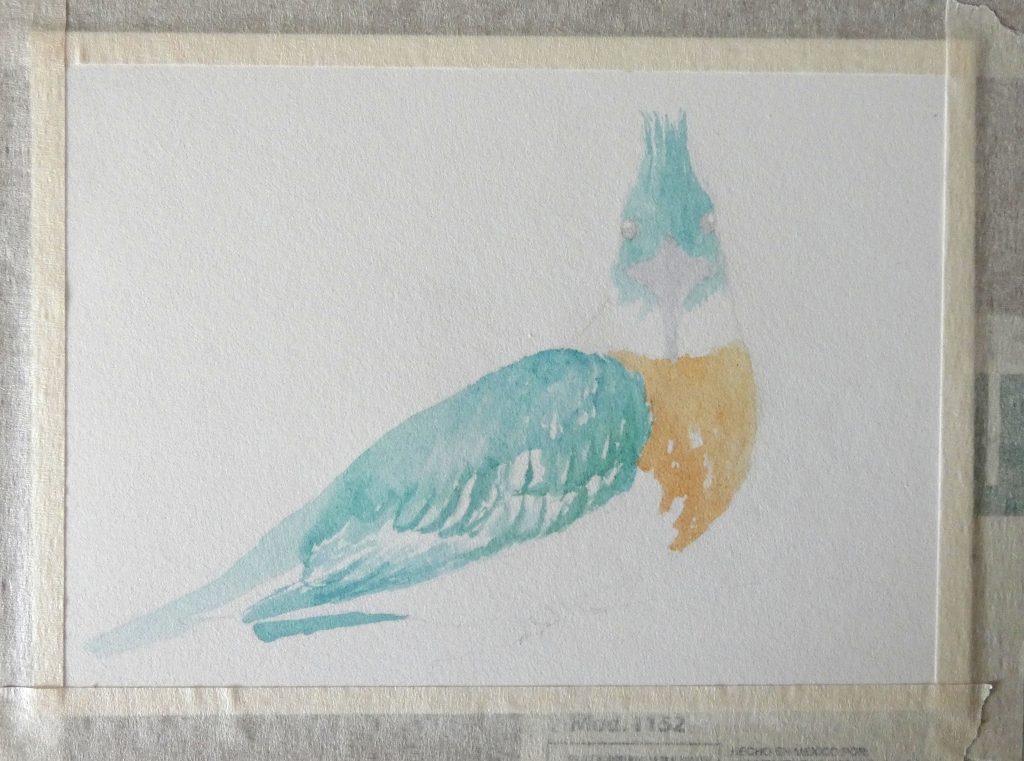
While in the reference photo, the kingfisher is sitting on a cable, I chose to paint a branch instead, using a brown similar to the russet, but with a little more Burnt Sienna. I used the branch painting method from this tutorial, but if you would rather do a more realistic approach, that is perfectly fine.
Forming Depth and Detail
After the first layer, we can repeatedly layer over to darken a section and add details. As a rule of thumb, it can look more natural to use slightly bluer shades of a color when painting the shadows, which is exactly what we can do for the right side of the beak (and eventually the head). In areas that you want smooth transition of shading, I suggest using the shadow and soften method. In other areas, distinct, feathery strokes are best for adding touches of shadow.
We can build color depth by varying the proportions of the different paints. For example, the middle-right part of the wing is green with a slightly more yellow tint; I added Quinacridone Gold to my green before layering on this section.
Continue layering to build color and shadow depth as necessary; we want to have a full range of value – from the dark of the eye and under the wing to the bright highlights on the feathers. It is often the case that another layer could improve the painting, but at some point, you will have to decide that it is finished. Here is what I ended mine with:
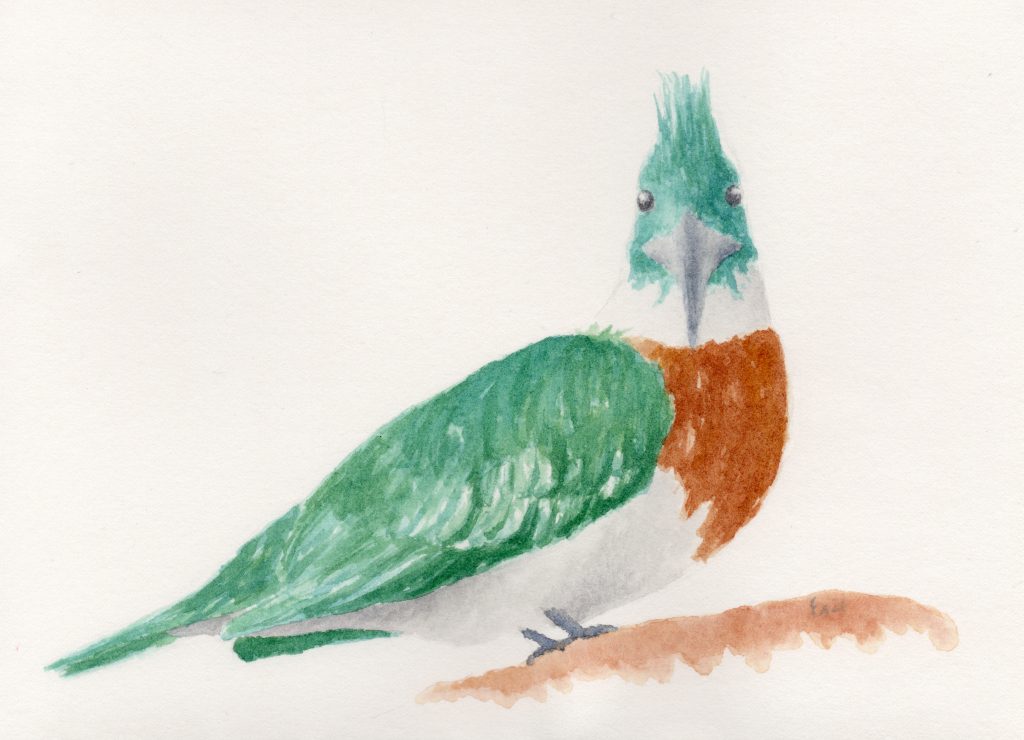

thank you, Erik! This was a fun project to work on while you are at some amusement park in the States and I am at home here in Mitla missing you:) I added a background so my lighter shades stand out more!
That’s a good idea to use a background for more contrast with the lighter colored feathers.
Hi, unfortunately, I faced challenges with the slow loading speed of your website, leading to frustration. I recommend a service, linked below, that I’ve used personally to significantly improve my website speed. I really love your website…Optimize now
Hi Jeff,
unfortunately I did recently need to switch to a lower performance server to reduce costs. I’m sorry for the loading delays and will see if I can fix it. Thank you for letting me know.