Welcome to part 1 of the Watercolor Waterbirds tutorial series. In this tutorial, I will show you how to paint a female Mallard duck using watercolor paints. The feather details will require patience, but we’ll see how they can be depicted fairly realistically by a series of simple layers.
Our general procedure will be to start with a base layer to get colors and values in place before moving on to painting details.
Suggested supplies for this project include a large piece of cold-press watercolor paper; several brushes of different sizes (one should have a very thin tip); and the following colors: Raw Sienna, Burnt Umber, French Ultramarine, and Pyrrol Scarlett (you can obtain these colors from the primaries, but it will be easier to paint the duck with several browns to start with).
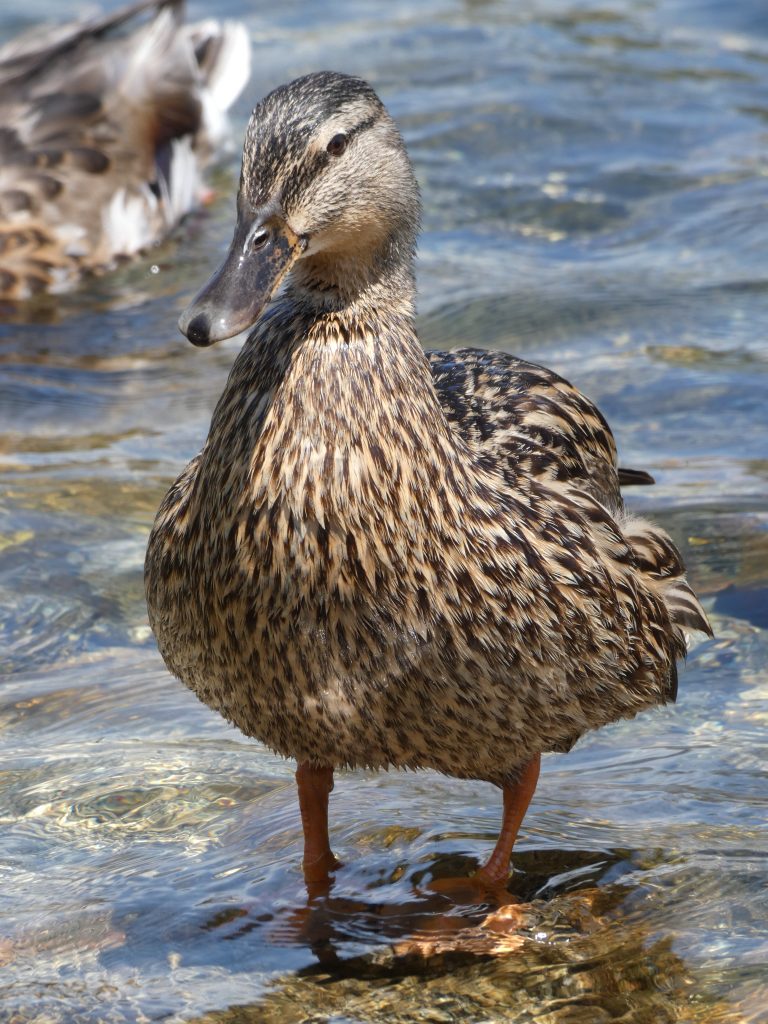
Here is the reference photo we’ll be using.
And here is my outlining on the paper (I used a thin paintbrush and very diluted brown for this, since I did not have my pencil and eraser with me).

Base Layer
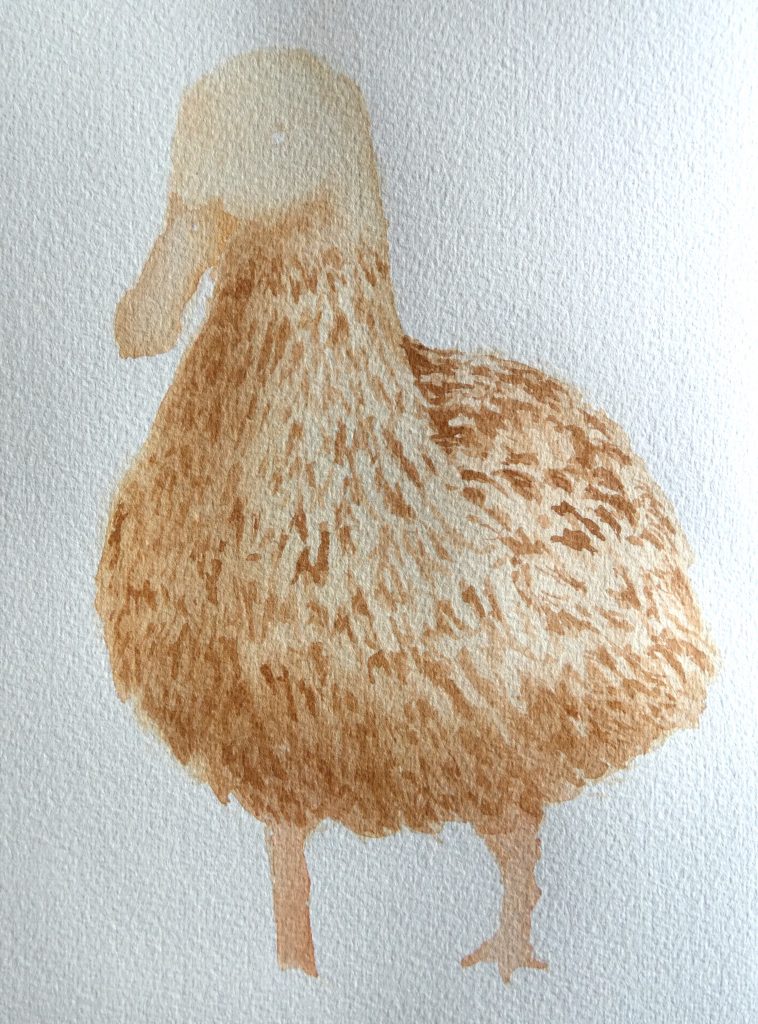
To get the overall values and colors in place, we will begin with a watery layer over the entire duck. For smooth transitions of value, cover the area with water before adding any paint. Then paint a light brown (mostly Raw Sienna with a touch of Burnt Umber) over the surface. While it is still wet, paint darker brown (more pigment) in the shadow areas, letting the colors mix and spread.
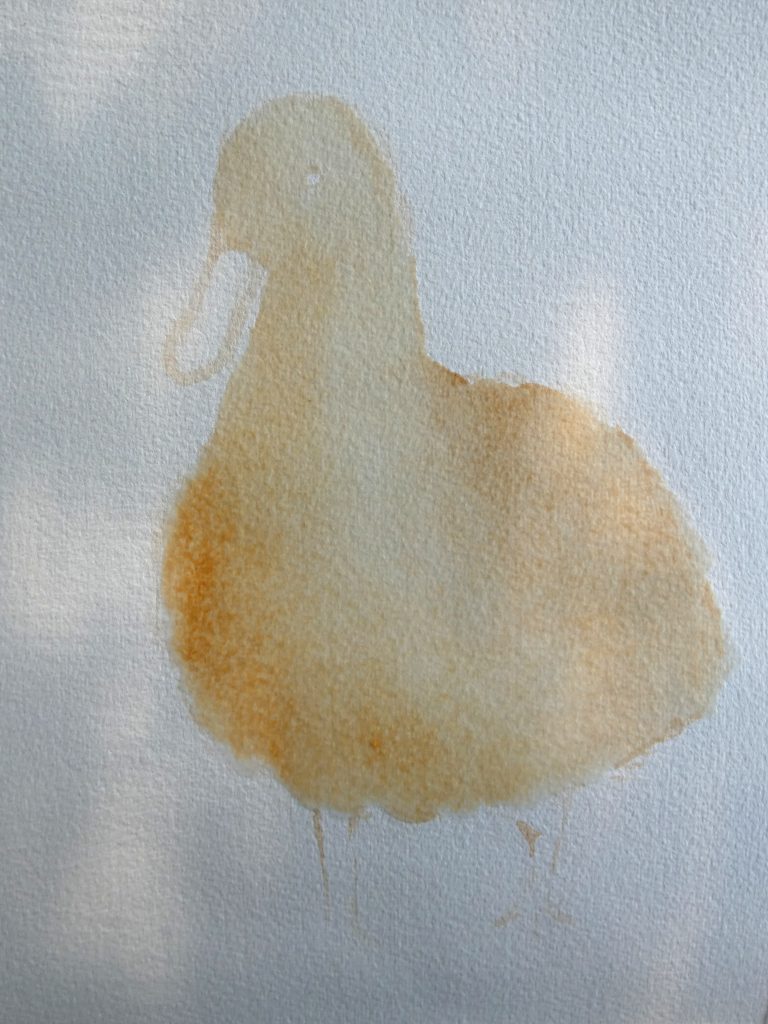
We’ll similarly add a base to the feet and beak as well. For the feet, I added some Pyrrol Scarlett to the brown mixture, which matches the reference quite nicely. Simply lay down a water glaze, then paint in the color you mixed, then drop in a bit more of it on the edges before the surface dries.

The beak is more complex, but we do not have to worry about the details until later; for now, we will use a light orange (mostly Raw Sienna, with a bit of Pyrrol Scarlett) since it is easier to add darker colors on top. Make sure to either leave dry or lift the paint from the bright highlights and along the middle of the beak.

Body Feathers
Once the base layer is dry, we can start adding detail. We will do this by a series of layers, each time using a darker brown mixture than the previous, starting with a medium brown formed by about equal parts Raw Sienna and Burnt Umber.
For these feathers, it is helpful to use a brush that has a thin tip, but a wide base (as most pointed round brushes do), so that in one stroke, you can capture the shape of the feather by using more pressure for wider parts and less pressure for the thin parts.
In different regions of the duck’s body, the feathers go in different directions, and we should pay attention to the reference to know which direction our brush strokes should go (this is important in distinguishing the neck from the back, as well as making the painting more realistic.
In these layers, we will just be painting where dark feathers will end up, leaving the base layer as the lighter colored feathers.
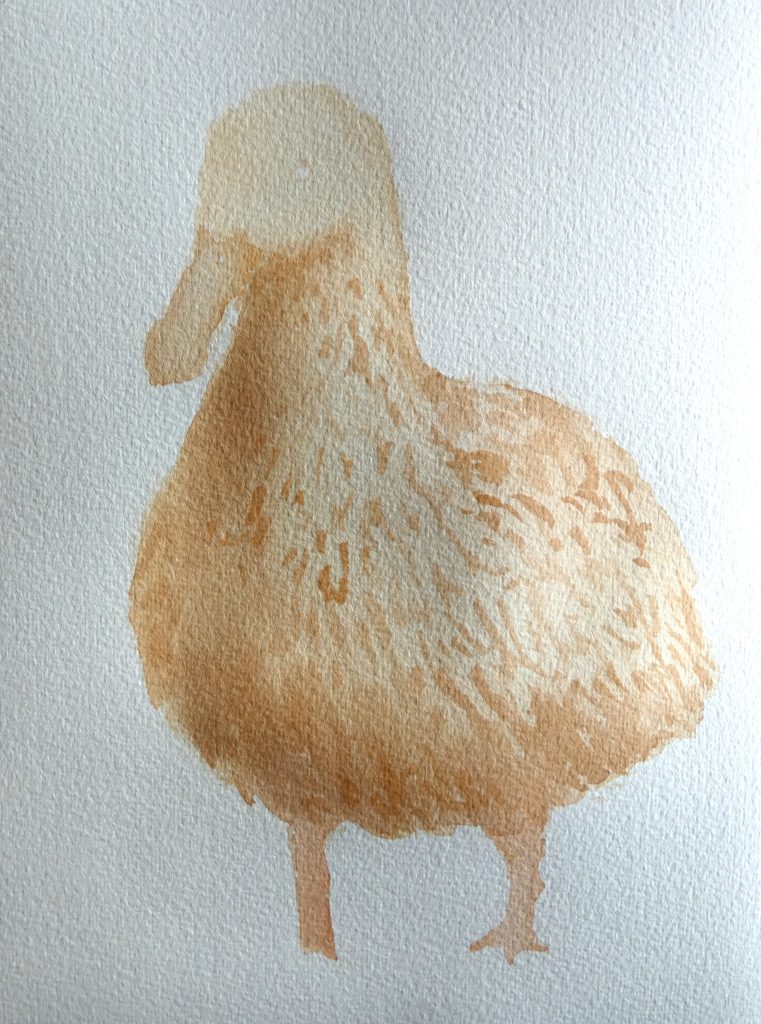
Next, we will darken the brown (with a higher paint to water ratio and more Burnt Umber) and add a similar layer with it.
To build depth in the layers, we can overlap most of this layer with the previous, while still leaving some of the previous color showing. The beginning of this is shown in the following close-up image.
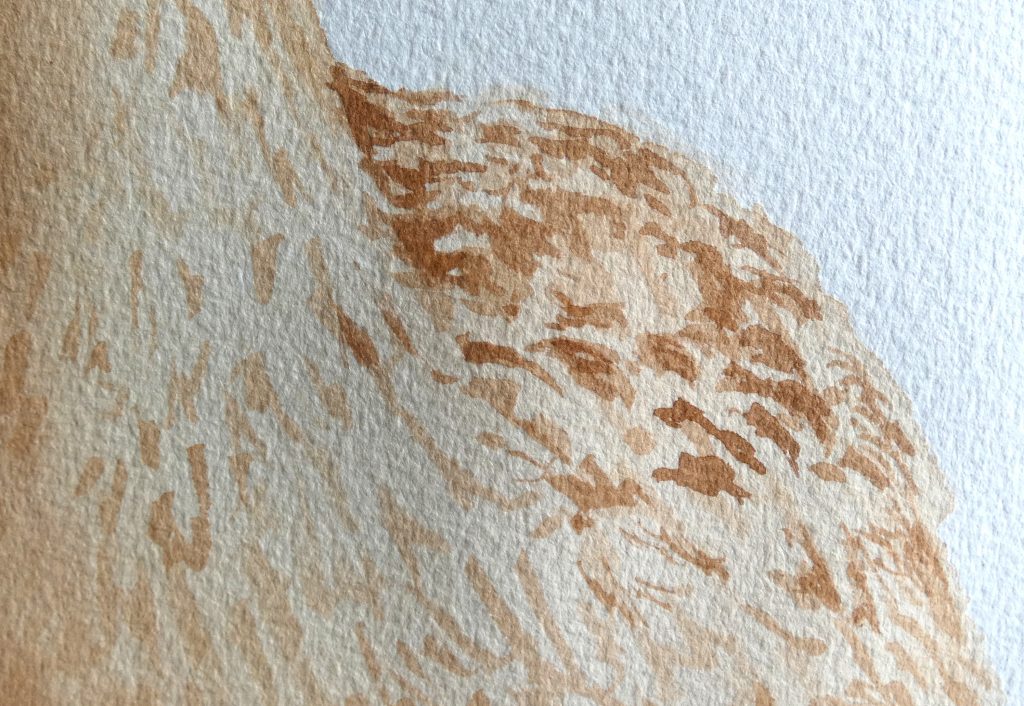
Continuing this on the rest of the body…
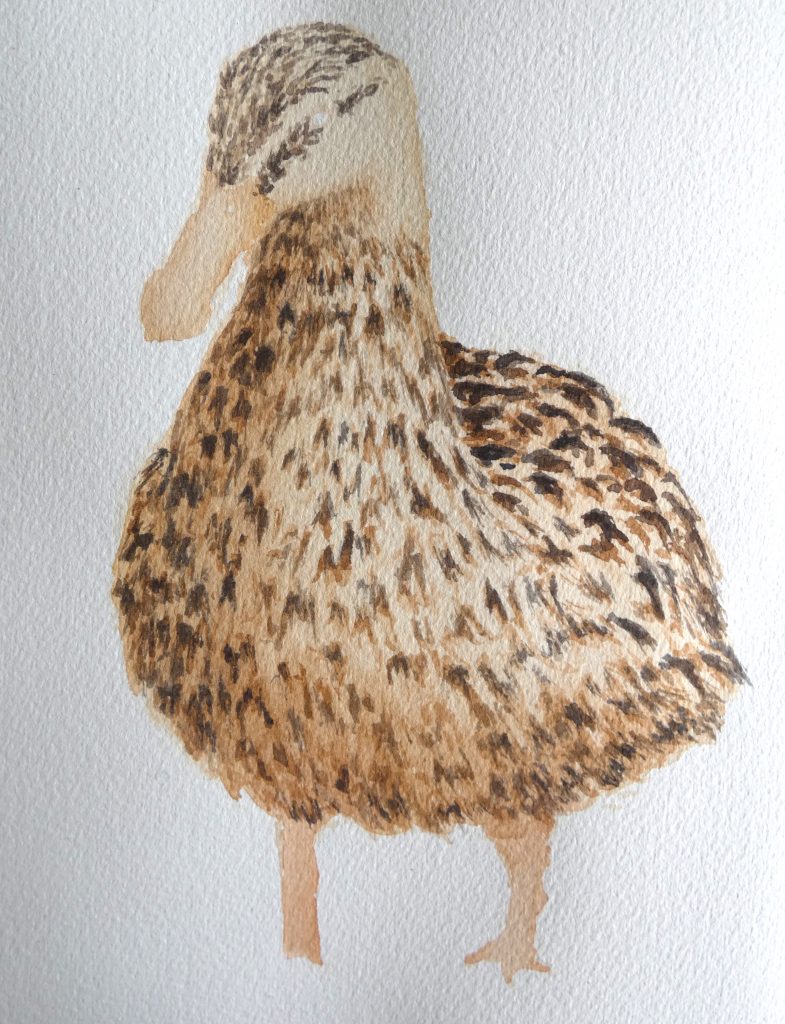
Next, we will repeat with another layer, using an even darker brown (using French Ultramarine and Burnt Umber).
With this color, we can start adding very thin feather strokes along the head and near the tail as well as the regular overlapping with previous feather layers.

With a still darker brown (nearly black, with a very concentrated mixture of paint), we will add a final layer to the body feathers, and add thin strokes along the neck.
The Feet
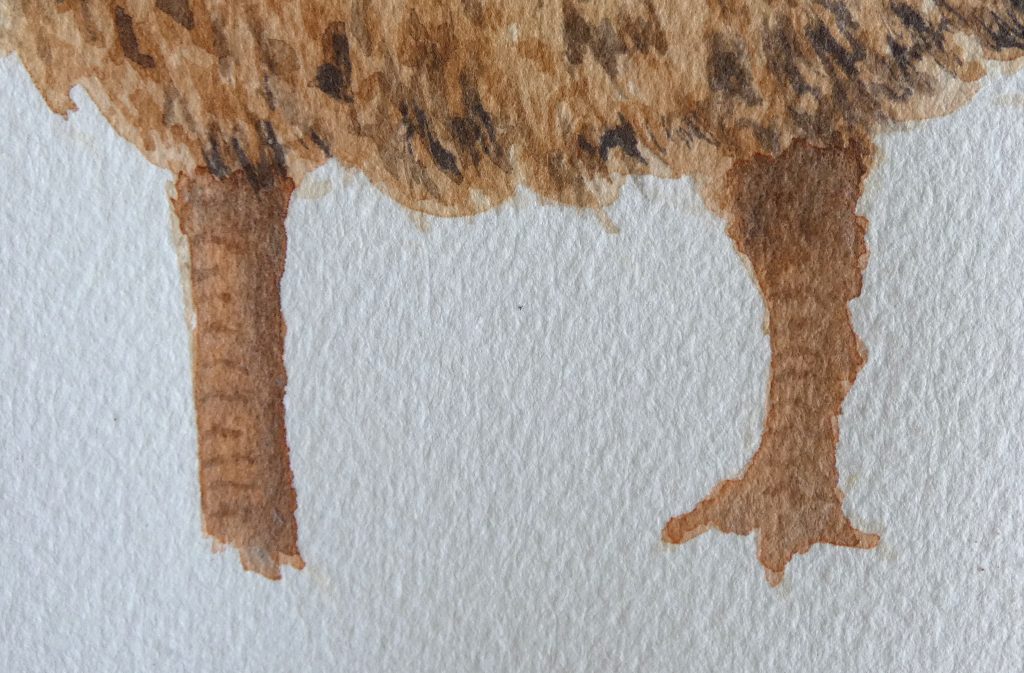
To deepen the color of the feet, we will add another water glaze and paint them with the same color as used previously. While the paint is still slightly wet, drop in a shadow color (I simply added a bit of French Ultramarine to the feet color) along the edges and just under the duck’s body. With that same color, and a small brush, paint the ridges on the feet once the surface is dry.
The Beak
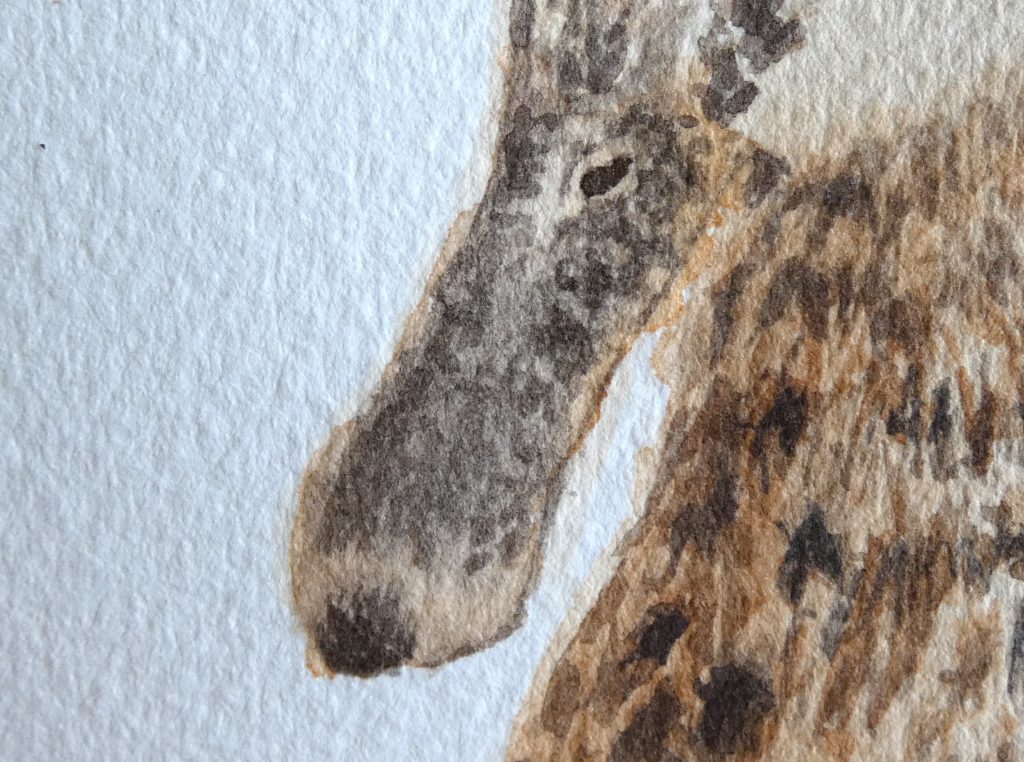
Continuing the pattern of painting layers from light to dark, we will paint the beak, beginning with a light grey, then layering darker details.
To ensure smooth color transitions, first apply a water glaze, then paint the beak with light grey (diluted mixture of Burnt Umber and French Ultramarine). We’ll leave the edge of the beak with just the base layer, since it is already the orange color that we want.

While the beak is damp, drop in a darker grey, avoiding the highlights and lighter regions.
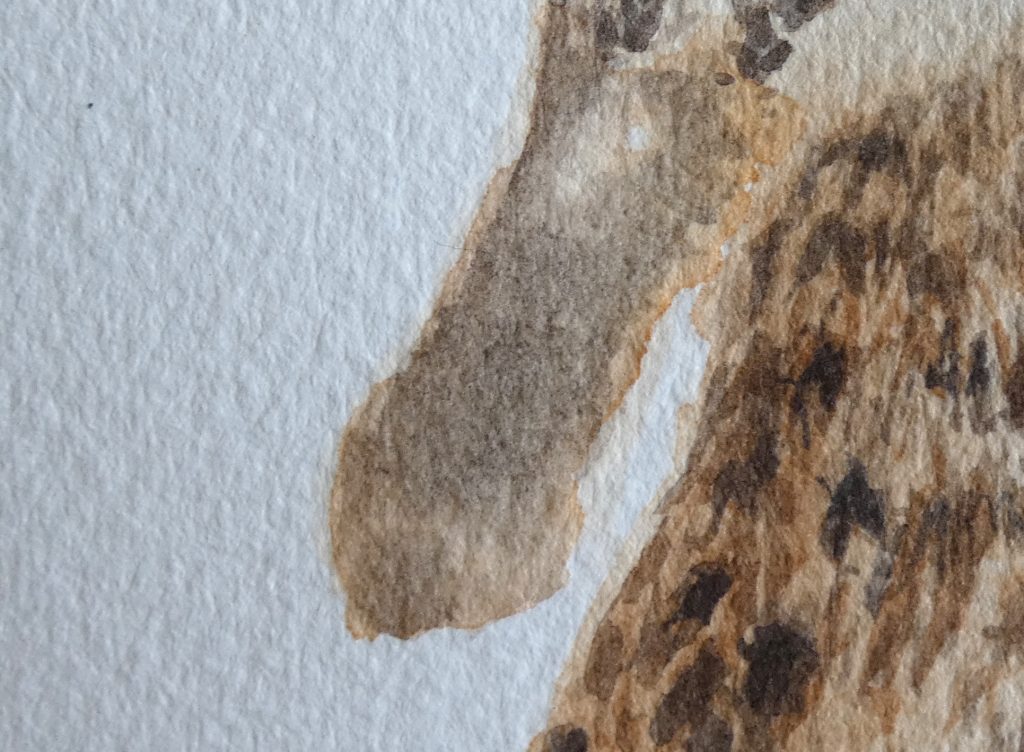
Then, once the paper is dry, use an even darker grey to paint the nostril, the dividing line between beak halves, the rounded tip marking, the shadows, and the splotchy details on the beak surface.
The Head
With the same dark grey, we can use a thin tipped brush with very little paint on it to paint the small feathers on the duck’s head. As with the feathers earlier, it is important to pay attention to direction while painting these. The marks will show up lightly since we are not using much paint, and this is what we want, similar to the reference photo.
We’ll paint the eye primarily with Burnt Umber, and add French Ultramarine to make a dark grey for the shadows and the pupil.
Leaving the white of the paper for a highlight, fill in the rest of the eye with Burnt Umber, then drop in dark grey along the outer rim as a shadow and lift a little bit of the paint from the center region to lighten it, giving the appearance that it is rounded.
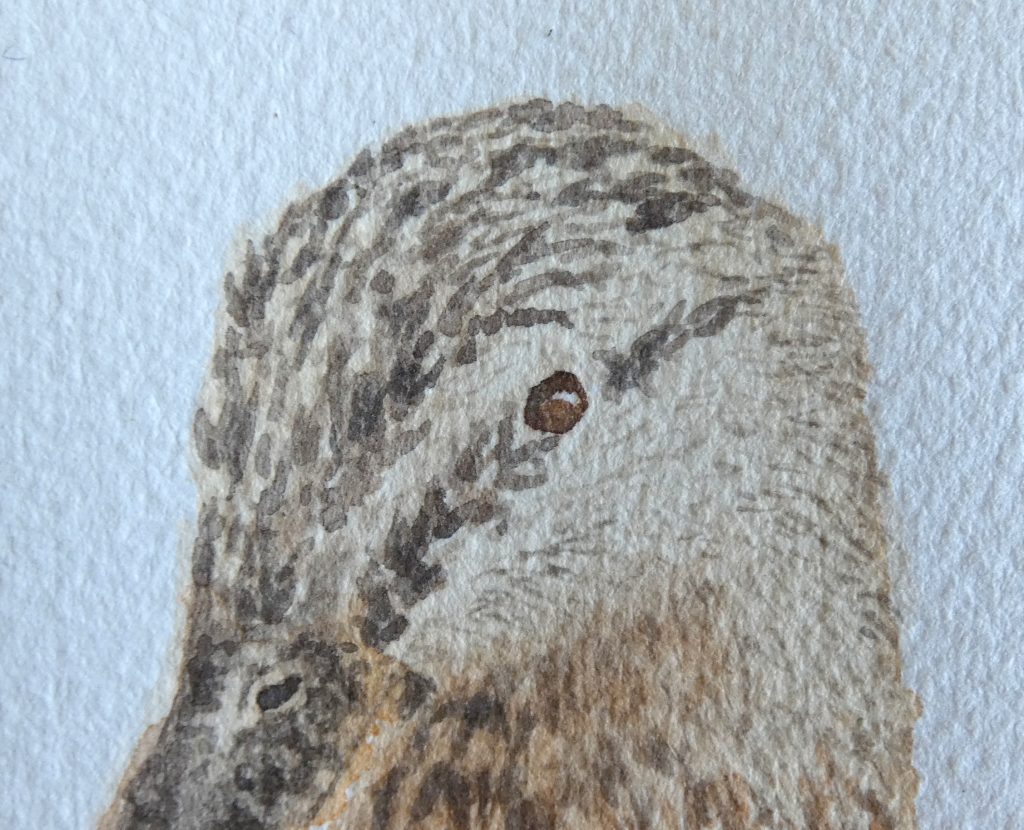
After that dries, we will use the dark grey (with very little water) to paint the pupil and the shadow along the top edge of the eye.
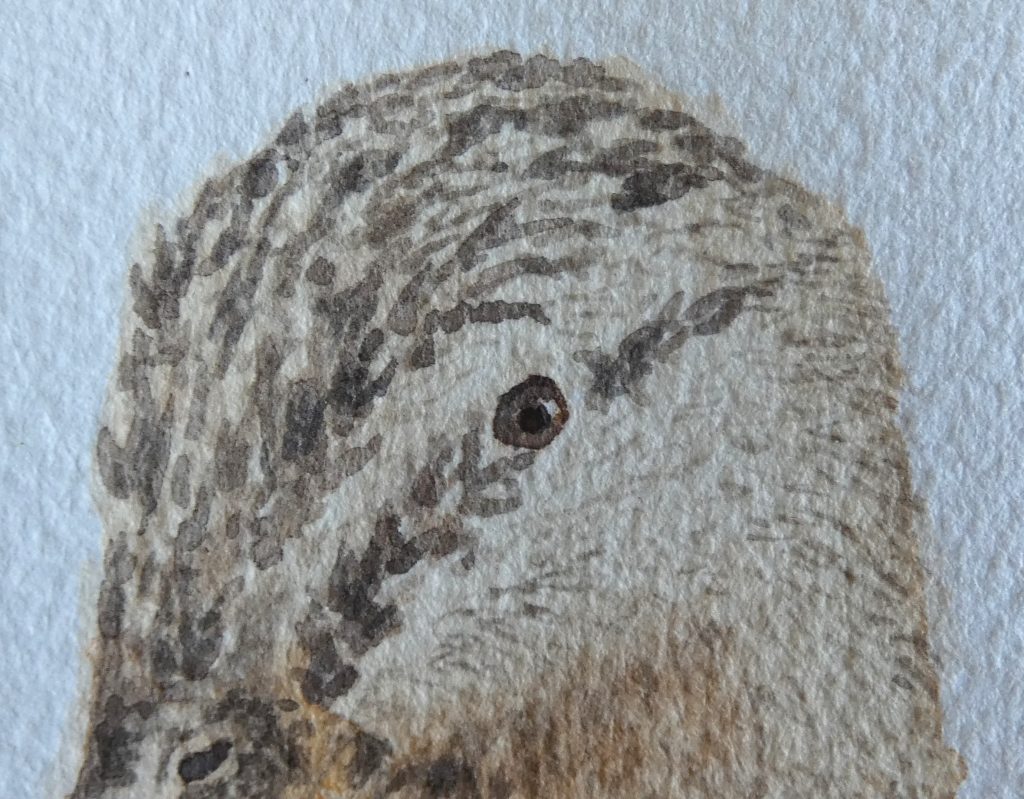
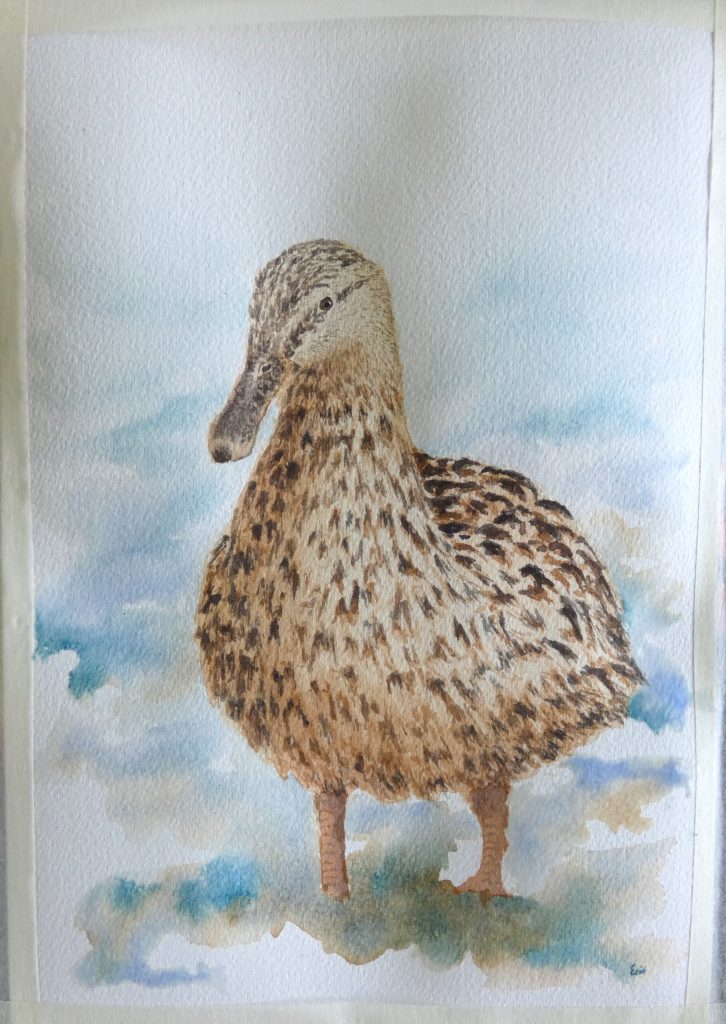
Now that the duck is complete, we can finish the painting with a background.

The Background
A loose and colorful background will be a good complement to the detailed, brown duck. We’ll first paint with clear water in the places that we want paint to spread to. Keep in mind the rippling texture of water and leave dry spaces as the glistening highlights.
We can then drop in Raw Sienna and other brown mixtures below the duck (which hints at reflections and underwater rocks), and then add blues (I used French Ultramarine and Mayan Blue Genuine) that will mix with the browns. Below the duck is in shadow, and should be darker, while we can let the upper portion of the painting fade off into the distance by using less paint and more water.
With that, the painting of a duck with watercolors is complete. Next up in the Watercolor Waterbirds series is the Green Heron painting tutorial.


so much fun to paint this duck! Thanks, Erik!
I’m glad you enjoyed it!
Hola! I’ve been following your site for some time now and finally got the courage to go
ahead aand give you a shout out from New Caney Texas!
Just wanted to say keep up the excellent work!