


In this colored pencil tutorial, I will overview the steps and a few details for drawing a Western Tanager. You may find it helpful to use this tutorial series as reference, for more details on each step in the process.
I will be working on Arches hot press watercolor paper, with Polychromos colored pencils, but these supplies are not necessary, and you can draw the Western Tanager on another kind of paper and with different pencils as well if you prefer.
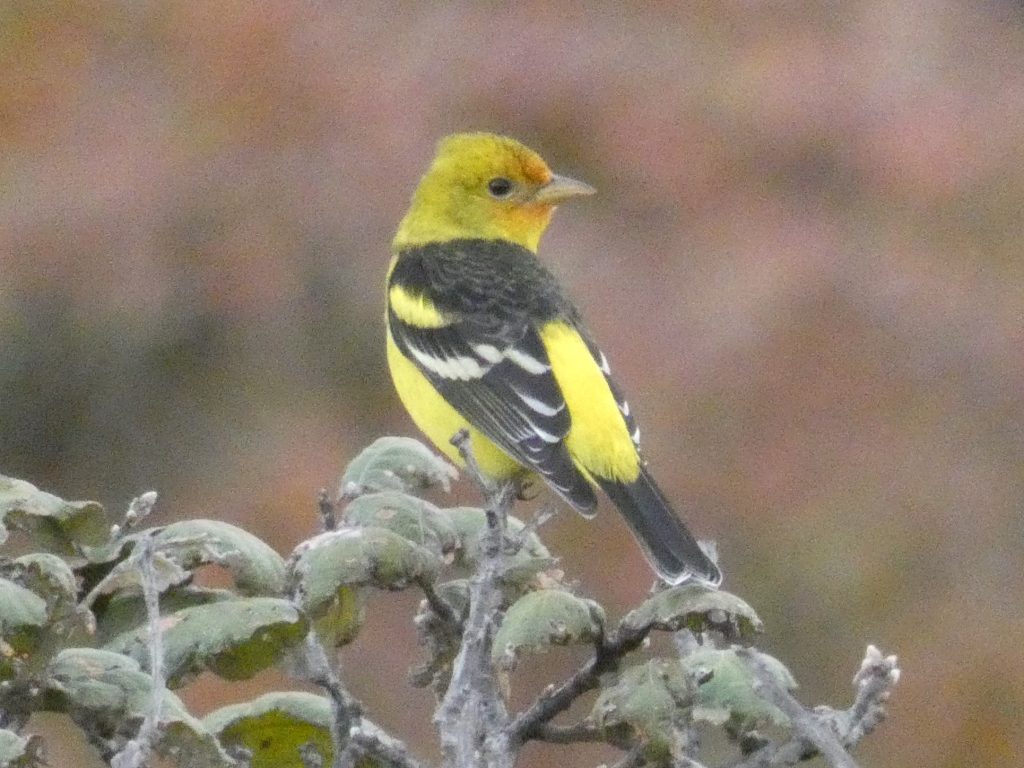
Here is the reference photo we will be using; I especially wanted to do it to try a different background color from the usual green or blue.
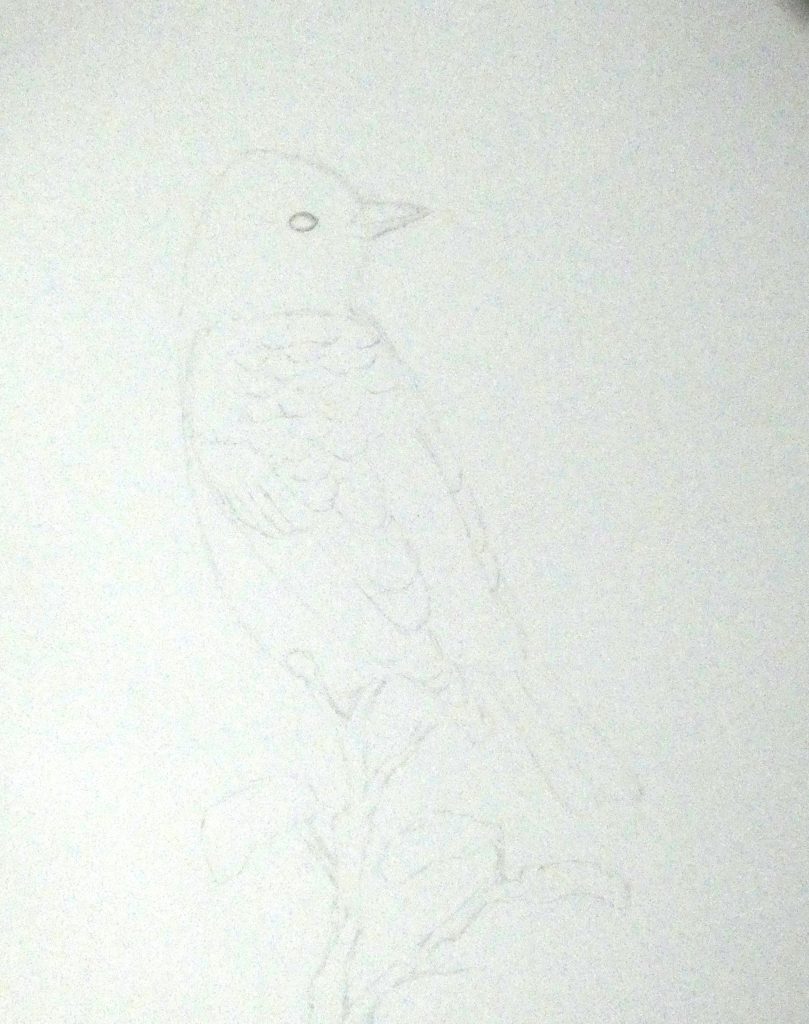
For the drawing, I lined up the eye with the corner of the top left third of the paper, so that the tanager would have plenty of space in the direction it is looking, while also having enough of a margin between the left edge of the paper. I chose to draw a simple branch that it is sitting on, with three leaves, and while you can do the same, it is also fine to add more or less leaves and to include more sticks if you would like (a rule of thumb, however, is to use an odd number of leaves and an odd number of sticks, as this is usually better for the composition).
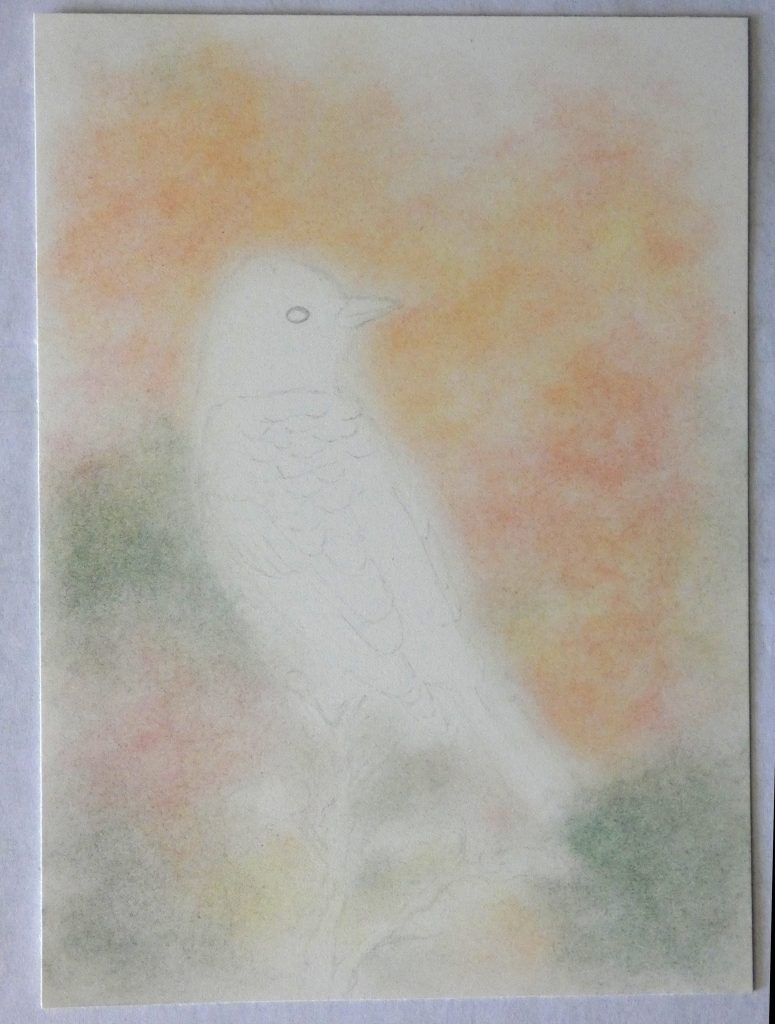
Using the soft-focus background method, choose several colors to blend together in the background. For my drawing, I used white to start with, then a blend of warm yellows (such as cream and cadmium yellow), a little bit of scarlet red, and some pink carmine as well. For the green spots, I used pine green and earth green.
The background seemed very faint after the first coat, so I added a second with the same colors.
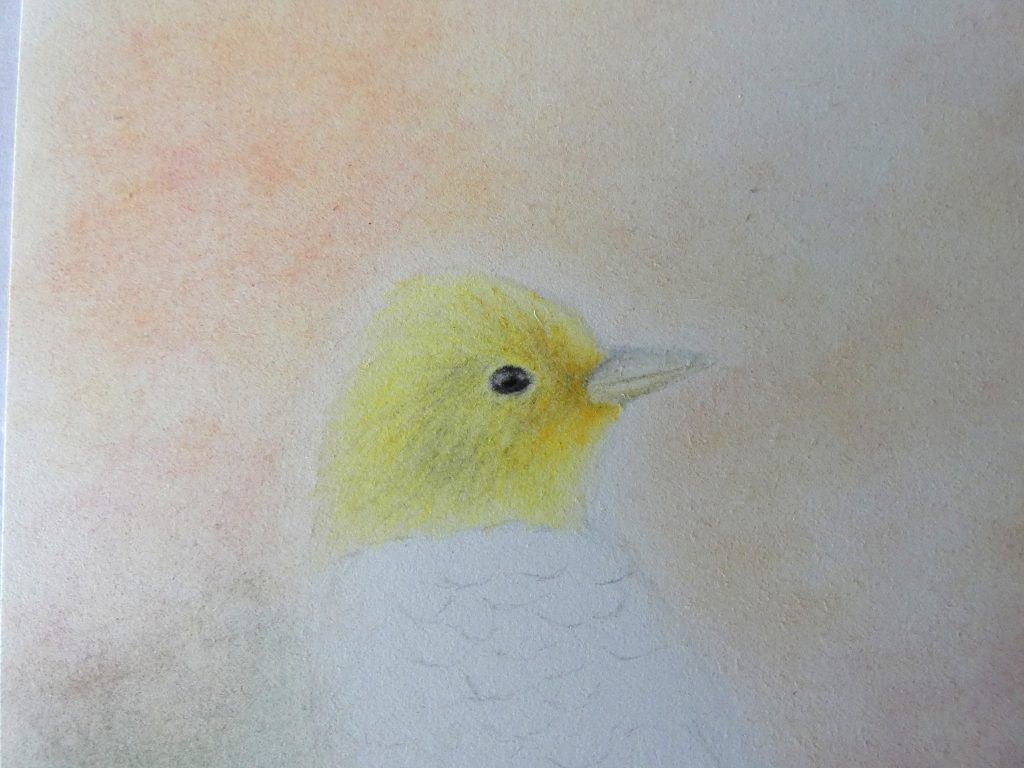
For colored pencil drawings, I almost always begin with the eye, and I recommend that you do as well. It is the most important part of the drawing in terms of making it look alive, and if I make a mistake on it, it is easier to start over now, rather than waiting till later in the drawing process.
I used dark sepia for the iris, black for the pupil, and Payne’s grey to add shadow. The catchlight is important, and in this case, I drew mine with two, with the larger one on the left.
For the beak, I layered white, cream, light warm greys, and a little bit of dark grey for the shadows.
Keeping in mind the direction of the feathers, you will want to start layering colors from lightest to darkest. I started off with white, cream, and light cadmium yellow.
Then, begin adding darker valued colors such as cadmium orange, and a medium grey, maintaining directional strokes that match the feather directions the entire time.
You can use the same approach for the other yellow parts of the Western Tanager. Do not forget to add shadow below the wing feathers with light, cool grey or purple (the complement to yellow).
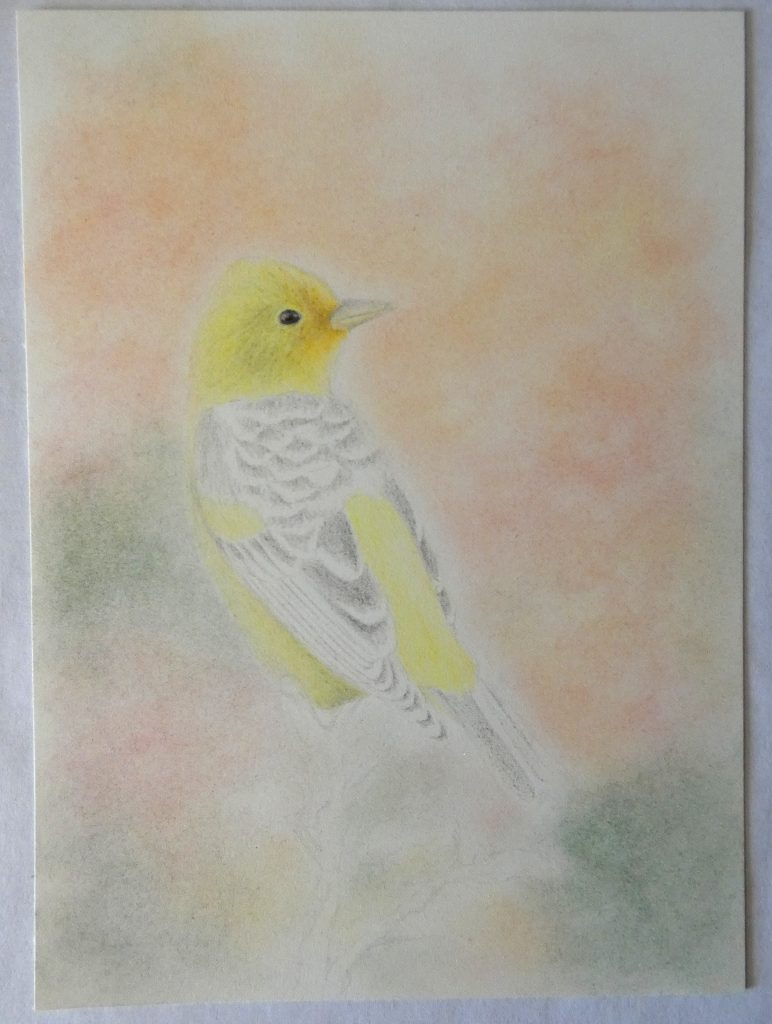
For distinct feathers, start by drawing with medium grey (such as cold grey IV) on each feather, just below the place where it is overlapped by another feather (leaving the edge of the feather white).
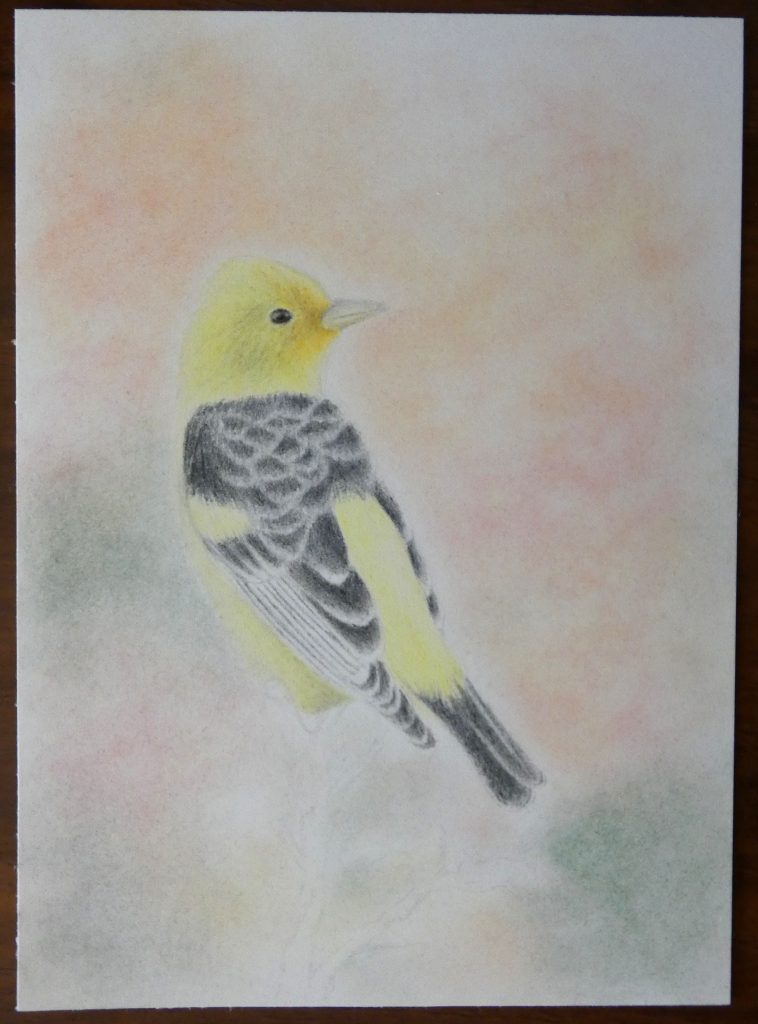
Then, with directional strokes, use a lighter grey to draw on the feather edges (or use white for the feathers that have white tips). After that, you can go back over most of the feather with darker colors (dark indigo, Payne’s grey, and even black in a few places). You may find that you need to darken the feather tips as they contrast too much with the rest of the feather, and in this case simply go over them with a darker grey.
Repeat this procedure as needed.
The branch is not the focal point of the drawing and does not need to be drawn with as much detail as the bird. I used various warm greys for the sticks, focusing on adding shadow where I saw it in the photo, especially below little bumps and ridges. With dark grey, I added two simple curved lines just below the tanager for its feet. I used earth green and earth green yellowish for the leaves, using white to retain the highlights.
This finishes the drawing of a Western Tanager with colored pencils.
I will right away grasp your rss feed as I can not find your e-mail subscription hyperlink or e-newsletter service. Do you’ve any? Please permit me recognize in order that I could subscribe. Thanks.
Hi Vorbelutr. I’m sorry but I do not yet have an e-mail subscription. Perhaps I will someday when I get back to having more time for this sort of thing. Glad to hear that you’ve enjoyed the site.