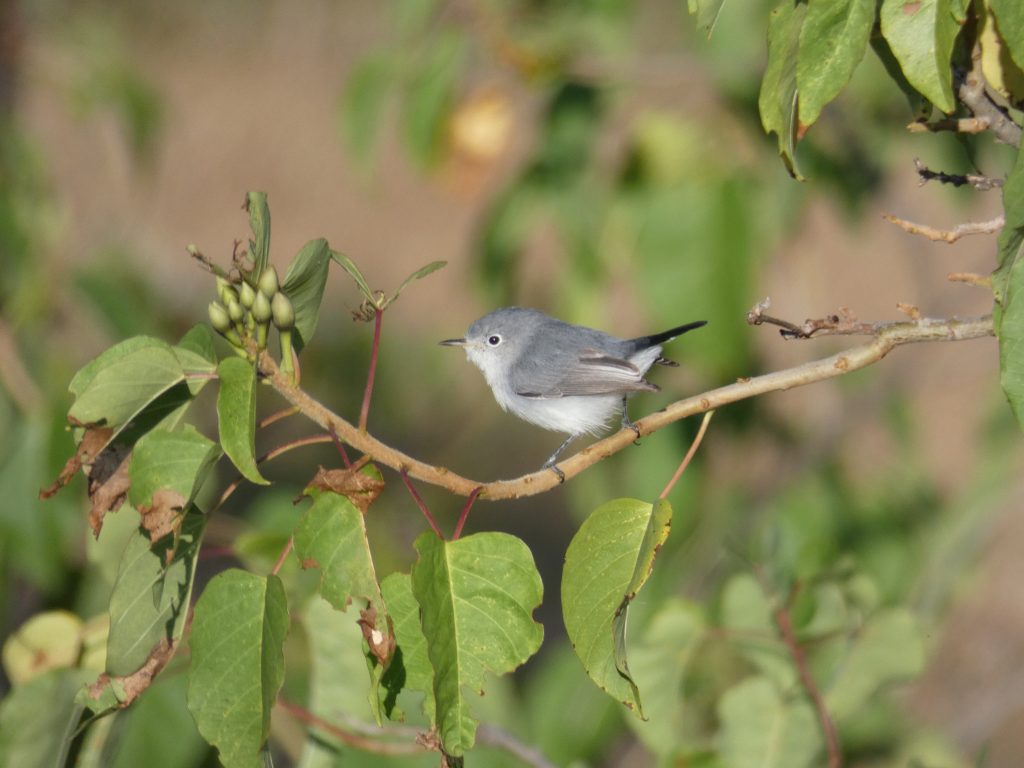


The following is a tutorial for how to draw a Blue-Grey Gnatcatcher with Colored Pencils. This is the approach I take for most of my bird drawings and I hope you will find it helpful as well. It is a long process (5+ hours), so I have broken it down into shorter sections, and this page contains links to each corresponding section. While the emphasize in this lesson series is on drawing a particular Gnatcatcher, the principles and methods apply to just about any other bird drawing.
As an intermediate level tutorial, I think it will be most helpful for those who have some experience in colored pencil drawing, but want to know the techniques used especially in birds. Even still, whether you are a beginner or an expert, I hope you will find something useful or interesting in this tutorial series.
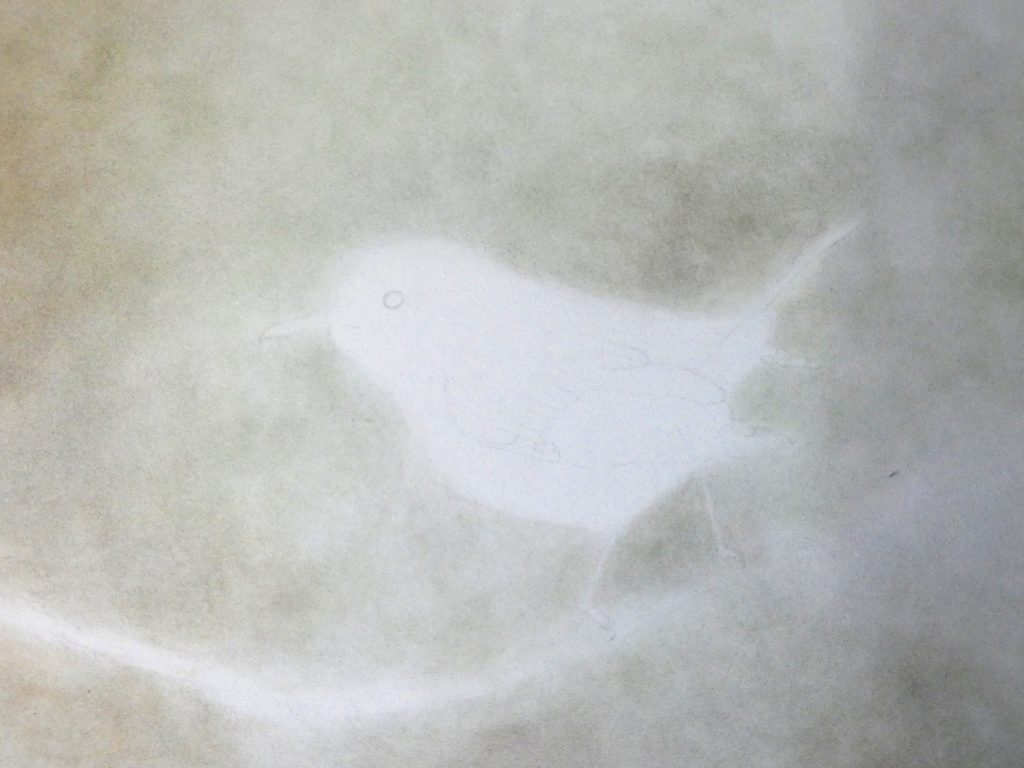
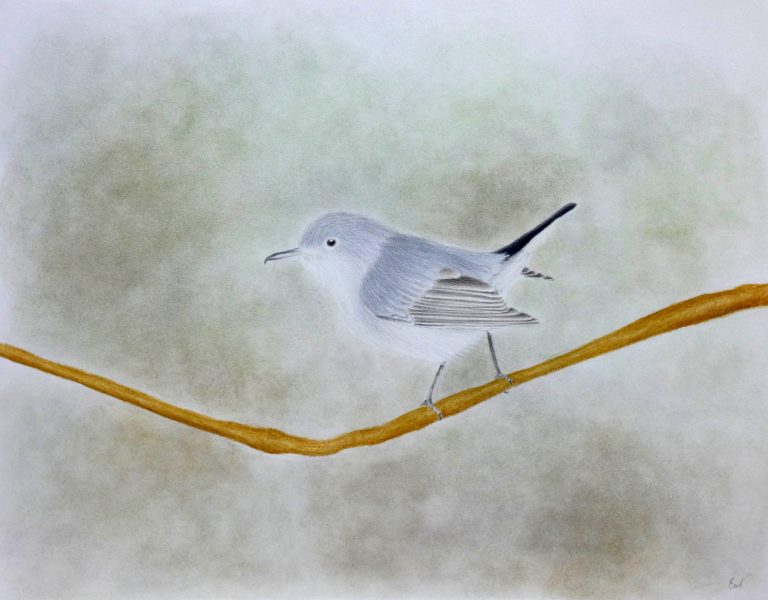
Before working with colored pencils, I drew the Gnatcatcher outline with a graphite pencil, and added an out-of-focus background so that the grey bird would stand out. If you will not be using the Touch-Up Texture and Titanium White to form the lower right feathers, I suggest drawing them in with a white colored pencil, while pressing hard, to preserve the white before adding a background.
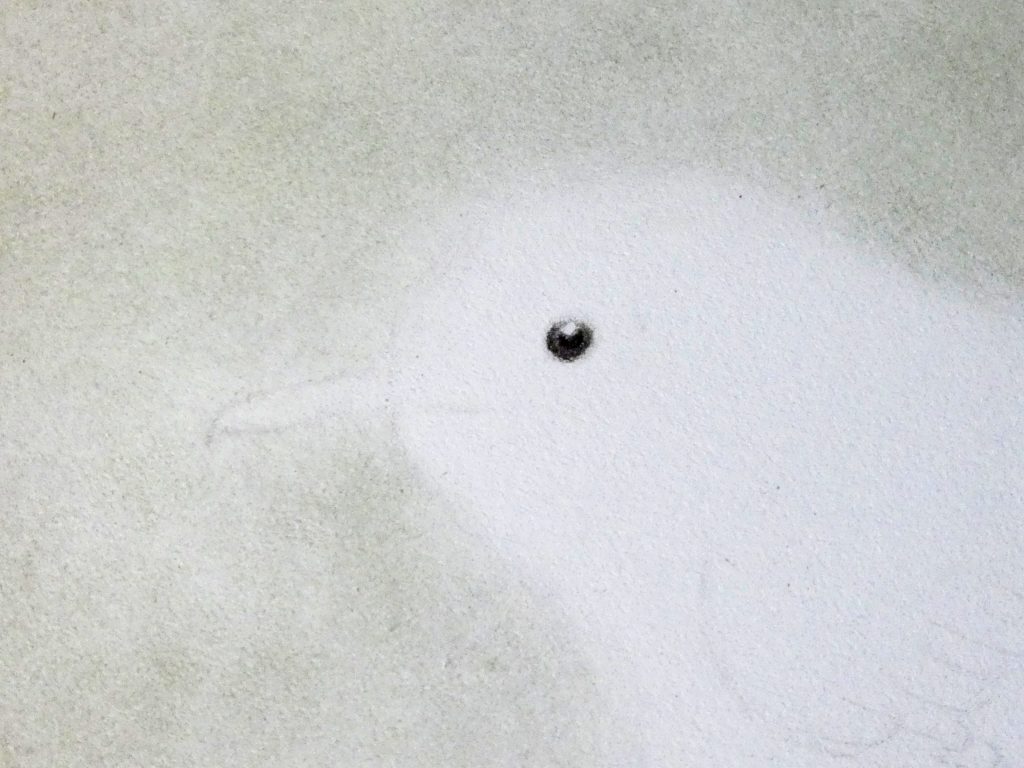
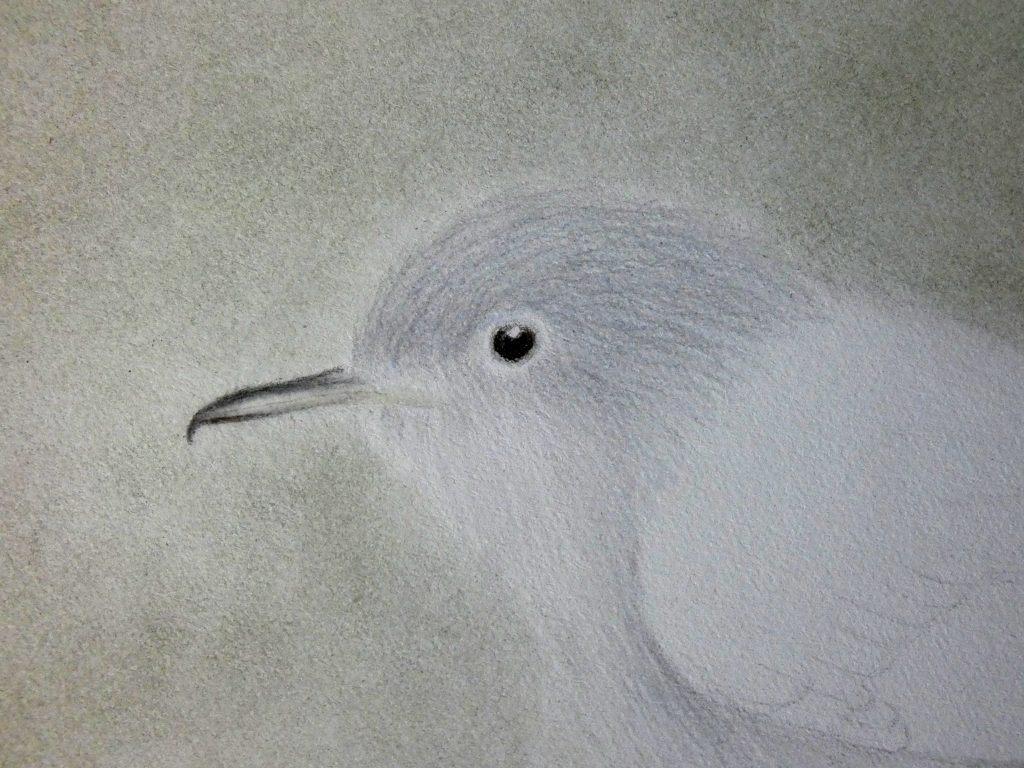
They eye is a good place to start with the colored pencil drawing. This is because it is very important and a mistake on it could ruin the entire drawing. Therefore, it is better to start with the eye and avoid risking hours of work. Here is how to draw the eye.
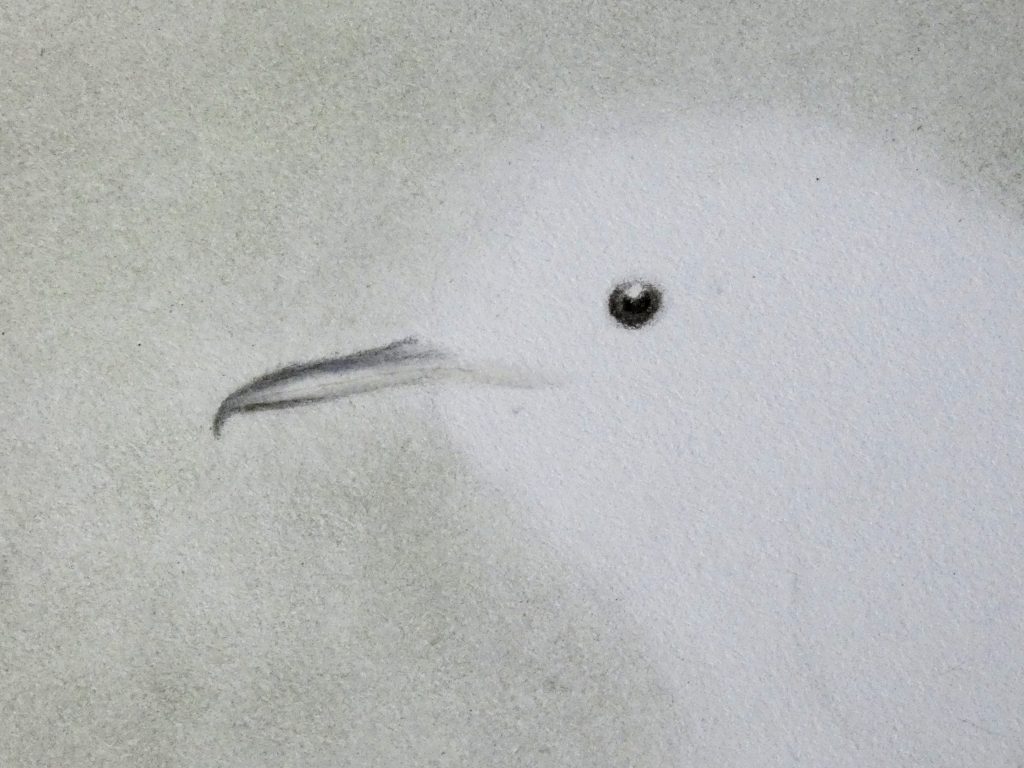
Next, we will draw the beak. Don’t forget to sharpen your pencils if they are not sharp already. Here is the beak tutorial.
We will use a similar procedure for the head and body, just with different colors. Normally, with colored pencil, it is best to preserve the white of the paper by layer from light to dark. In this case, some of the feathers stick out over the background, and the easiest way to add them is with the Touch Up Texture and Titanium White mixture. Click here for this short tutorial.
While the wings and tail for this subject are drawn differently, many times, drawing tips for one of them carry over to drawing the other. We will draw the long flight feathers in a slightly different way than the shorter feathers of the upper wing. Here is this second-to-last lesson in the series.
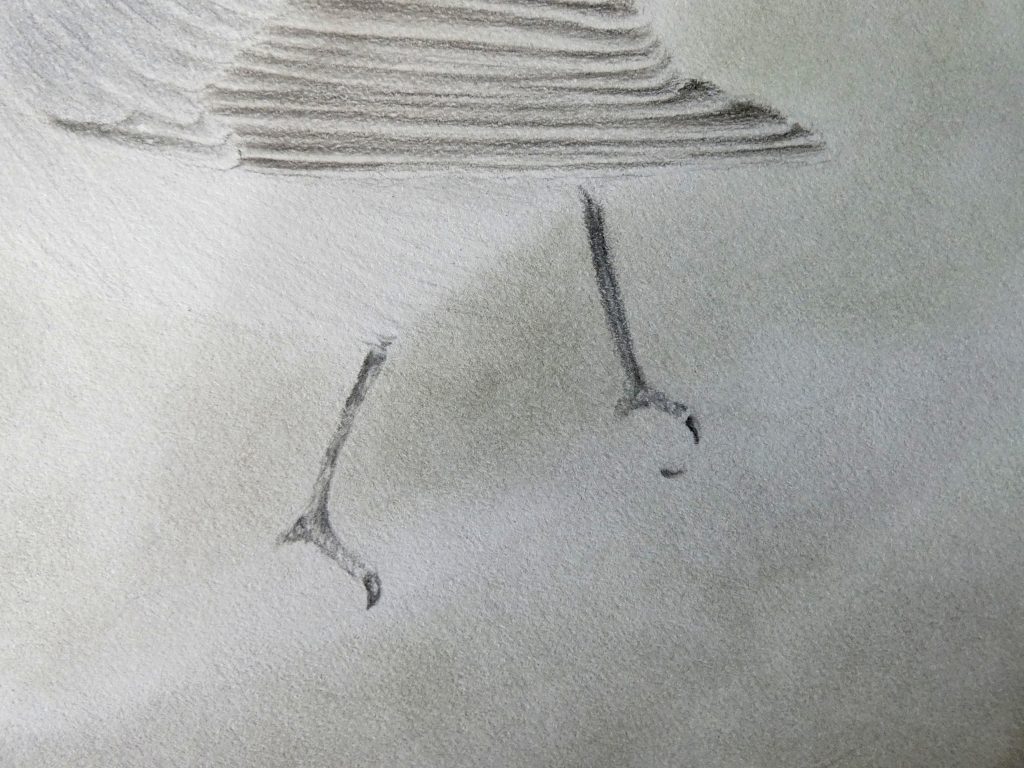
A distinct and challenging subject, the feet can be drawn quite easily with shadows and a few marks to represent texture. After completing this tutorial, you will have finished your drawing of a Blue-Grey Gnatcatcher. Congratulations, and I hope you will find this method useful for drawing other birds as well.
Here is the finished result.
I am delighted that I found this blog, exactly the right info that I was searching for! .